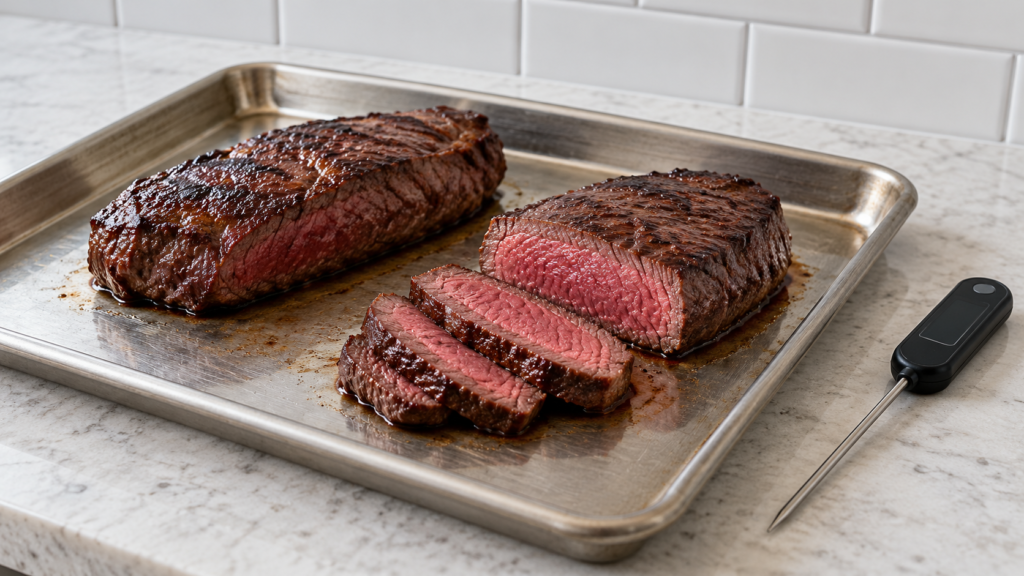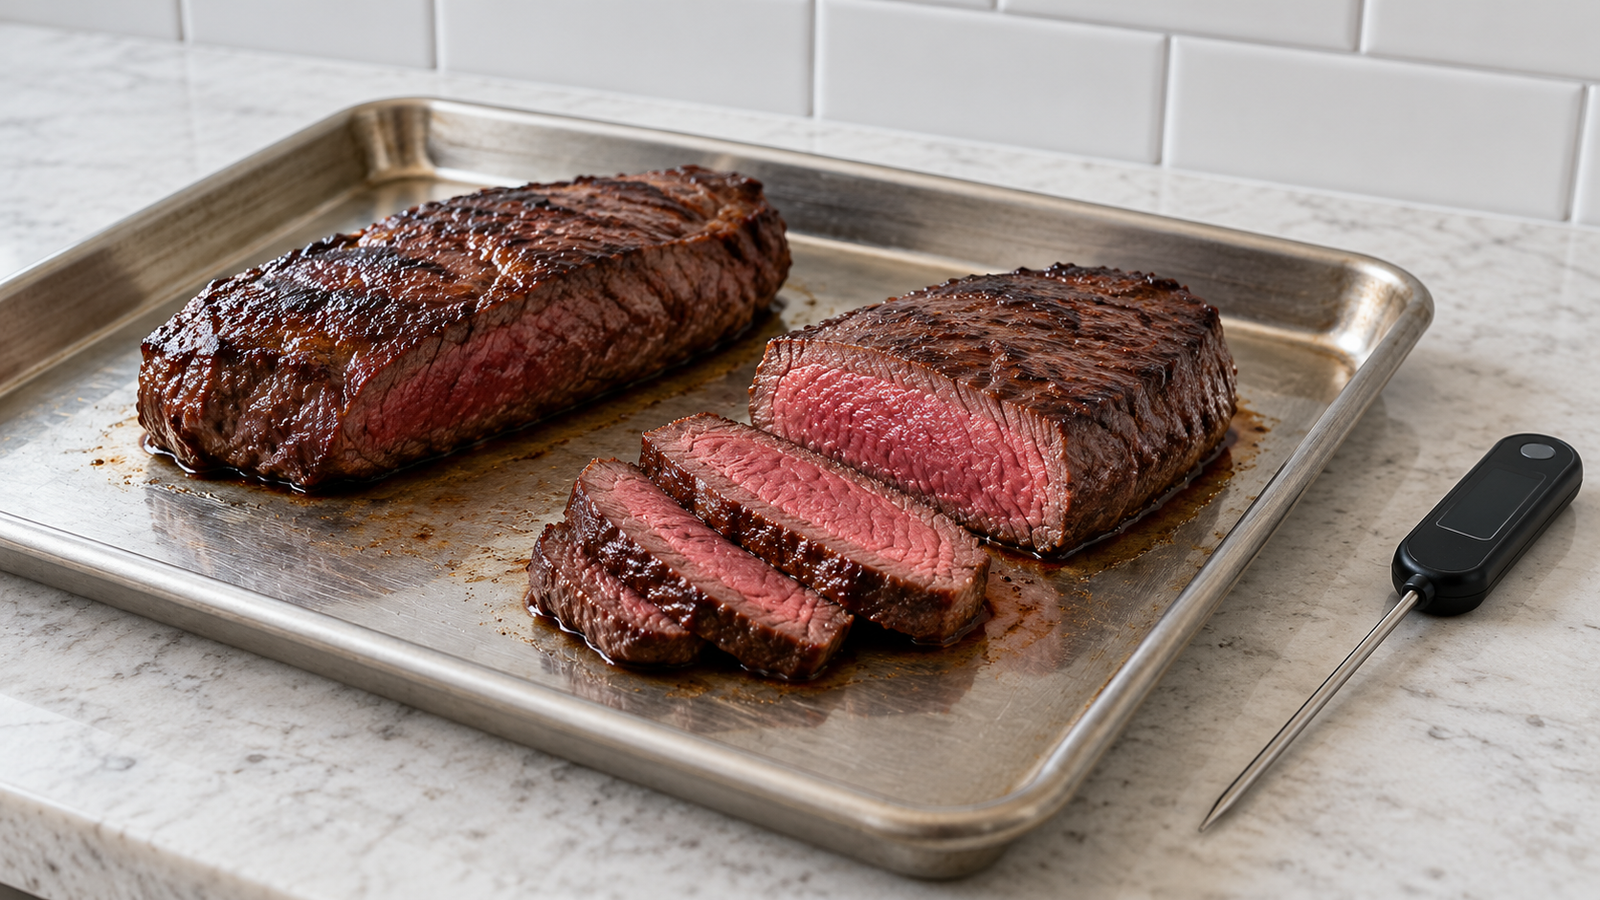
People buy elk steaks expecting beef with a different name, cook them exactly the way they’d cook a ribeye, and end up with something gray, tight, and faintly livery. The mistake isn’t the animal. It’s the method. Elk is one of the leanest red meats you can put on a grill, and a hot-and-fast sear built for a well-marbled steak punishes lean meat instead of flattering it.
Why reverse searing suits elk better than a direct sear
A direct, high-heat sear cooks a steak from the outside in. By the time the crust is where you want it, the interior of a lean cut has usually overshot past medium-rare, because there’s so little intramuscular fat buffering the heat on its way to the center. Reverse searing flips the order: the steak spends most of its time in a low oven, climbing to temperature gently and evenly, and only sees high heat at the very end, for just long enough to build a crust on the outside without pushing the interior any further.
That separation of jobs (a slow phase for doneness, a fast phase for crust) matters more on elk than on beef precisely because elk has so little margin for error. You’re not fighting the clock during the sear to also finish cooking the inside; the inside is already exactly where you want it before the pan even gets hot.
What you need
- 2 elk steaks (backstrap, loin, or top round), 1–1½ inches thick
- 2–3 tbsp tallow or lard, divided
- Coarse salt
- Optional: a light crack of black pepper
Nothing else goes near this steak. No marinade, no rub, no plant-based aromatics of any kind. Elk has a clean, slightly sweet flavor that gets buried under seasoning blends built for beef, and the whole point of this method is to let that flavor stand on its own.
How to make it
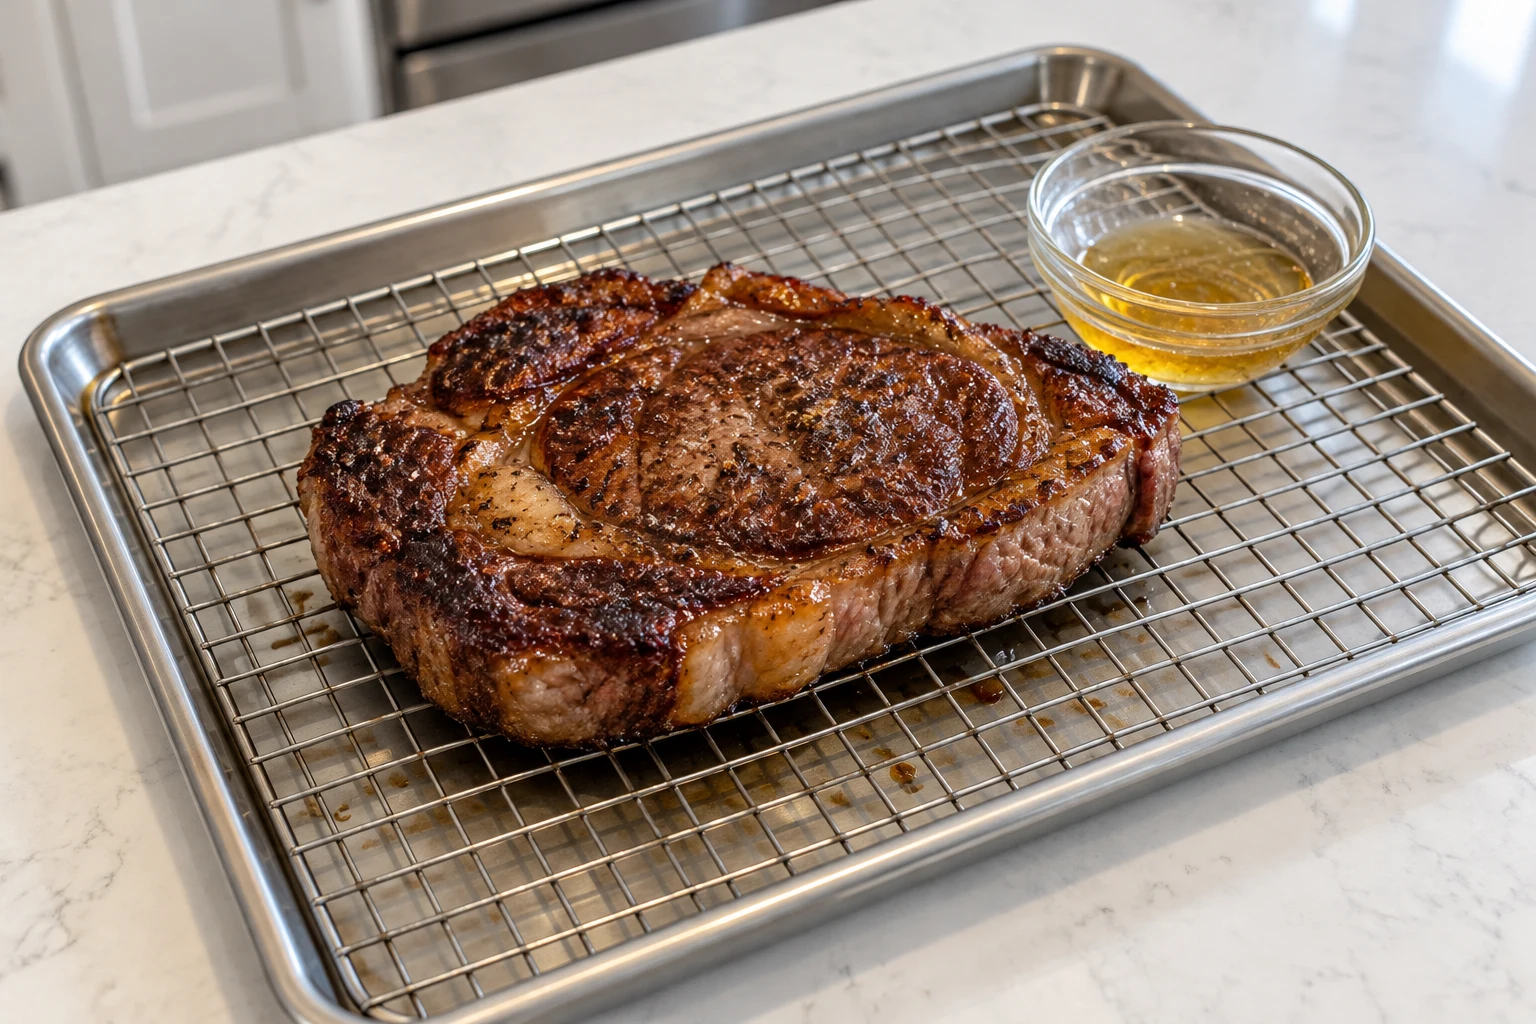
- Salt the steaks generously and let them sit uncovered on a wire rack in the refrigerator for at least 45 minutes, ideally a few hours. This dry-brine step draws moisture to the surface, where it reabsorbs with the salt and seasons the meat all the way through instead of just the outside. It also dries the surface, which helps the crust form later without steaming.
- Set your oven to 250°F and place the steaks on a wire rack over a sheet pan. Low, even heat is the entire point of this phase. Resist the urge to go hotter to speed things up.
- Insert a probe thermometer, or check with an instant-read every 10 minutes starting around the 20-minute mark. Pull the steaks when they read 115–120°F in the center for a finished medium-rare, since the sear will add another several degrees.
- Rest the steaks for 5–10 minutes while you heat a cast-iron pan until it’s smoking hot. This isn’t optional padding. A hot pan on a steak that just came out of a low oven, without a brief rest, won’t sear as aggressively because the meat is still releasing surface moisture.
- Add the tallow to the pan and sear each steak for 45–60 seconds per side, pressing down lightly with tongs to maximize contact. You’re building crust now, not cooking the interior further. The whole point of the slow phase was to already have the inside where you want it.
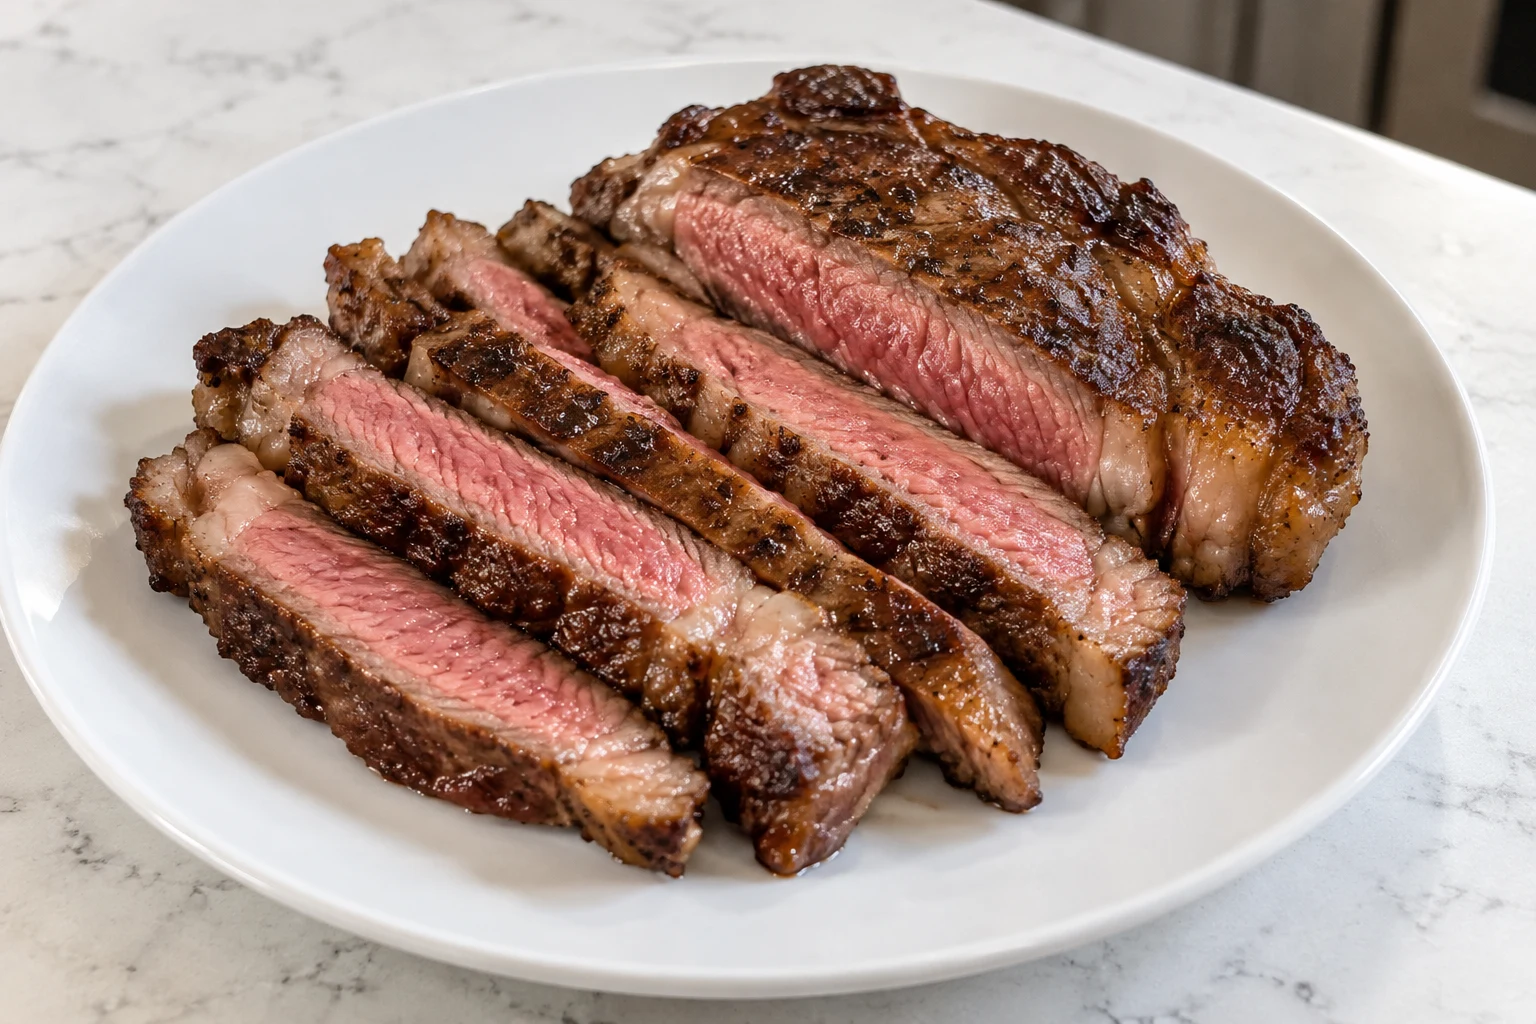
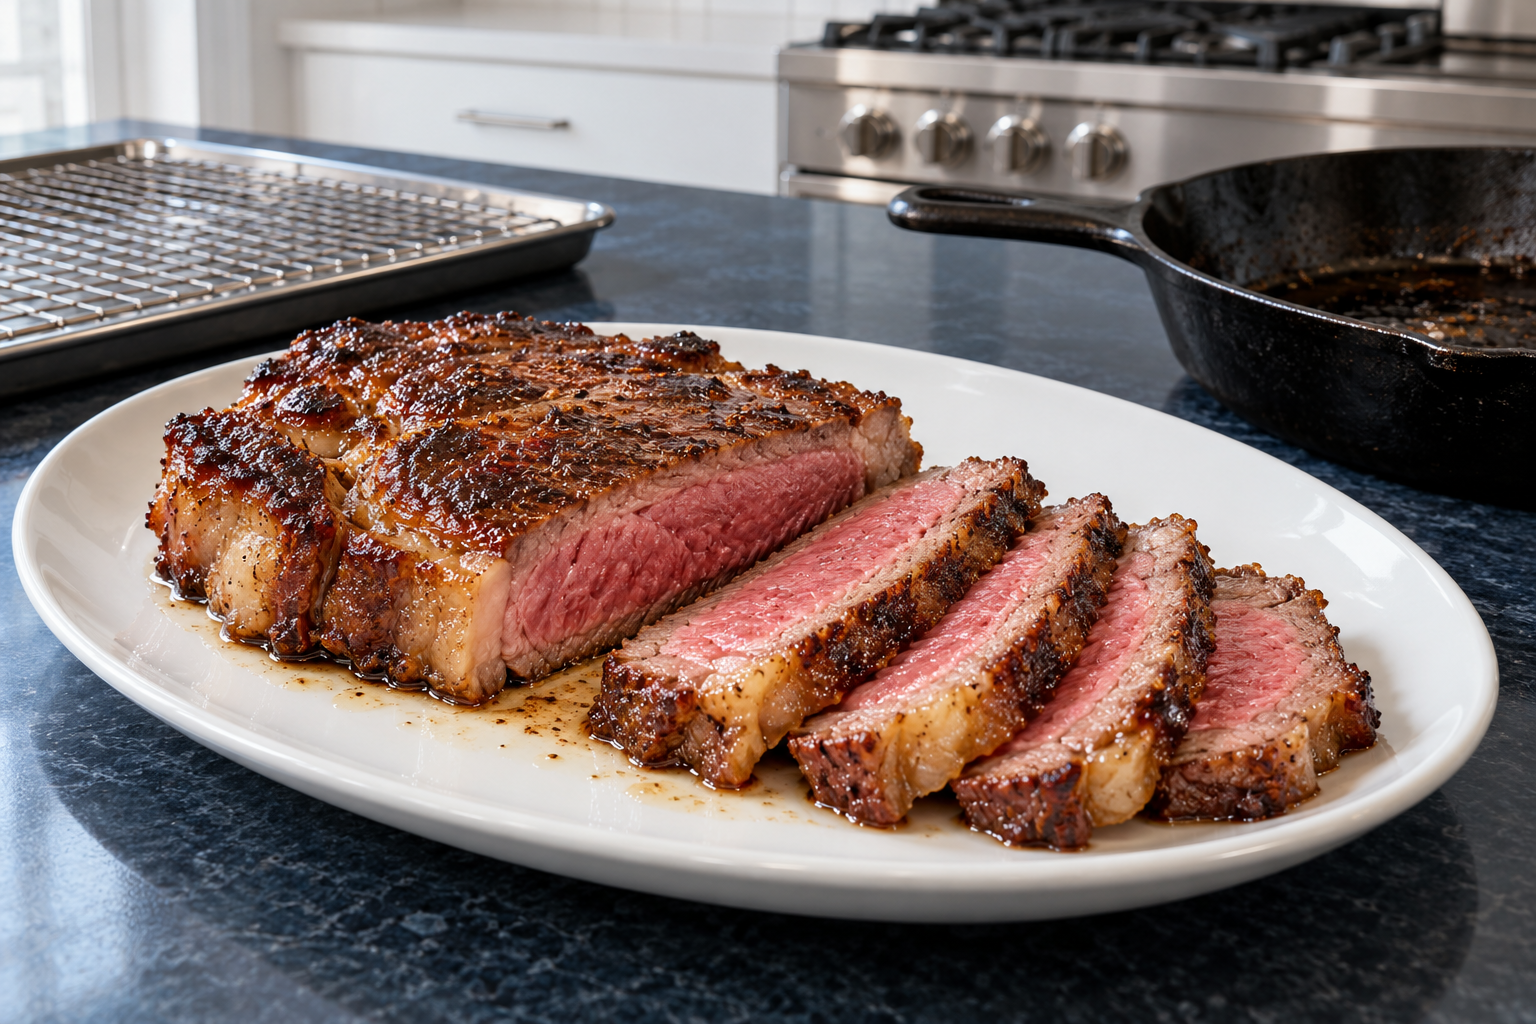
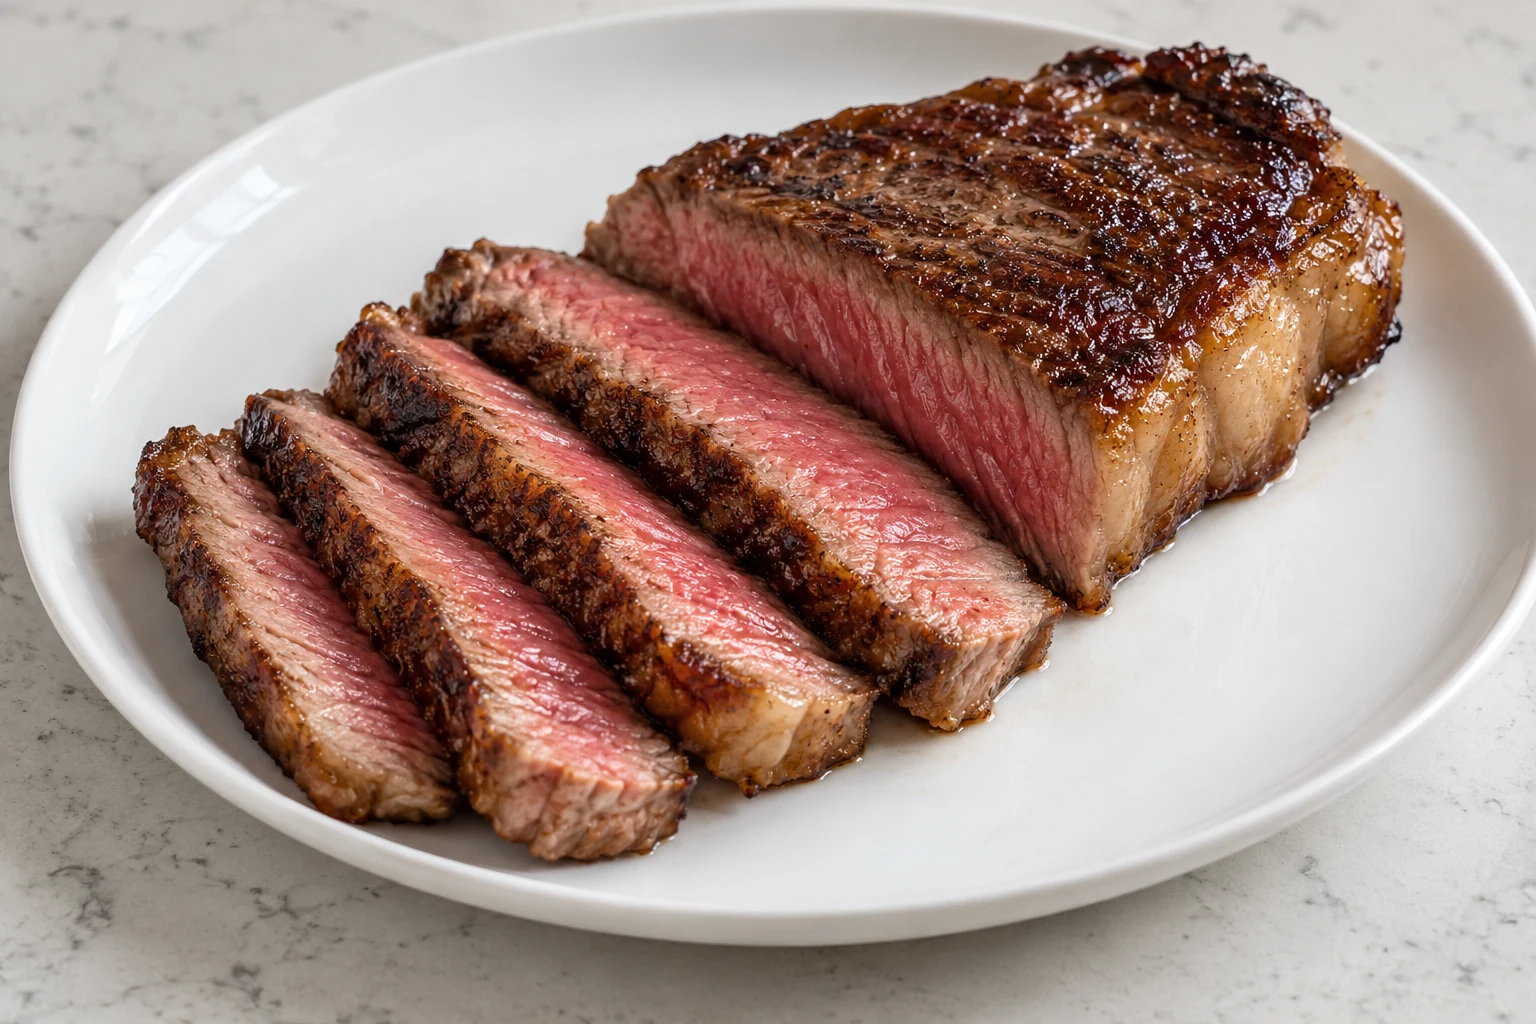
- Pull immediately once the crust is deep brown, rest for a final 3–5 minutes, and slice against the grain.
Doneness by pull temperature
| Pull from oven at | After the sear, lands around | Result |
|---|---|---|
| 105–110°F | 125–130°F | Rare. Only recommended for very fresh, well-trimmed elk |
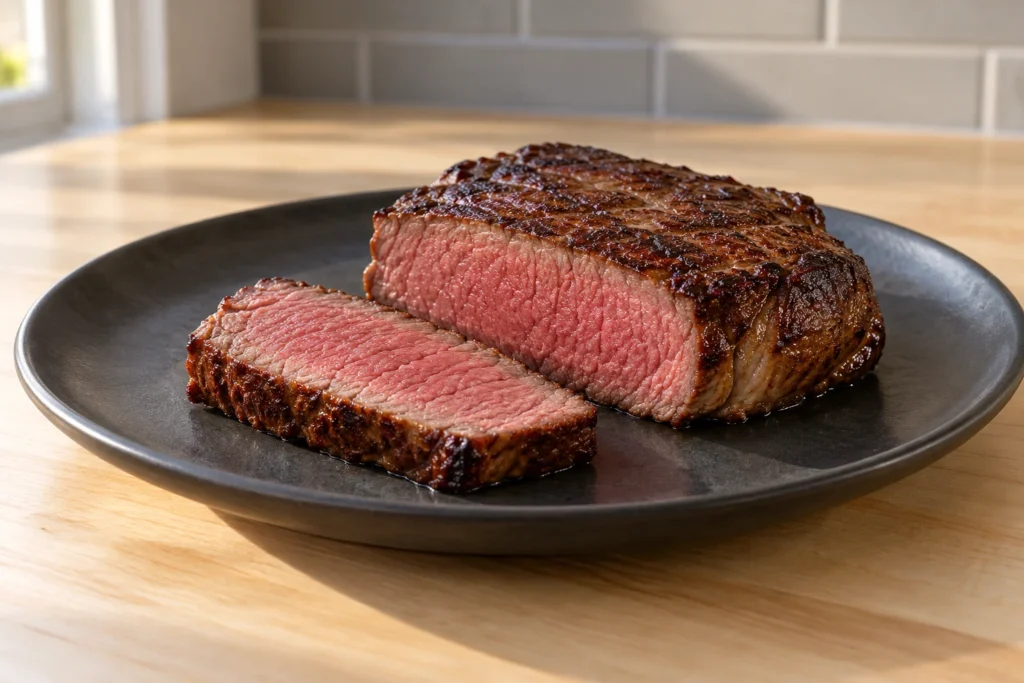
| 115–120°F | 130–135°F | Medium-rare. The target for most elk cuts |
| 125–130°F | 140–145°F | Medium. The safer edge for a thicker or less-trimmed cut |
Pushing elk past medium is where it starts to taste like the dry, livery version people associate with wild game. Because there’s so little fat to carry it through overcooking, every ten degrees past medium costs you noticeably more moisture than it would on a well-marbled steak.
On food safety and whole-muscle cuts
Whole-muscle elk steaks follow the same safety logic as beef steaks: the USDA’s general guidance for whole-muscle red meat sets 145°F as the recommended minimum, with a 3-minute rest, for food safety on an intact cut. Medium-rare at 130–135°F sits below that figure, which is a choice plenty of home cooks make with well-sourced steaks the same way they would with beef, but it’s worth being clear-eyed that it is a choice, not the floor the agency sets. If you’re serving guests who are pregnant, immunocompromised, very young, or otherwise in a higher-risk category, or if you’re working with elk from a source you don’t fully trust, cooking to the medium end of the table above is the more conservative move. Ground elk is a different story entirely and should always be cooked to 160°F minimum, the same ground-meat floor that applies to ground beef and bison, because grinding distributes any surface bacteria throughout the meat.
Why the dry brine matters more here than on beef
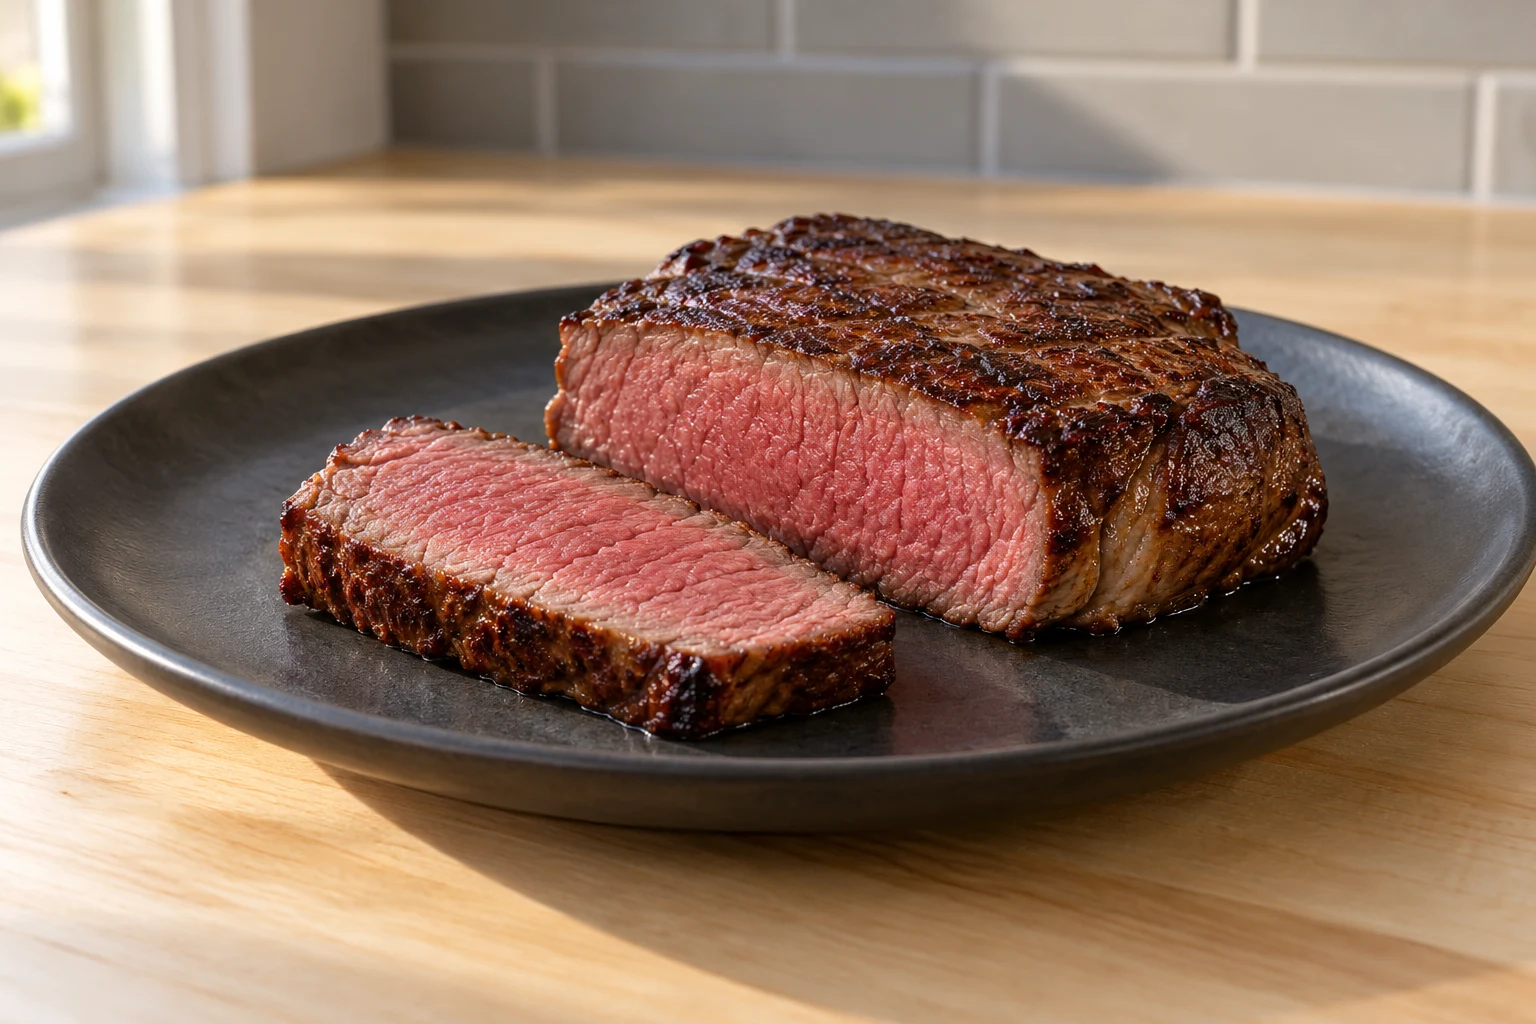
On a well-marbled ribeye, skipping the dry brine and salting right before cooking still produces a decent result, because the fat covers for a lot of sins. On elk, a cut with almost no intramuscular fat, a dry surface going into the sear is the difference between a real crust and a gray, steamed-looking exterior. Harold McGee’s On Food and Cooking describes the Maillard browning reaction that creates a crust as dependent on a dry surface reaching high heat quickly, and that single fact explains most of the common failures people run into with lean game steaks generally, not just elk. Any surface moisture has to evaporate first, which steals heat and time away from actual browning. A few hours of open-air refrigeration before cooking solves that problem before it starts.
If you don’t have a probe thermometer
An instant-read thermometer works fine for this method, you’ll just be opening the oven more often to check, which is a minor heat-loss cost on a 250°F oven and not worth worrying about. What you shouldn’t do is guess by time alone. Oven calibration varies, steak thickness varies, and starting temperature out of the refrigerator varies. A steak you pulled at 22 minutes last time might need 28 minutes this time depending on all three. The low-and-slow phase is forgiving of a few extra minutes in the oven; it is not forgiving of skipping the temperature check altogether and guessing wrong by fifteen degrees.
Trimming before you cook
Elk backstrap and loin often arrive with a layer of silverskin. The tough, pearlescent connective tissue that runs along one side of the muscle. Unlike the thin silverskin on a beef tenderloin, elk’s version tends to be thicker and doesn’t soften with cooking the way collagen in a braise would; it just stays chewy no matter how carefully you cook the steak around it. Run a sharp, flexible knife at a shallow angle just under the silverskin, angling the blade slightly upward against it rather than straight down into the meat, and peel it away in one or two long strokes rather than sawing at it in short cuts, which wastes meat. Top round and other leg cuts carry less silverskin but more connective tissue woven through the muscle itself, which is part of why backstrap and loin are the better candidates for a quick-cooked steak and round cuts are usually better reserved for braising or grinding.
Also check for any remaining silver fascia or small bits of hide that sometimes get left behind in home-processed elk. None of it is dangerous, but all of it is unpleasant to bite into and worth a few extra minutes of trimming before the meat ever sees salt.
Backstrap versus top round: what actually changes
Backstrap and loin are the most tender cuts on the animal and the ones this method is built around. Fine grain, minimal connective tissue, and a shape that cooks evenly as a steak. Top round comes from a working muscle, carries a noticeably tighter grain, and will never get as tender as backstrap no matter how carefully you reverse sear it. That doesn’t mean top round is off-limits for this method; it means your expectations should shift. A round steak cooked this way will still taste clean and avoid the gray, overcooked problem the method is designed to prevent, but it will chew more like a flank steak than a filet. Slicing thinner and more deliberately against the grain matters more with round cuts than with backstrap, where the grain is less pronounced to begin with.
Common questions
My steak came out gray instead of pink in the middle. What went wrong?
Almost certainly it overshot in the low oven. Elk’s lack of fat means the window between a perfect pull temperature and an overcooked one is narrower than on beef, and a probe thermometer left unchecked for too long, or an oven running hotter than its dial says, will blow past that window quickly. Recalibrate by checking more frequently next time and pulling at the lower end of the range if you’re unsure.
Do I need to use tallow specifically, or will any fat work?
Tallow and lard both work well because they can take high heat without smoking excessively and both add back the richness elk is missing on its own. Butter alone tends to scorch at the temperature this sear needs, so if butter is what you have, combine it with a spoonful of tallow or lard rather than using it by itself.
Can I skip the low-oven phase and just sear it hot from raw?
You can, but you’re back to the exact problem this method exists to solve. By the time the crust is right, the center has usually overshot medium-rare on a lean cut like this. If you’re working with a thinner steak, under an inch, a direct hot sear is more forgiving and reverse searing matters less; on anything an inch or thicker, the two-phase method earns its extra time.
Serving and leftovers
Slice thin, against the grain, and serve with nothing but the rendered tallow left in the pan drizzled over the top. Elk doesn’t need a sauce to be interesting, and a sauce built on anything but rendered fat and the meat’s own juices would break the all-animal approach anyway. Leftovers keep for three to four days refrigerated. Reheat gently, ideally by searing cold slices briefly in a hot pan with a little extra tallow rather than microwaving, which tends to overshoot a thin slice of already-lean meat past edible in seconds. If you’re reheating to eat cold in a salad-style preparation instead, there’s no food-safety reason to reheat at all as long as it was refrigerated promptly after the original cook and eaten within the four-day window.
If this is your first time cooking elk or another lean wild cut, it’s worth reading up on cooking lean game without drying it out more broadly, since the leanness problem shows up across venison, elk, and most wild-harvested red meat. The reverse-sear method itself borrows directly from the beef-focused breakdown of reverse sear versus hot-and-fast, and the reasoning behind dry-brining ahead of time traces back to the same principles covered in salting meat: less about how much, more about how early.
One last thing worth planning around: this is not a fast weeknight method, even though the active cooking at the end takes less than two minutes per side. Budget 45 minutes to an hour from refrigerator to table once you include the dry brine, the slow oven climb, the rest before searing, and the rest after. If you want elk on a tighter timeline, a thinner-cut steak seared hot and fast from the start will get you to the table faster, at the cost of some of the evenness this method is built to deliver. For a cut this lean and, often, this expensive relative to how it was sourced, the extra time is usually worth spending.
It’s also worth remembering that elk you’ve processed yourself or sourced from a known hunter is a different product than anything behind a grocery counter, and treating it with the same patience you’d give a cut you paid a premium for tends to pay off in the result. The method doesn’t change based on where the elk came from, but the motivation to get it right usually sharpens once you know exactly what went into getting that steak onto your cutting board.
Visual steps