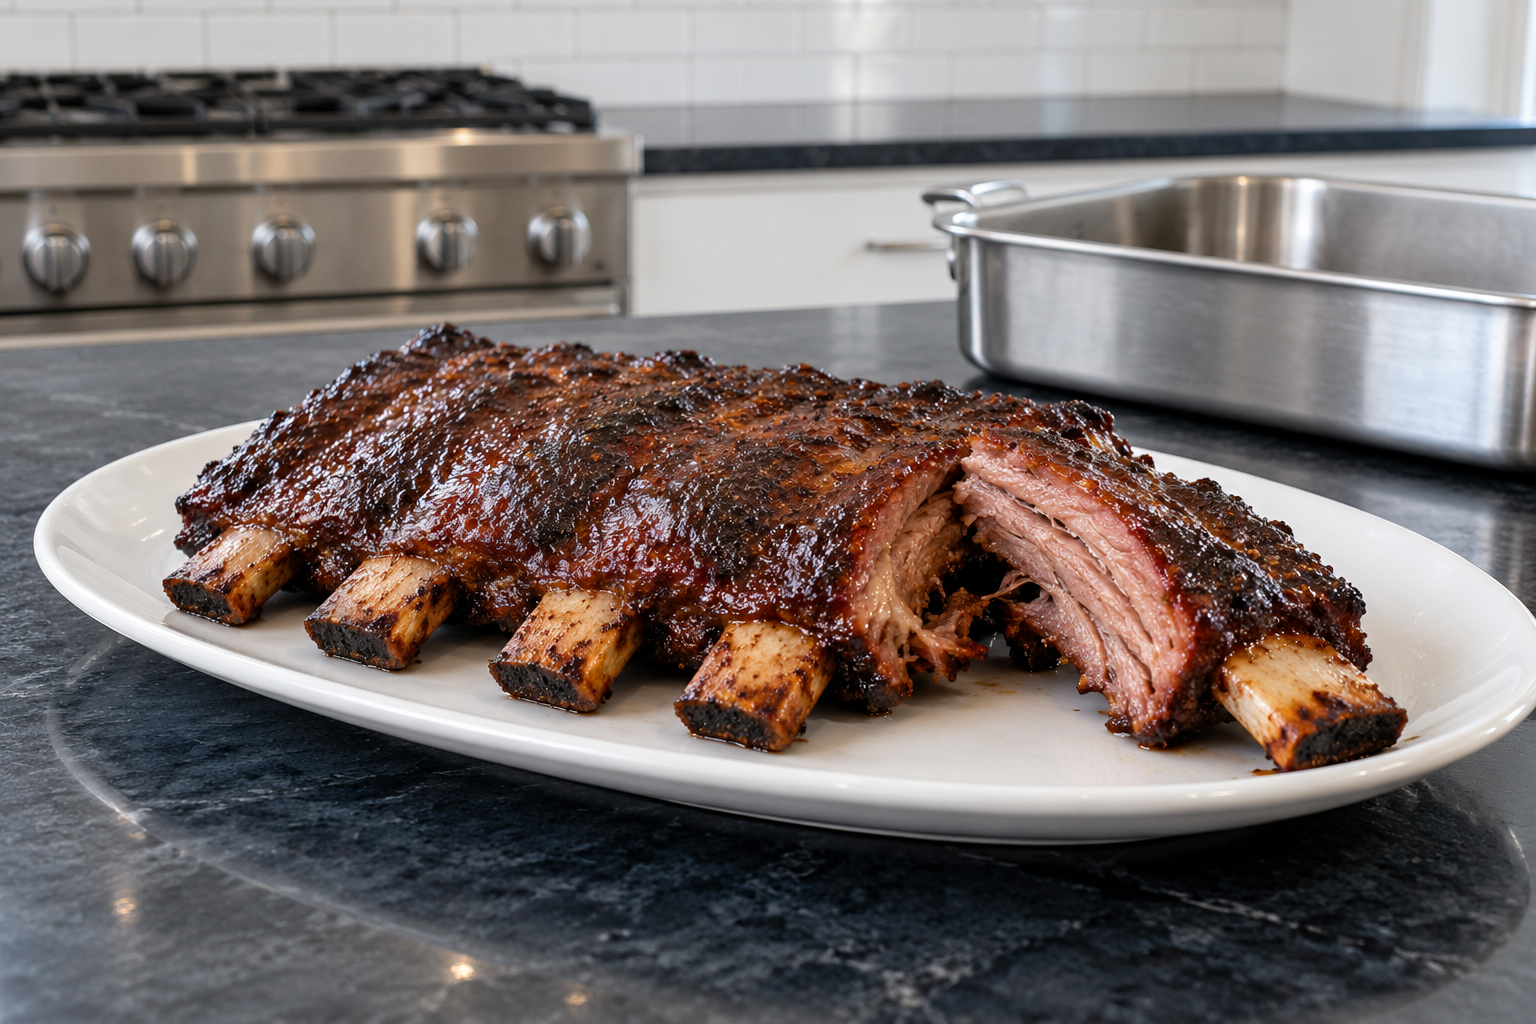
Beef back ribs come from the section right next to the ribeye, which means they carry some of the same marbling that makes that steak great; except here, most of the actual meat has already been removed by the butcher to make the ribeye roast, leaving a thinner strip of meat still clinging to long, curved bones. That changes the whole calculation: back ribs are mostly about the bark, the rendered fat, and the meat that remains between and around the bones, not a thick slab of muscle the way pork ribs sometimes are. Treat them with that expectation going in and they’re a genuinely satisfying, inexpensive grilled dish. Expect a pork-rib-sized amount of meat per rib and you’ll be disappointed.
What you need
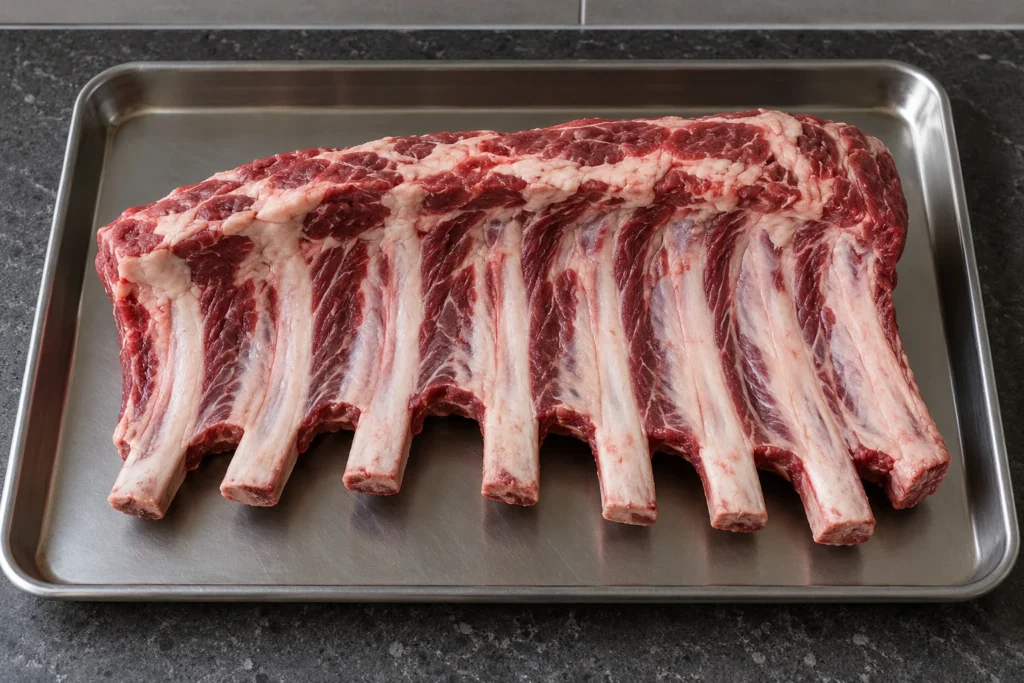
- 1 rack beef back ribs, 3–4 lbs
- 2–3 teaspoons coarse salt
- A light crack of black pepper, optional
- 2 tablespoons beef tallow, for basting toward the end
Step by step
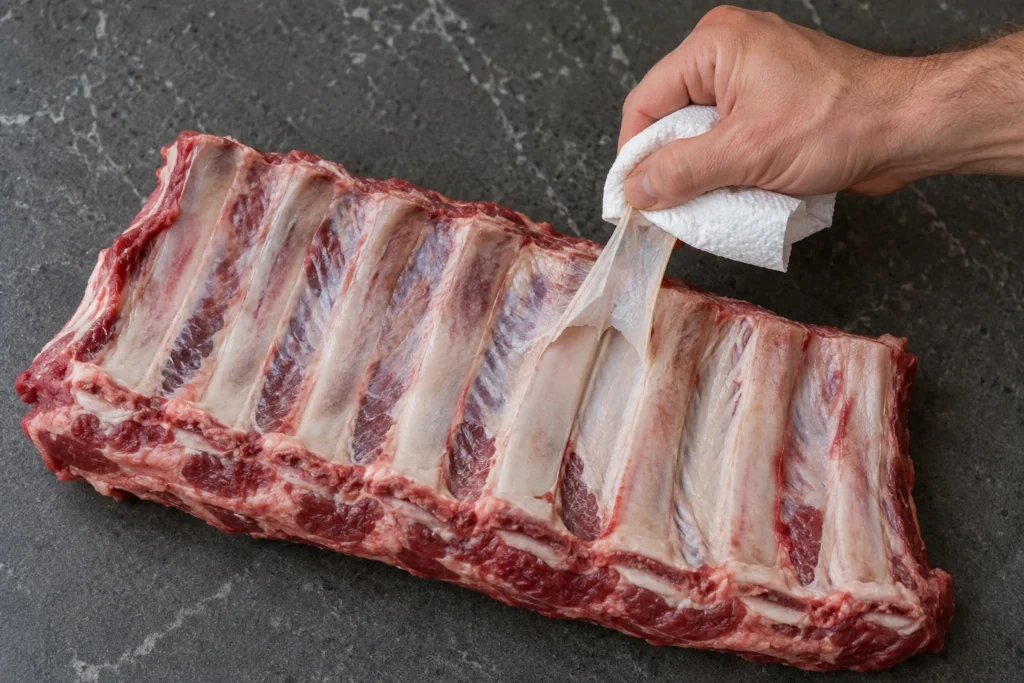
- If the thin membrane on the bone side of the rack hasn’t already been removed, peel it off; slide a knife under one corner, grip with a paper towel for traction, and pull it away in one piece. Left on, it goes leathery rather than crisp and blocks smoke and heat from reaching the meat side of the bones.
- Salt generously on both sides and let the rack sit at room temperature for 30–45 minutes.
- Set up your grill or smoker for indirect heat around 275°F; see two-zone grilling if you’re working with a standard charcoal or gas grill rather than a dedicated smoker.
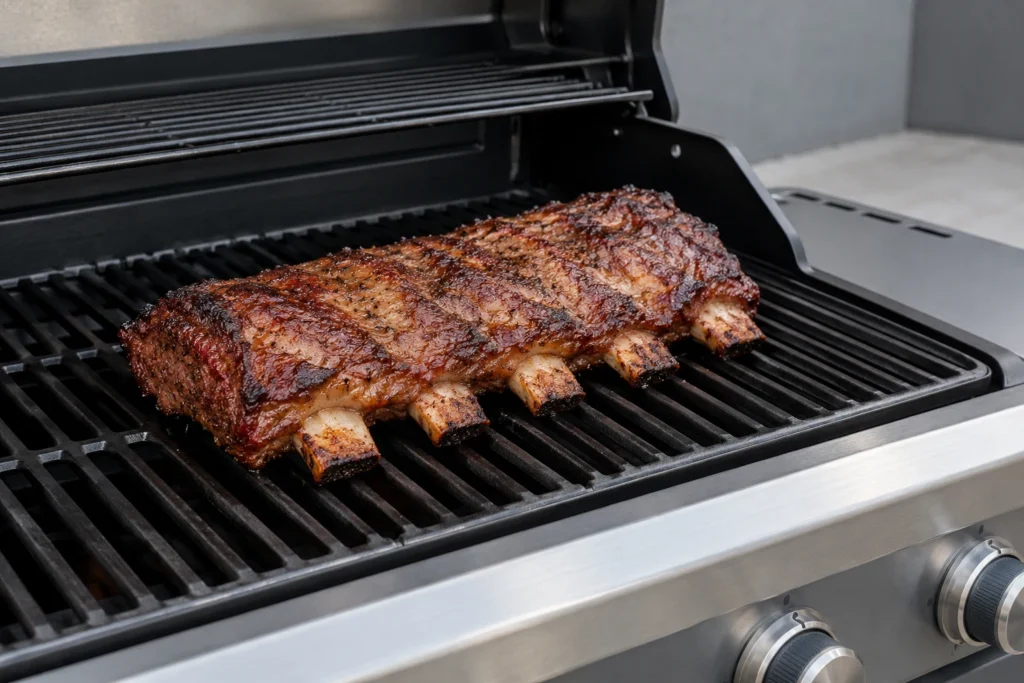
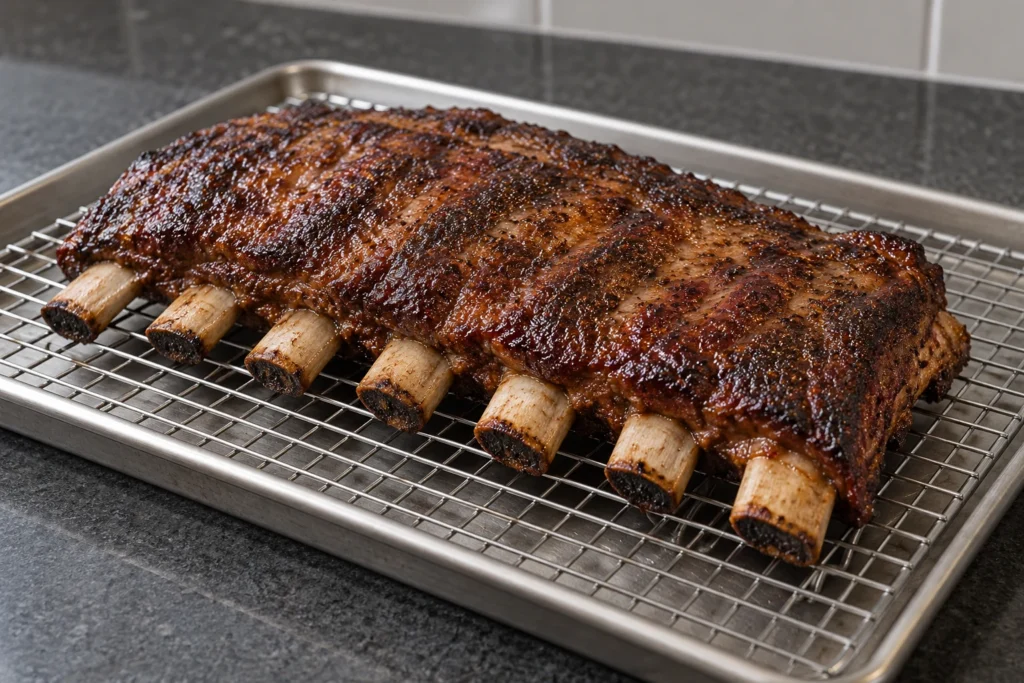
- Place the rack bone-side down over the indirect side and close the lid. Cook for roughly 2.5 to 3 hours, checking occasionally but resisting the urge to open the lid too often.
- In the last 20 minutes, baste with melted tallow and move the rack briefly over direct heat if you want a bit more color on the meat side, watching closely so it doesn’t burn.
- Check doneness with the bend test: lift one end of the rack with tongs. It should bow and the meat should start cracking slightly at the surface, a sign the connective tissue has broken down.
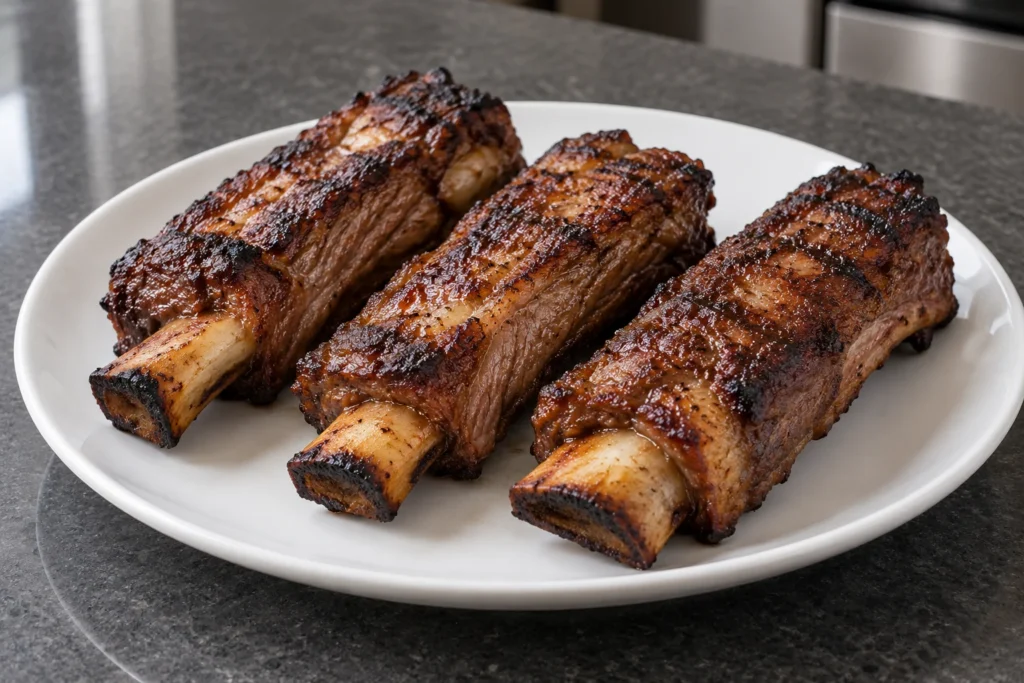
- Rest for 10 minutes before cutting between the bones into individual ribs.
The temperature question
The USDA’s 145°F safe minimum for whole-muscle beef is passed early in this cook and isn’t the real target. Beef back ribs are a connective-tissue cut, closer in behavior to short ribs than to a steak, and they need to climb into the 195–203°F range internally before the tissue between the bones has really broken down. A probe thermometer works, but the bend-and-crack test described above is just as reliable here and doesn’t require finding a thick enough spot of meat to get an accurate probe reading on a rack that’s mostly bone with a thinner meat layer.
Setting realistic expectations for this cut
Because most of the meat from this section of the cow typically goes to the ribeye roast, back ribs are genuinely a smaller-portion item than pork ribs of a similar size; plan on back ribs as a flavorful side dish or a shared starter rather than a full individual main course the way you might plan a rack of pork ribs. Buying two racks for a group of four, alongside something more substantial like a reverse-seared ribeye or a tenderloin roast, is a more realistic way to plan a meal around this cut than relying on it alone.
Mistakes that are specific to this cut
- Leaving the membrane on. This single step affects texture more than almost anything else you do to this cut.
- Cooking too hot, too fast. A hot, direct-heat-only grill will char the thin meat layer before the connective tissue between the bones has had time to soften.
- Expecting a thick, meaty bite. Back ribs are a different experience than short ribs or pork ribs by design; going in with the wrong expectation is the most common source of disappointment with this cut, not anything about how it was cooked.
- Skipping the rest. A short rest still helps the thin meat layer hold onto what moisture it has before you start cutting between the bones.
Why this cut is worth the low price
Because back ribs carry less meat relative to their size than most cuts, they’re usually priced low per pound; a genuinely cheap way to add rendered fat, bark, and bone-adjacent flavor to a meal without spending much. For a broader look at stretching a meat budget across different cuts, see where the value actually is when you buy meat. Don’t throw away the bones once the meat is gone; they still have plenty left to give to a pot of bone broth, especially since they’ve already picked up extra flavor from the smoke or grill.
What’s actually happening to the meat between the bones
The thin strip of meat on a rack of back ribs is loaded with the same collagen-rich connective tissue found in short ribs and chuck, just in a smaller, more concentrated band running between and around the bones. That tissue needs sustained heat well above the USDA safety floor to convert into gelatin, exactly the mechanism described in Harold McGee’s On Food and Cooking and covered in more depth in the short ribs guide. Because there is so little actual muscle mass here compared to a full short rib, the process happens a little faster; which is exactly why 2.5 to 3 hours at 275°F gets you there, versus 3-plus hours for a thicker cut at a similar temperature.
Back ribs versus short ribs versus plate ribs
| Cut | Meat-to-bone ratio | Best use |
|---|---|---|
| Back ribs | Low (thin meat layer) | Flavorful side or shared starter |
| English-cut short ribs | High (thick individual pieces) | Main-course braise |
| Plate ribs (“dino ribs”) | Very high (thick, long bones with heavy meat) | Centerpiece smoked main course |
Knowing this going in changes how you shop. If a recipe or a butcher counter photo made back ribs look like a full meal on their own, that expectation came from confusing them with one of the meatier cuts in this table; worth checking which one you’re actually buying before you plan portions around it.
Buying and sourcing notes
Ask your butcher specifically whether their back ribs still have the membrane attached; some counters remove it before packaging, which saves you a step, but plenty don’t. A rack with visibly more meat clinging between the bones, rather than bones that look almost entirely bare, is worth seeking out if you have a choice between a couple of racks at the counter; this cut varies more rack to rack in how much meat was left behind than most other cuts do.
Serving alongside a bigger cut
Because this is naturally a smaller-portion item, back ribs work well as the opening course of a longer meal, served warm straight off the grill while a larger roast rests or continues cooking. Setting them out first also gives guests something to eat with their hands while the main course finishes, which takes some pressure off timing everything to land on the table at exactly the same moment.
Storage and reheating
Leftover ribs keep 3–4 days refrigerated. Reheat wrapped loosely in foil in a 300°F oven for 15–20 minutes, which restores some moisture without drying out the already-thin meat layer the way a direct pan reheat would. A quick finish under a broiler for the last minute or two can recrisp the exterior if it’s gone soft from reheating.
Quick answers
Can I cook beef back ribs entirely in the oven if I don’t have a grill or smoker? Yes; a 275°F oven, rack set over a sheet pan, gets you most of the way there on texture, though you’ll miss genuine smoke flavor. A short finish under the broiler at the end helps recover some of the char and color a grill would have given you.
Why is there so little meat on my rack compared to what I expected? This is normal for this specific cut rather than a sign of a poor-quality rack; see the expectations section above. If you want more meat per rib, look specifically for “dino ribs” or plate short ribs at the butcher counter, a different, thicker cut entirely, rather than standard back ribs.
Do I need to flip the rack during cooking? Not really, if it’s set over indirect heat with the lid closed; the ambient heat surrounds it evenly enough that flipping isn’t essential, though a single flip partway through doesn’t hurt if you want slightly more even browning on both sides.
My ribs came out tough even after nearly 3 hours, what should I check? Confirm your grill or smoker was actually holding 275°F and not running cooler than you thought; an inaccurate built-in lid thermometer is a common, easy-to-miss culprit, the same issue that trips people up on a full brisket. A dedicated grate-level thermometer solves this for good.
Should I salt the ribs again right before they go on the grill, beyond the initial salting? Not necessary if the first salting had at least 30 minutes to work. A second pass is harmless if you’re unsure the first one covered the rack evenly, particularly in the gaps between bones that are easy to miss on the first pass.
Is it worth wrapping the ribs in butcher paper partway through, the way a brisket gets wrapped? It’s less necessary here than on a full brisket, mainly because back ribs don’t hit a long evaporative stall the same way a much larger cut does. If you notice the exterior drying out before the 2.5-hour mark, a loose foil tent for the last 30 minutes can help, but it isn’t a standard step for this particular cut the way it is for brisket.
A note on basting timing
Basting too early in the cook mostly wastes the fat, since the surface is still releasing its own moisture and won’t absorb much extra at that stage. Waiting until the last 20 to 30 minutes, once the surface has firmed up and started developing real color, means the basted fat actually clings and finishes the bark rather than sliding off into the coals or the drip pan. This timing detail matters more on a thinner cut like back ribs than it would on a thick brisket, since there’s less margin and less total cook time for an early mistake to get corrected later on.
If you end up with more bones than meat after eating, do not discard them. A few racks worth of leftover beef back rib bones, already touched by smoke, make an unusually good addition to a pot of bone broth, adding a roasted depth a plain raw bone will not give you on its own. Toss them in whole, skin and all, the next time you are building a batch, and let them simmer alongside whatever other beef bones you are using.
Visual steps
