Braising a lamb shank the same way you’d sear a steak is one of the most reliable ways to end up disappointed by this cut. A shank is the lower leg: dense, heavily worked muscle wrapped in thick connective tissue, built for walking rather than for a quick, tender bite. Treated like a steak, a shank comes out chewy enough to work your jaw for a full minute per piece. Treated like what it actually is (a cut that needs hours of gentle, moist heat to break down that connective tissue into gelatin), the same shank turns into some of the most tender, flavorful meat lamb offers, with almost none of the hands-on effort a quick-cooking cut demands. Most of the work here is choosing the right pot and then leaving the oven alone for a few hours.
What You Need
- 4 lamb shanks, about ¾–1 lb each
- Coarse salt, about 1½ teaspoons per shank
- A light crack of black pepper, optional
- 2 tablespoons tallow, lard, or butter
- 3–4 cups beef or lamb bone broth, enough to come about two-thirds up the sides of the shanks in your braising pot
No wine, no tomato paste, no carrot-onion-celery base. The usual foundation under a braised shank in most kitchens. Bone broth alone carries plenty of body and flavor to braise in, and the shanks themselves release more gelatin and richness into that liquid over several hours than most people expect from meat and bones alone.
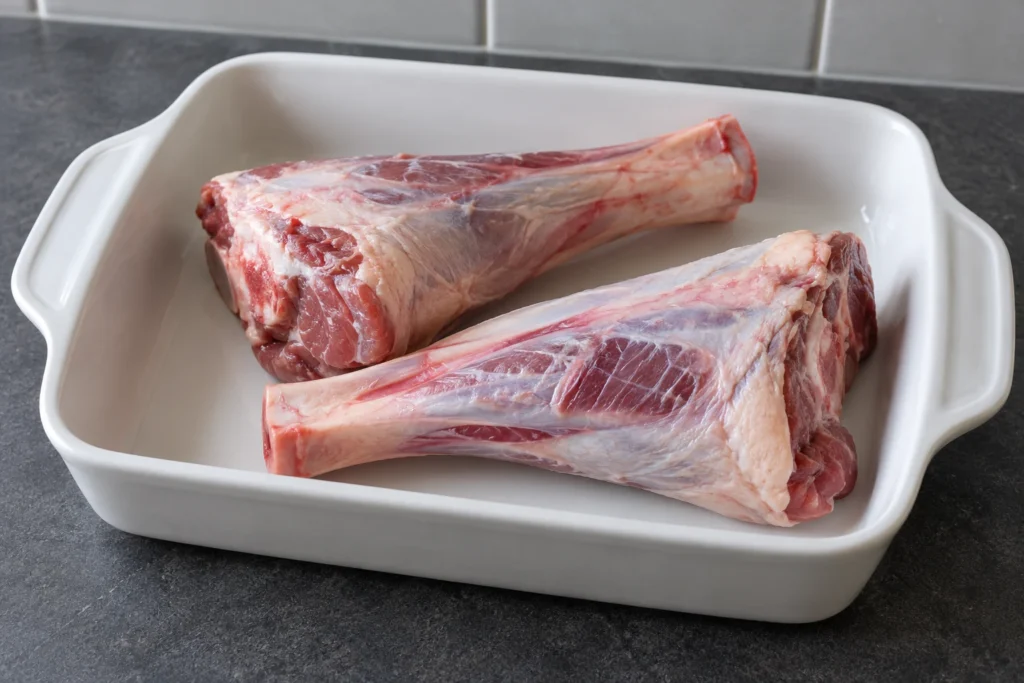
Salting Ahead
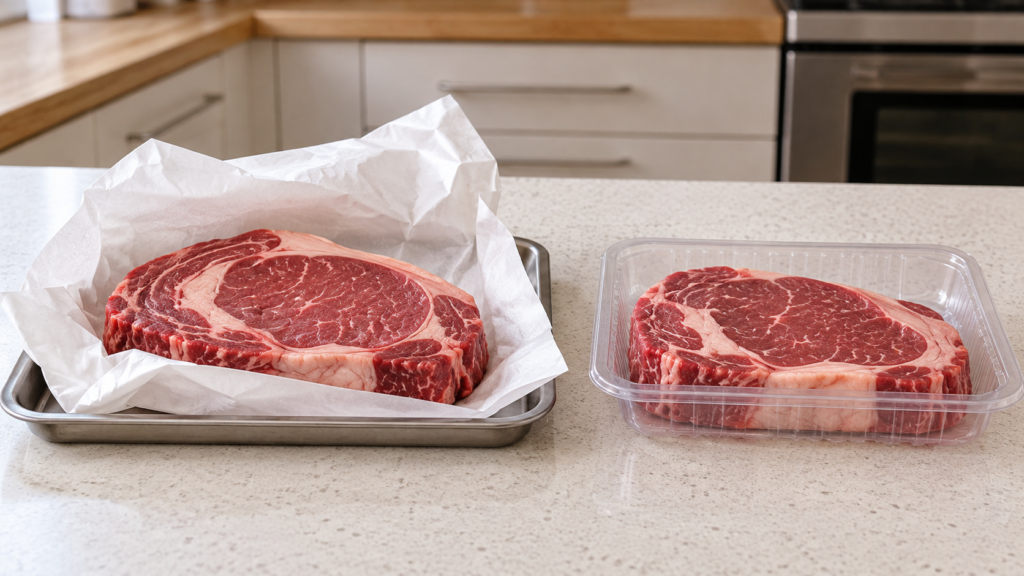
Salt the shanks generously on all sides and refrigerate uncovered for at least a few hours, ideally overnight. Because a braise surrounds the meat in liquid for hours, you might assume seasoning will even out on its own. It does not, not fully. Salting ahead the way described in our guide to early salting still gives you a more evenly seasoned result at the center of the shank than relying on the braising liquid to do that work from the outside in over time.
The Method
- Preheat the oven to 300°F (149°C).
- Heat a heavy, oven-safe pot or Dutch oven over medium-high heat and add the fat.
- Sear the shanks on all sides, 3 to 4 minutes per side, until deeply browned all around. Work in batches if needed rather than crowding the pot.
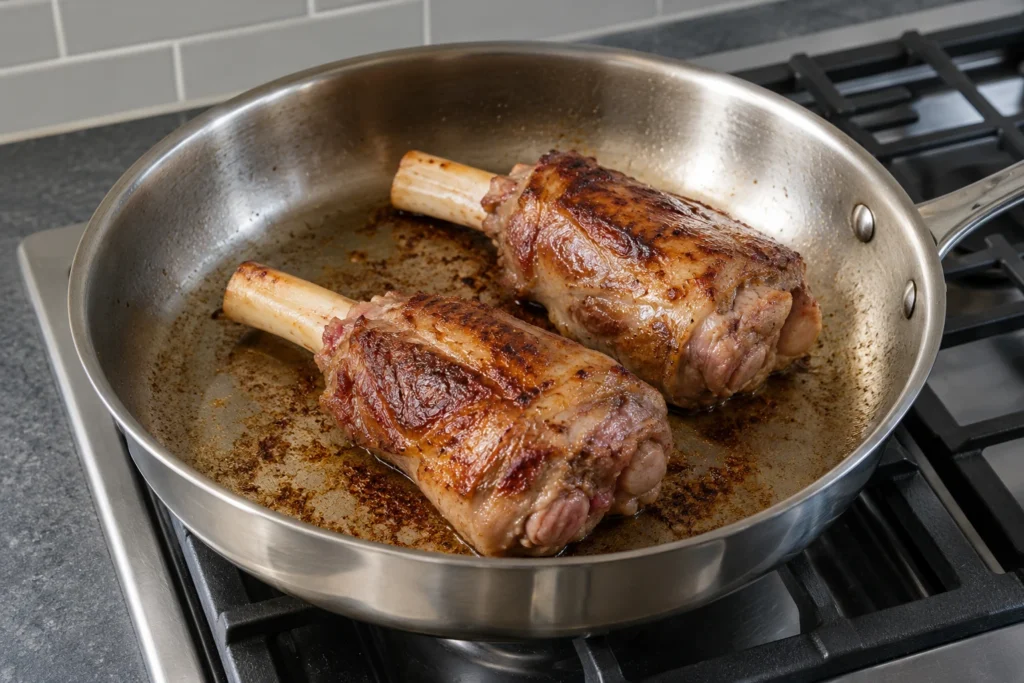
- Remove the shanks temporarily and set aside. Pour the bone broth into the now-empty pot, scraping up any browned bits stuck to the bottom with a wooden spoon. This is pure flavor that would otherwise be wasted.
- Return the shanks to the pot, nestling them into the liquid so it reaches roughly two-thirds up their sides.
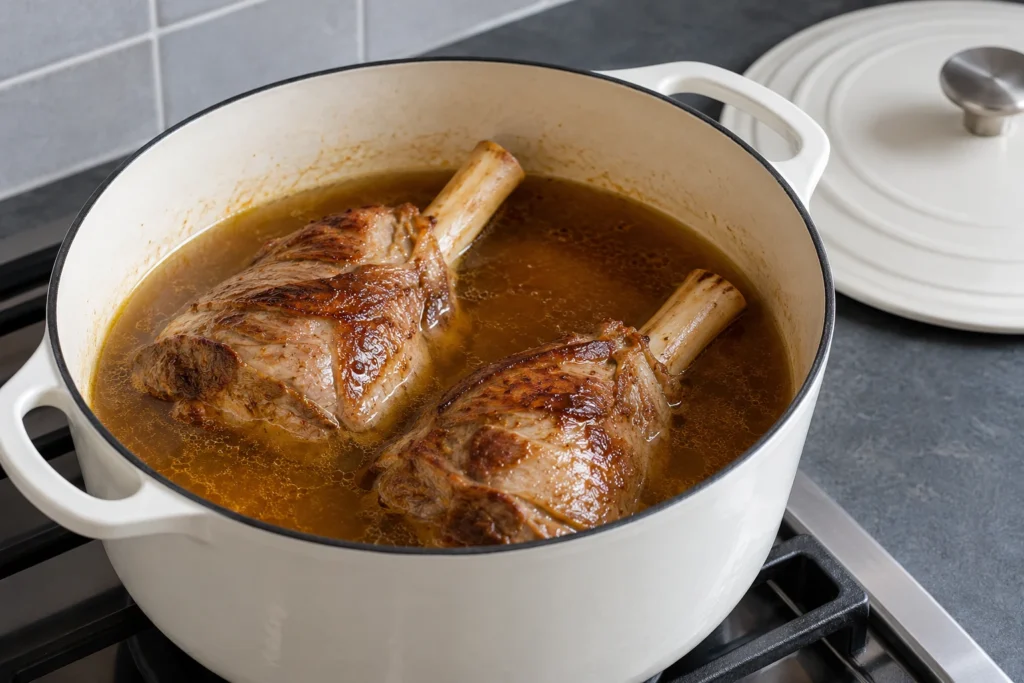
- Bring to a bare simmer on the stovetop, then cover and transfer to the oven.
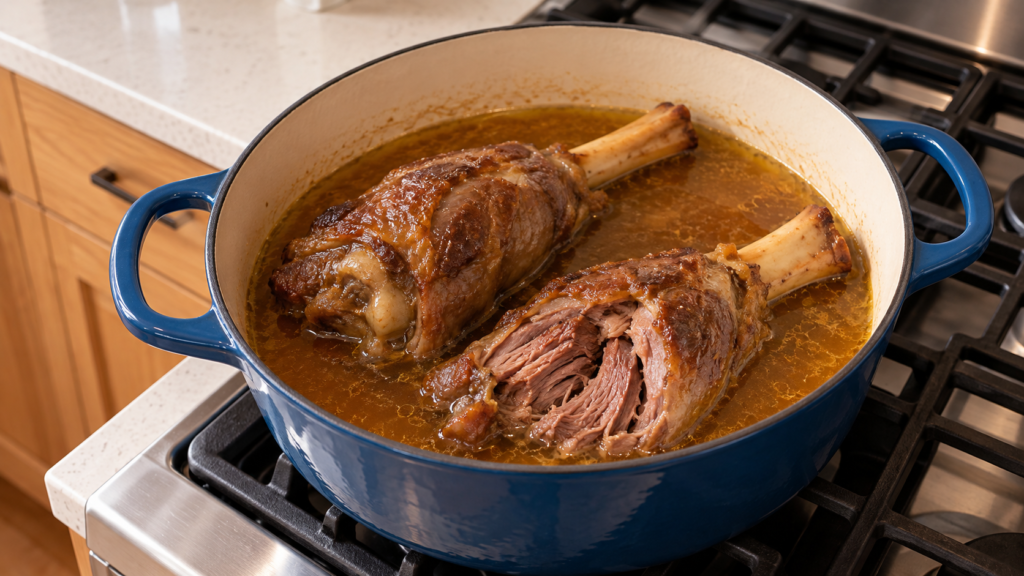
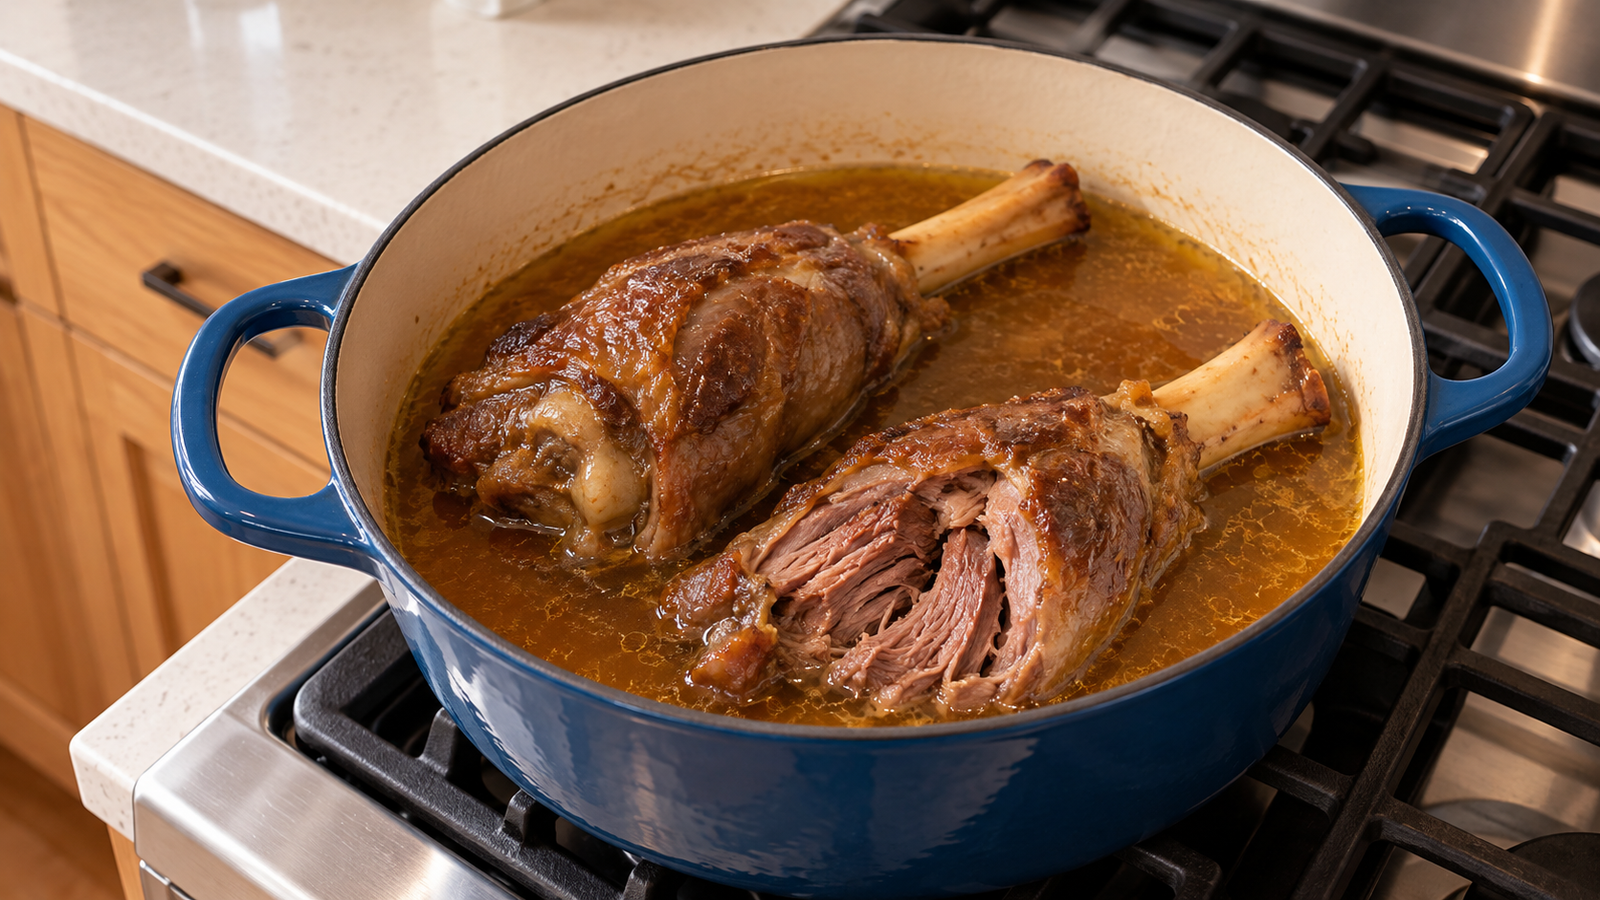
- Braise for 2½ to 3½ hours, checking at the 2½-hour mark, until the meat is fork-tender and beginning to pull away from the bone.
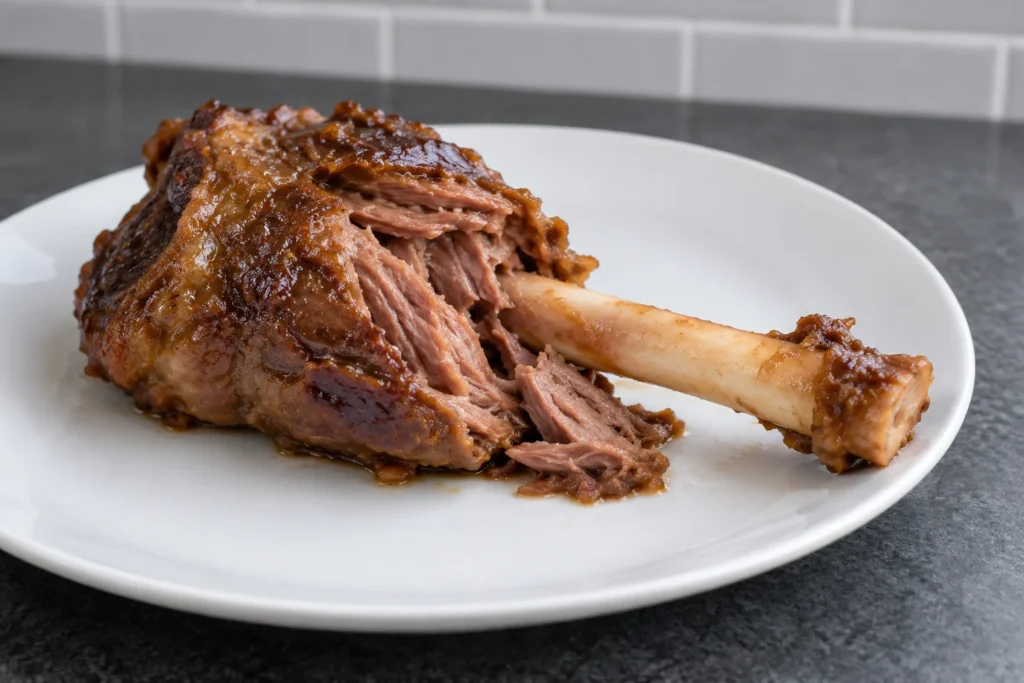
- Remove the shanks from the liquid, tent loosely, and let rest for 10 minutes before serving. Reserve the braising liquid.
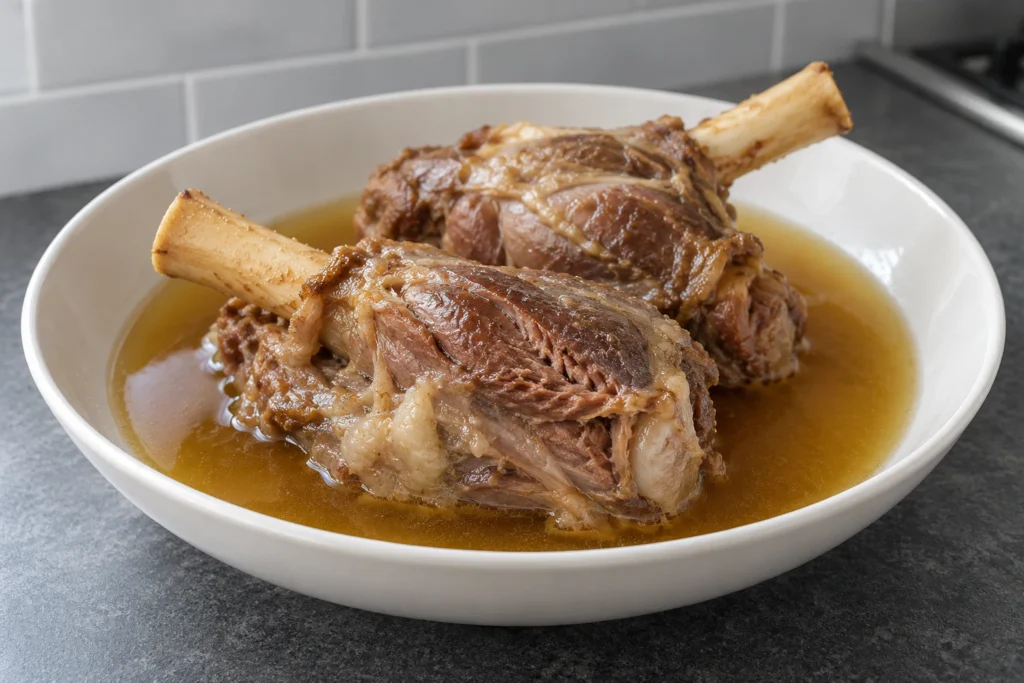
Total time runs 3 to 4 hours, almost all of it unattended once the shanks are in the oven. This is a project for a weekend or a day when you are home anyway, not a weeknight dish. Though the leftovers reheat well enough that one braising session covers several meals.
Why Low and Slow Is the Only Way This Works
A lamb shank’s connective tissue is dense enough that no amount of high heat will tenderize it quickly. In fact, high heat actively works against you here, since it toughens muscle fibers faster than it can break down collagen. What actually dissolves that connective tissue is sustained time at a moderate temperature, roughly 195–205°F internally, maintained for hours. Below that range, the collagen barely converts; too far above it in a dry environment, the meat can dry out even while technically “done.” A braise solves this by surrounding the meat in liquid that holds a stable, moderate temperature far more consistently than dry oven air would on its own, which is exactly why a pot roast, a short rib, and a shank all share this same low-oven, liquid-surrounded approach despite being different cuts entirely.
Reading Doneness
| Internal temp | What’s happening | Result |
|---|---|---|
| 145°F | USDA safe floor for whole-muscle lamb reached | Safe but still tough; connective tissue largely intact |
| 175°F | Collagen beginning to break down meaningfully | Improving but not yet fall-apart |
| 195–205°F | Collagen has substantially converted to gelatin | Fork-tender; the target zone for this cut |
The USDA’s recommended safe minimum for whole cuts of lamb is 145°F (63°C) with a 3-minute rest, which a shank clears early in the braise and then simply continues past for hours. The actual target here is driven entirely by texture, not safety, once that initial floor is cleared. Fork-tenderness, not a specific thermometer reading, is the most reliable sign you are looking for: insert a fork into the thickest part of the meat and twist gently. It should offer very little resistance and begin to separate along its natural grain.
Finishing the Braising Liquid
Do not discard what the shanks braised in. It has picked up rendered fat, gelatin, and the browned bits scraped up at the start, and it reduces into a genuinely good sauce with almost no extra work. Pour the reserved liquid into a saucepan and simmer uncovered over medium heat for 10 to 15 minutes, until it thickens slightly and the flavor concentrates. Skim excess fat from the surface first if you want a leaner sauce, or leave it for a richer one. Spoon the reduced liquid directly over the rested shanks before serving. If you have more liquid than you need for one meal, it freezes just as well on its own as the meat does, and a small container of it is worth keeping on hand to use later as a base for another braise or to enrich a pan sauce for an entirely different cut.
Common Mistakes
- Skipping the initial sear. Browning the shanks first builds flavor through the Maillard reaction that a braise alone cannot replicate. Do not skip straight to simmering raw meat in liquid.
- Letting the braise boil instead of simmer. A rolling boil toughens muscle fibers even as collagen breaks down, working against the texture you are trying to build. Keep it at the barest simmer the whole time, in the oven or on the stovetop.
- Pulling it too early. A shank at 160°F internal, well past the safety floor, can still be noticeably tough. Go by fork-tenderness, and give it the extra 30 to 45 minutes if it needs it.
- Not enough liquid in the pot. If the broth level drops too low during the long braise, the exposed top of the shank can dry out rather than braise, which is a particular risk during the last hour of a long cook when more liquid has had time to evaporate off even under a lid. Check partway through and top up with more broth or water if needed.
- Discarding the braising liquid. It is one of the best parts of the dish once reduced. Never pour it down the drain.
Choosing the Right Pot
A heavy-bottomed Dutch oven with a tight-fitting lid is the ideal vessel here, and the reason is almost entirely about heat retention and even distribution rather than anything exotic. Thin pots develop hot spots directly above the burner during the sear and can cause uneven simmering during the long braise itself, occasionally scorching liquid in direct contact with a thin, overheated bottom even while the rest of the pot sits at a correct temperature. Enameled cast iron is a common choice because it handles both the stovetop sear and the multi-hour oven braise without issue and holds heat steadily enough that oven temperature fluctuations barely register inside the pot. If you do not own a Dutch oven, a heavy stainless stockpot with an oven-safe lid works as a substitute, though you may need to check and adjust oven temperature slightly more often to compensate for less consistent heat retention.
What to Serve Alongside It
A braised shank with its reduced liquid spooned over the top is rich and substantial enough to stand as the entire plate, and that is largely how it is served here. No starch underneath to soak up the sauce, no vegetable side rounding things out. If you want to add another element, a bowl of bone broth alongside, or a few slices of pan-seared liver as a contrasting texture earlier in the meal, both keep the plate within the same all-animal framework this site works from. One shank per person is a reasonable portion for a main course; for a smaller appetite or as part of a larger spread, half a shank, shredded, goes further than you’d expect given how rich the meat is by this point in the cook.
Storing and Reheating
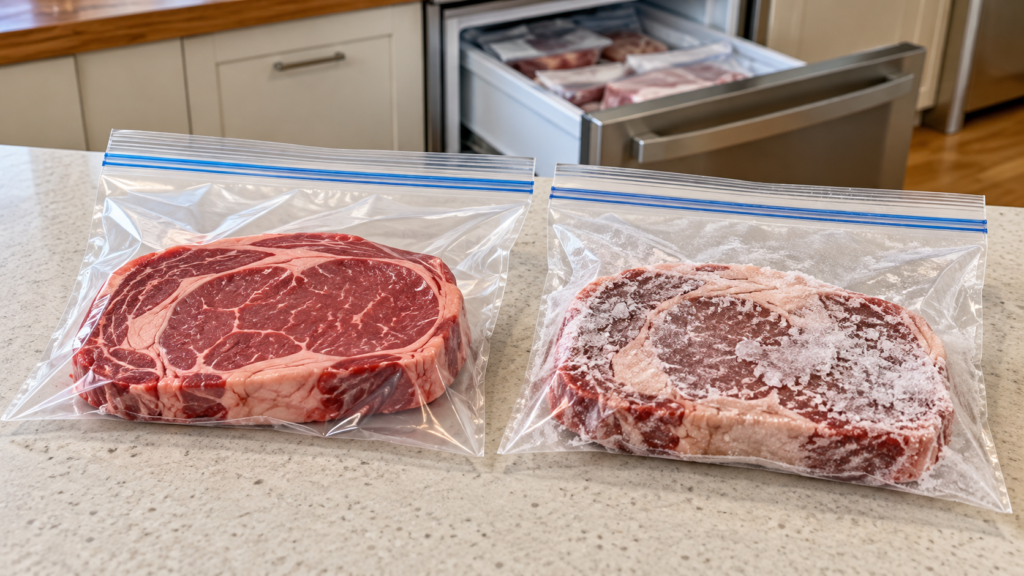
Braised lamb shank keeps exceptionally well. Refrigerated in its own liquid in a sealed container, it holds for four to five days, often tasting even better on day two or three as the flavors continue to meld. Reheat gently, covered, in a 300°F oven or on the stovetop over low heat, submerged in a bit of the reserved liquid, until warmed through. Braised shanks also freeze excellently, submerged in their own liquid, for up to three months. This is one of the more freezer-friendly dishes on this site precisely because the long, moist cooking method that made it tender in the first place also protects it well in storage. Thaw in the refrigerator overnight before reheating.
A Few Variations
- Swap in beef shanks or oxtail. The same braising method and timing apply to other dense, connective-tissue-heavy cuts, though beef shank often needs closer to 4 hours given its typically larger size.
- Braise on the stovetop instead of the oven. A heavy pot over the lowest possible burner setting, checked periodically to confirm it is not boiling, works nearly as well if your oven runs hot even at low settings.
- Shred it for meal prep. Once fork-tender, pull the meat entirely off the bone and store it shredded in its reduced liquid for a faster-to-reheat, more versatile format through the week.
- Finish with a hard sear. For extra texture contrast, sear the exterior of a rested, braised shank briefly in a hot pan before serving. A crisp outside over fall-apart meat underneath.
Frequently Asked Questions
Can I use a slow cooker instead of the oven? Yes. Sear the shanks in a skillet first as described, then transfer to a slow cooker with the same broth and cook on low for 7 to 8 hours, or until fork-tender. The oven and slow cooker both deliver the same moderate, sustained heat; the choice mostly comes down to which appliance fits your day better.
Why is my braising liquid cloudy instead of clear? This usually comes from braising at too high a temperature, which emulsifies some of the rendered fat into the liquid rather than letting it separate cleanly. Keeping the braise at a true bare simmer, not a boil, helps the liquid stay clearer, though a lamb braise will naturally be a bit richer and less transparent than a clarified beef stock regardless.
Do I need to flip the shanks during the braise? Not necessary if they are mostly submerged, but turning them once around the halfway point ensures even exposure to the liquid and slightly more even tenderness across the whole piece.
Can I braise bone-in and boneless shanks together in the same pot? Most lamb shanks sold at retail are bone-in by default, and the bone is worth keeping. It contributes additional gelatin and flavor to the braising liquid over the long cook. If you do end up with a mix of bone-in and boneless pieces, keep in mind the boneless ones may finish slightly faster since there is no bone slowing heat penetration toward the center.
A lamb shank rewards exactly the kind of patience a steak or a chop never asks for. Give it the hours it actually needs, keep the heat gentle the whole way through, and a cut most people overlook at the butcher counter becomes the kind of dish you plan a whole evening around. Even though almost none of that evening is actually spent standing at the stove.
Visual steps