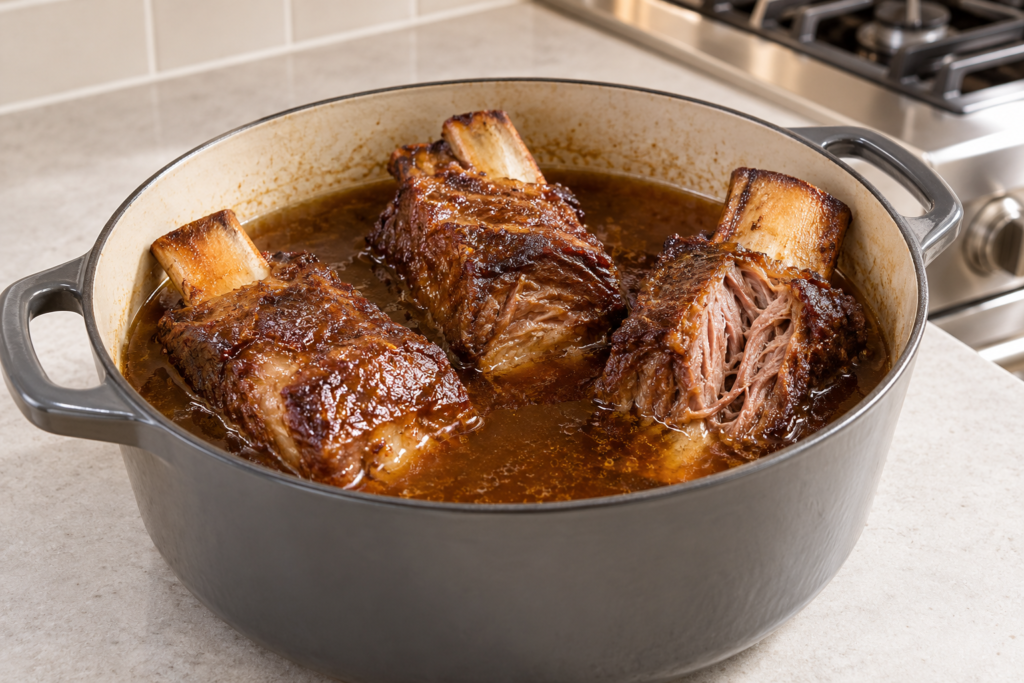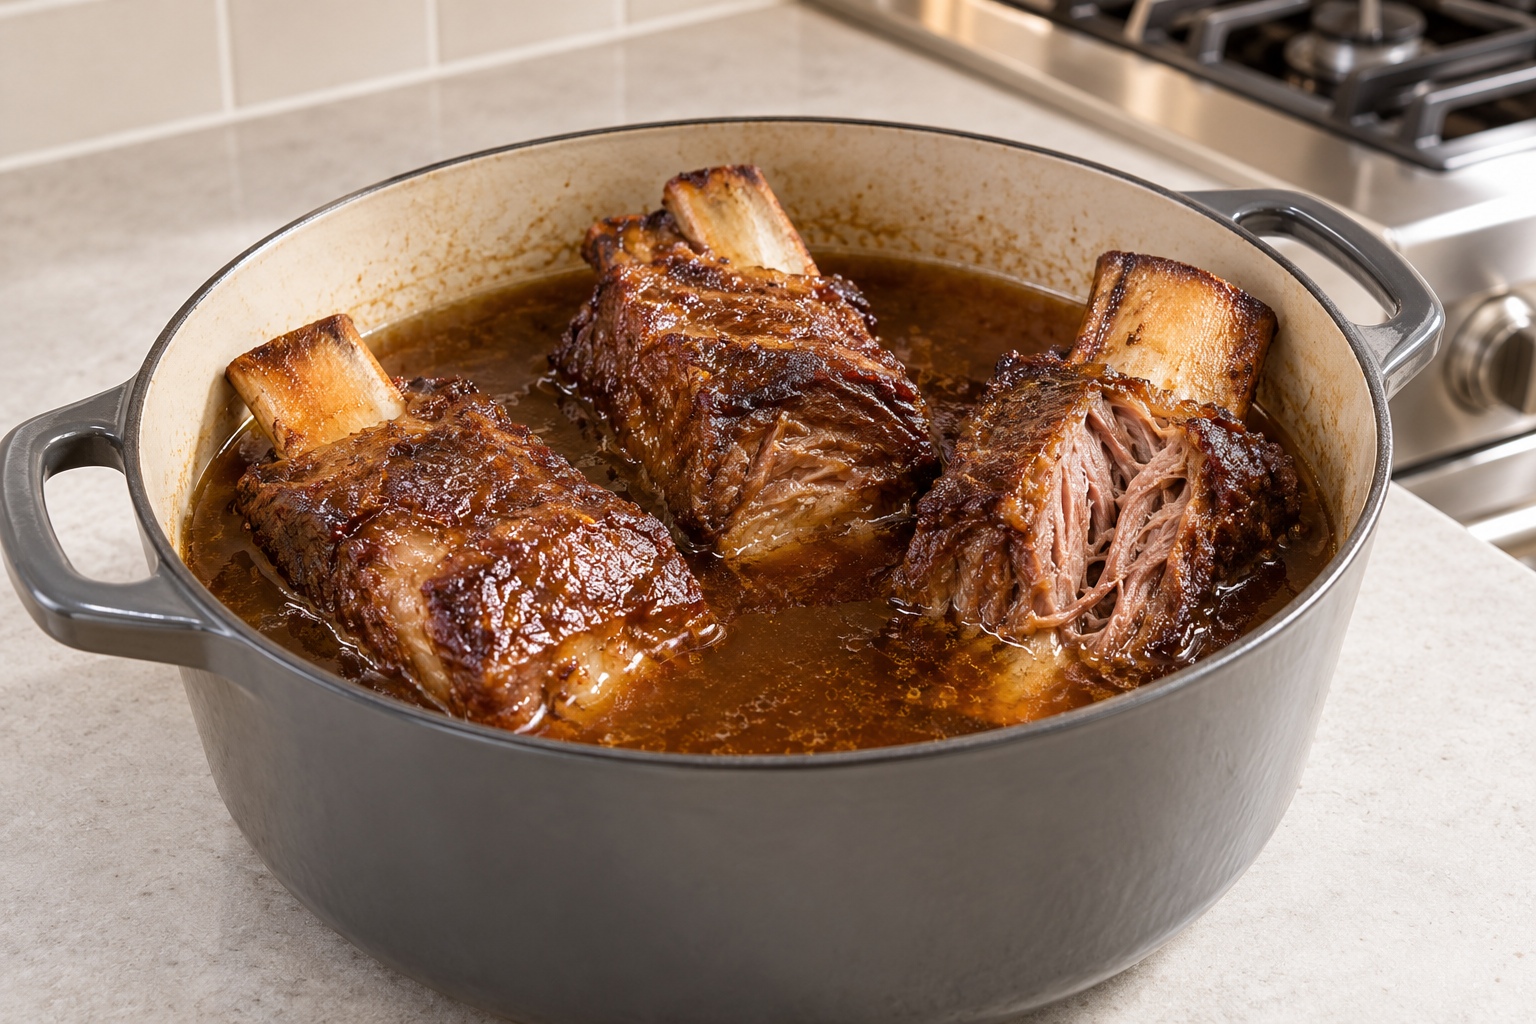
Beef short ribs sit in the freezer section or the back of the meat counter looking tough and intimidating; thick bands of connective tissue running between the meat and the bone, far more marbling than a steak, and a shape that doesn’t look like it belongs anywhere near a quick dinner. That impression is correct, and it’s exactly the point. Short ribs are a braising cut, built from hardworking muscle that needs hours, not minutes, to turn from chewy to the kind of fork-tender that falls apart on contact. Rush it and you get a tough, disappointing piece of meat. Give it the time it’s asking for and it becomes one of the richest things you can put on a plate.

Why low, slow, and wet is the only way this cut works
Short ribs are loaded with collagen, the connective tissue that makes a cut chewy when undercooked and silky when it’s had enough time and moisture to break down into gelatin. That conversion needs sustained heat in the 190–210°F range inside the meat, held for hours, and it needs moisture around the meat to keep the muscle fibers from drying out while the collagen does its slow work. A dry oven roast at steak temperatures will never get there; this is a braise by necessity, not by choice, and it’s exactly the kind of cut covered in choosing a braising cut.
What you need
- 3–4 lbs bone-in beef short ribs (English-cut, individual pieces work best for even cooking)
- 2 tablespoons beef tallow
- 3–4 cups beef bone broth (meat, bones, water, and salt only; see bone broth that gels if making your own)
- 2–3 teaspoons coarse salt
- A light crack of black pepper, optional
Step by step
- Salt the short ribs generously on all sides and let them sit at room temperature for 30–45 minutes.
- Heat a heavy pot or Dutch oven over high heat with the tallow. Sear the ribs on all sides, including the ends, until deeply browned; this takes longer than a steak, usually 3–4 minutes per side, since you’re browning a thicker, more irregular shape.
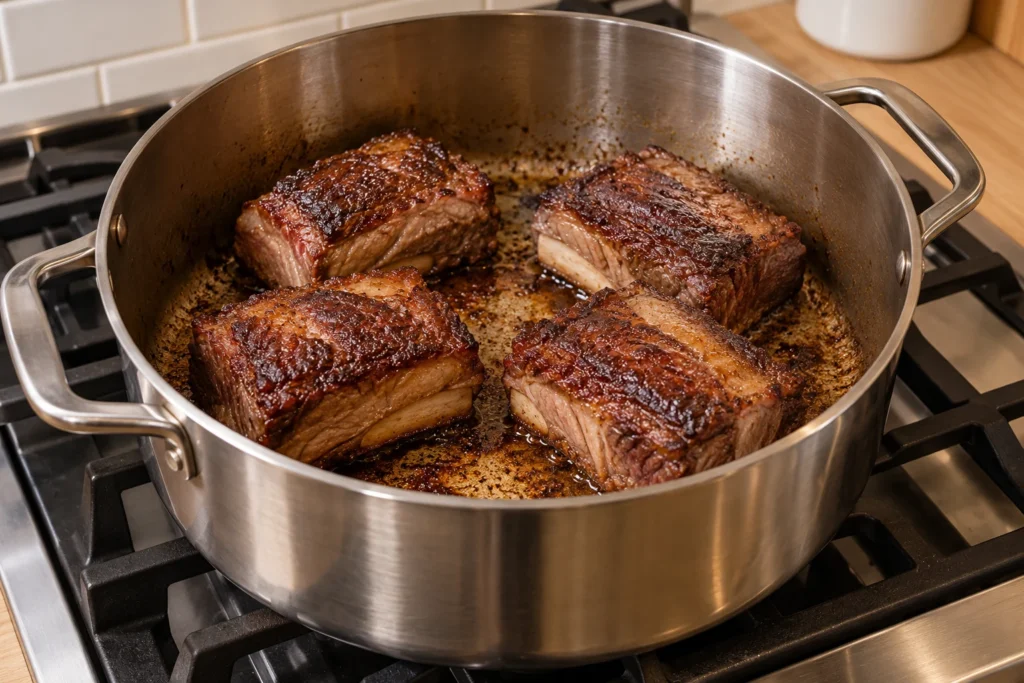
- Remove the ribs and set aside. Pour the bone broth into the same pot, scraping up any browned bits stuck to the bottom; that fond is concentrated flavor you do not want to leave behind.
- Return the ribs to the pot, bone-side down, so the broth comes roughly two-thirds up the meat without fully submerging it.

- Cover and either simmer on the stovetop over the lowest possible heat, or transfer to a 300°F oven. Either way, plan for 3 to 3.5 hours.
- Check at the 3-hour mark by pressing a fork gently into the meat. It should offer almost no resistance and want to separate from the bone on its own. If it still feels firm, give it another 30–45 minutes and check again.
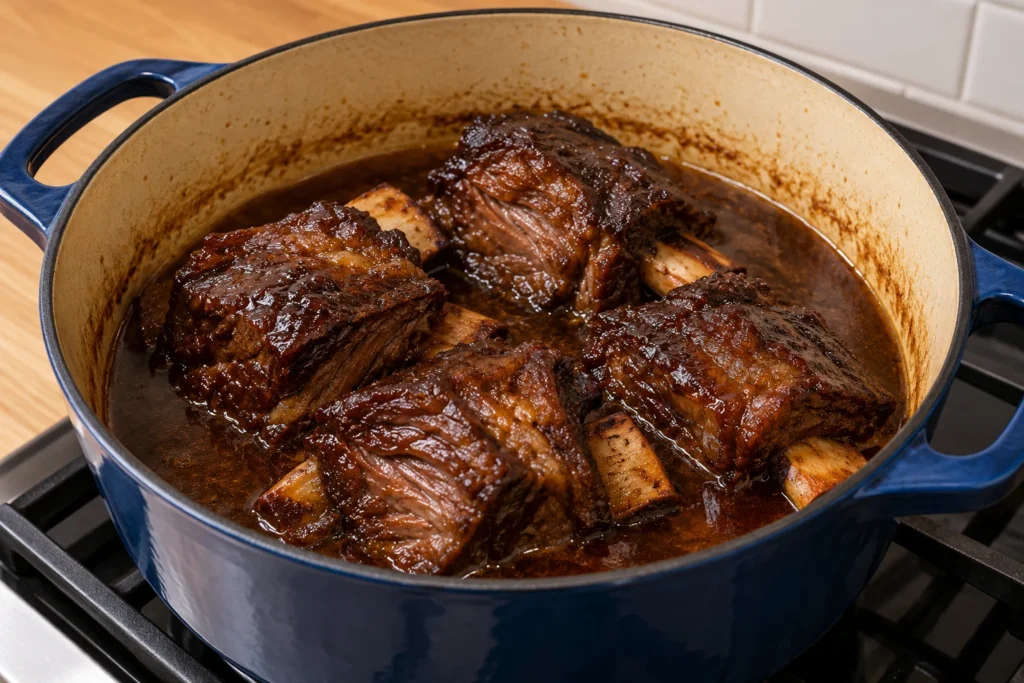
- Once tender, remove the ribs carefully; they’ll be fragile; and let the braising liquid rest for a few minutes so the fat rises to the top. Skim some off to spoon back over the meat, or save it for another use.
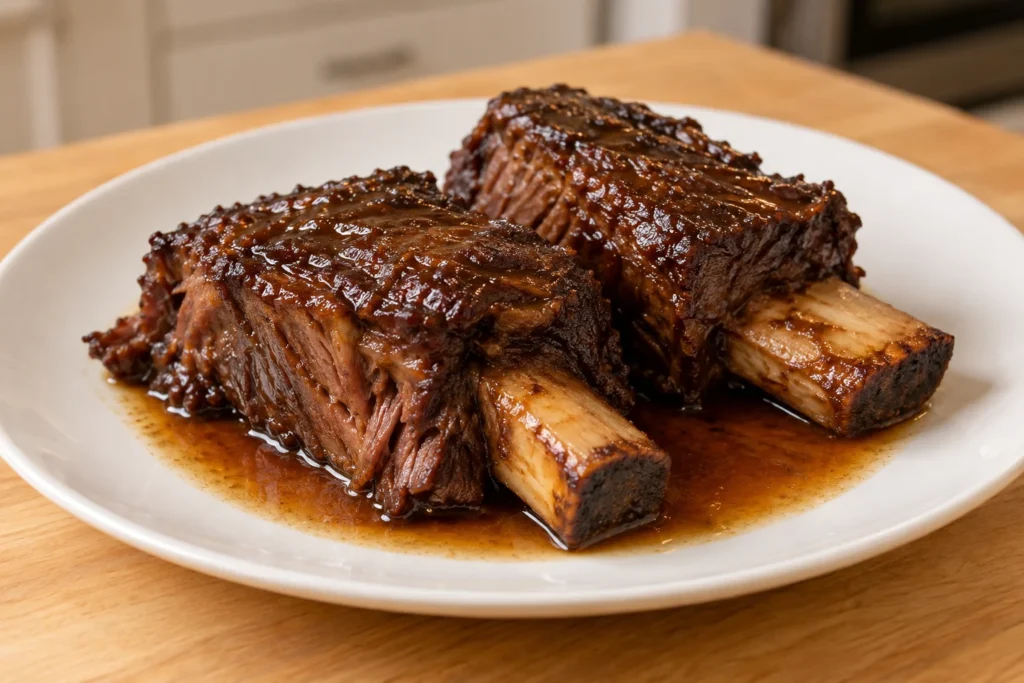
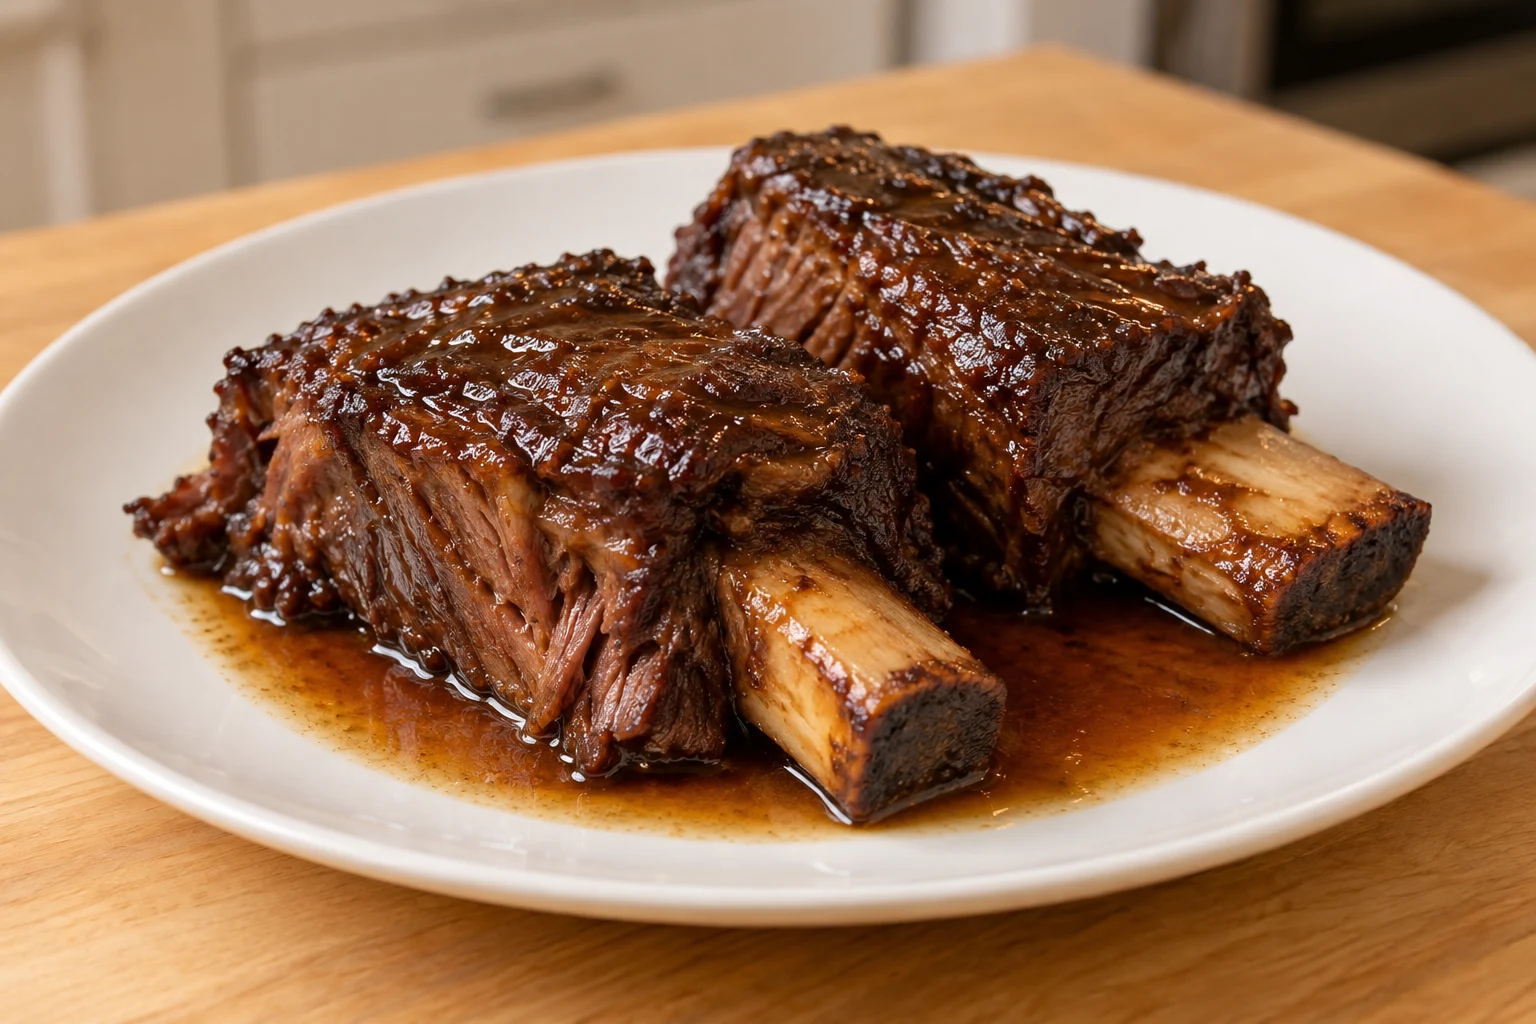
- Rest the ribs for 10 minutes before serving, spooned with some of the reduced braising liquid.
The temperature question, and why it works differently here
The USDA’s 145°F safe minimum for whole-muscle beef is almost irrelevant to how you’ll actually judge this dish; short ribs pass that floor in the first 20 minutes of braising and keep climbing for hours afterward. The real target here is texture, not a single safety number, which is the same safety-floor-versus-doneness-goal split covered for chicken thighs on a different cut entirely. Short ribs are done when a fork meets no resistance, period; usually somewhere around 203–206°F internally if you want a number to confirm it, but the fork test is more reliable than the thermometer for this specific cut, since collagen breakdown varies slightly between individual ribs even at the same temperature.
Signs you pulled them too early
Meat that still clings tightly to the bone and resists a fork is the clearest sign. A second, less obvious sign: the braising liquid still looks thin and watery rather than slightly thickened and glossy; that glossiness comes from rendered fat and dissolved collagen building up in the liquid over the full cook time, and its absence usually means the ribs needed more time, not less.
Mistakes that are specific to this cut
- Skipping the sear. Short ribs have enough surface area and cook time that the browning step contributes real flavor to the final dish through the fond left in the pot; skip it and the braise tastes noticeably flatter.
- Fully submerging the ribs in liquid. Letting the top of the meat sit above the broth line lets it brown and slightly caramelize further during the long cook, rather than just simmering uniformly gray.
- Checking too early and too often. Lifting the lid repeatedly lets heat escape and slows the whole process; trust the clock for the first 3 hours before you start checking.
- Rushing the heat to save time. A higher braising temperature doesn’t meaningfully speed up collagen breakdown and risks drying the meat’s exterior before the interior catches up; 300°F or a gentle stovetop simmer is the ceiling, not a suggestion.
English cut versus flanken cut
Short ribs are sold two different ways. English cut gives you thick, individual pieces with one rib bone each, running parallel to the meat; this is what the method above assumes, and it’s the better choice for a long braise. Flanken cut slices across multiple bones into thin strips, which is built for fast grilling, not braising; it will fall apart into shreds if you try to braise it for 3-plus hours. If your butcher counter only has flanken-cut ribs, ask specifically for English cut or a different braising cut entirely rather than forcing flanken into this method.
How short ribs compare to other braising cuts on time
| Cut | Typical braise time | Texture at its best |
|---|---|---|
| Beef short ribs (English cut) | 3–3.5 hours | Fork-tender, pulls cleanly off the bone |
| Chuck roast | 3–4 hours | Shreds easily, slightly looser grain |
| Brisket (whole, braised rather than smoked) | 4–5 hours | Dense but tender, holds together in slices |
| Beef tongue | 3–4 hours plus peeling time | Very tender, smooth texture once the outer skin is removed |
Short ribs sit toward the faster end of this range mainly because of their shape; more surface area relative to their mass than a single large chuck roast, so heat and moisture reach the center a little sooner. That’s a small efficiency worth knowing about if you’re planning a braise around a specific dinner time.
Storage and reheating
Short ribs actually improve slightly after a day in the fridge, as the meat continues absorbing the braising liquid’s flavor. Store them submerged in their own liquid in a sealed container for up to 4 days, or see freezer burn on meat for longer storage; braised short ribs freeze unusually well compared to a dry-cooked steak, since the fat and gelatin in the liquid help protect the texture. Reheat gently in a covered pot over low heat with a splash of extra broth if needed, rather than a hot pan, which will dry out meat that’s already given up most of its structure to the braise.
What’s actually happening inside the meat over those three hours
Collagen is a structural protein, and in its raw state it’s what makes a short rib tough; tightly wound triple-helix fibers running through and between the muscle bundles, resistant to the kind of quick heat that works fine on a steak. Sustained heat above roughly 160°F, held long enough, breaks those triple helices apart and lets the protein unwind into gelatin, a looser structure that traps moisture rather than squeezing it out. This is standard food science covered in depth in Harold McGee’s On Food and Cooking, and it explains the central paradox of braising: the same connective tissue that makes an underbraised short rib chewy is exactly what makes a properly braised one so rich and silky once it’s had the time to convert. There’s no shortcut through this chemistry; higher heat speeds up moisture loss from the muscle fibers faster than it speeds up collagen conversion, which is why a braise stays gentle even though the whole process takes hours.
Buying short ribs without overpaying
Short ribs sit in an odd pricing position: once a cheap, overlooked cut, now frequently priced close to steak at a lot of butcher counters because of their popularity in restaurant braises. If the per-pound price looks steep, compare it against chuck or brisket, which braise similarly well for considerably less money; short ribs mainly earn their premium through presentation (that dramatic single bone) rather than through meaningfully better flavor or texture once everything is fully braised. If you’re cooking for value rather than for how the dish looks on a plate, chuck is often the better call, and where the value actually is when you buy meat covers this trade-off in more detail. When you do buy short ribs specifically, look for ribs with a thick, even layer of meat over the bone rather than ones that look mostly bone with a thin meat cap; a common difference between individually priced ribs and ones sold by the rack.
Serving it well
Short ribs are rich enough that a small portion goes further than it looks like it will; one bone-in rib per person is usually plenty for a dinner portion, especially spooned generously with the reduced braising liquid. If you’re serving a crowd and want the dish to look more generous on the table, pulling the meat off the bone into large, intact chunks and arranging it over a shallow pool of the sauce reads as more food than the same weight served as whole bone-in pieces, without changing anything about the cook itself.
Quick answers
Can I do this in a slow cooker instead of a pot or oven? Yes; sear the ribs in a separate pan first (a slow cooker can’t replicate that step), then transfer everything to the slow cooker on low for 7–8 hours. The fork test still applies regardless of which appliance gets you there.
Why did my braising liquid turn out greasy on top instead of just rich? That’s normal and expected; short ribs render a significant amount of fat during a long braise. Skimming the excess off the top before serving, while saving a spoonful to drizzle back over the meat, gets you the richness without an overly greasy mouthfeel.
Is bone-in meaningfully better than boneless short rib for this method? Yes, for two reasons: the bone itself contributes gelatin and flavor to the braising liquid over a long cook, and bone-in ribs tend to hold their shape slightly better through hours of simmering compared to boneless, which can break down into shreds before the connective tissue has fully softened.
My ribs were tender but the braising liquid tasted thin and watery, what went wrong? Usually this means the sear was rushed or skipped, or the liquid wasn’t reduced at all after the ribs came out. Simmering the uncovered braising liquid over medium heat for 10–15 minutes after removing the meat concentrates it considerably, and scraping up every bit of the browned fond before adding the broth in the first place makes a bigger flavor difference than almost any other single step in this recipe.
Can I make this ahead of time for a dinner the next day? This is genuinely one of the best make-ahead carnivore dishes for exactly that reason; braised short ribs reheat extremely well, and the flavor is arguably better on day two once the meat has had time to sit in its own liquid. Braise the day before, cool, refrigerate submerged in the liquid, then reheat gently covered on the stovetop over low heat for 20–25 minutes before serving.
What’s the minimum amount of broth I can get away with? You want enough to come at least halfway up the sides of the ribs once they’re arranged in the pot, so the amount scales with your pot’s shape as much as with the weight of meat. A wider, shallower pot needs more broth to hit that line than a narrow, deep one holding the same ribs. Running too little risks the liquid evaporating away before the collagen has fully converted, leaving you with scorched fond on the bottom instead of a finished sauce.
Visual steps