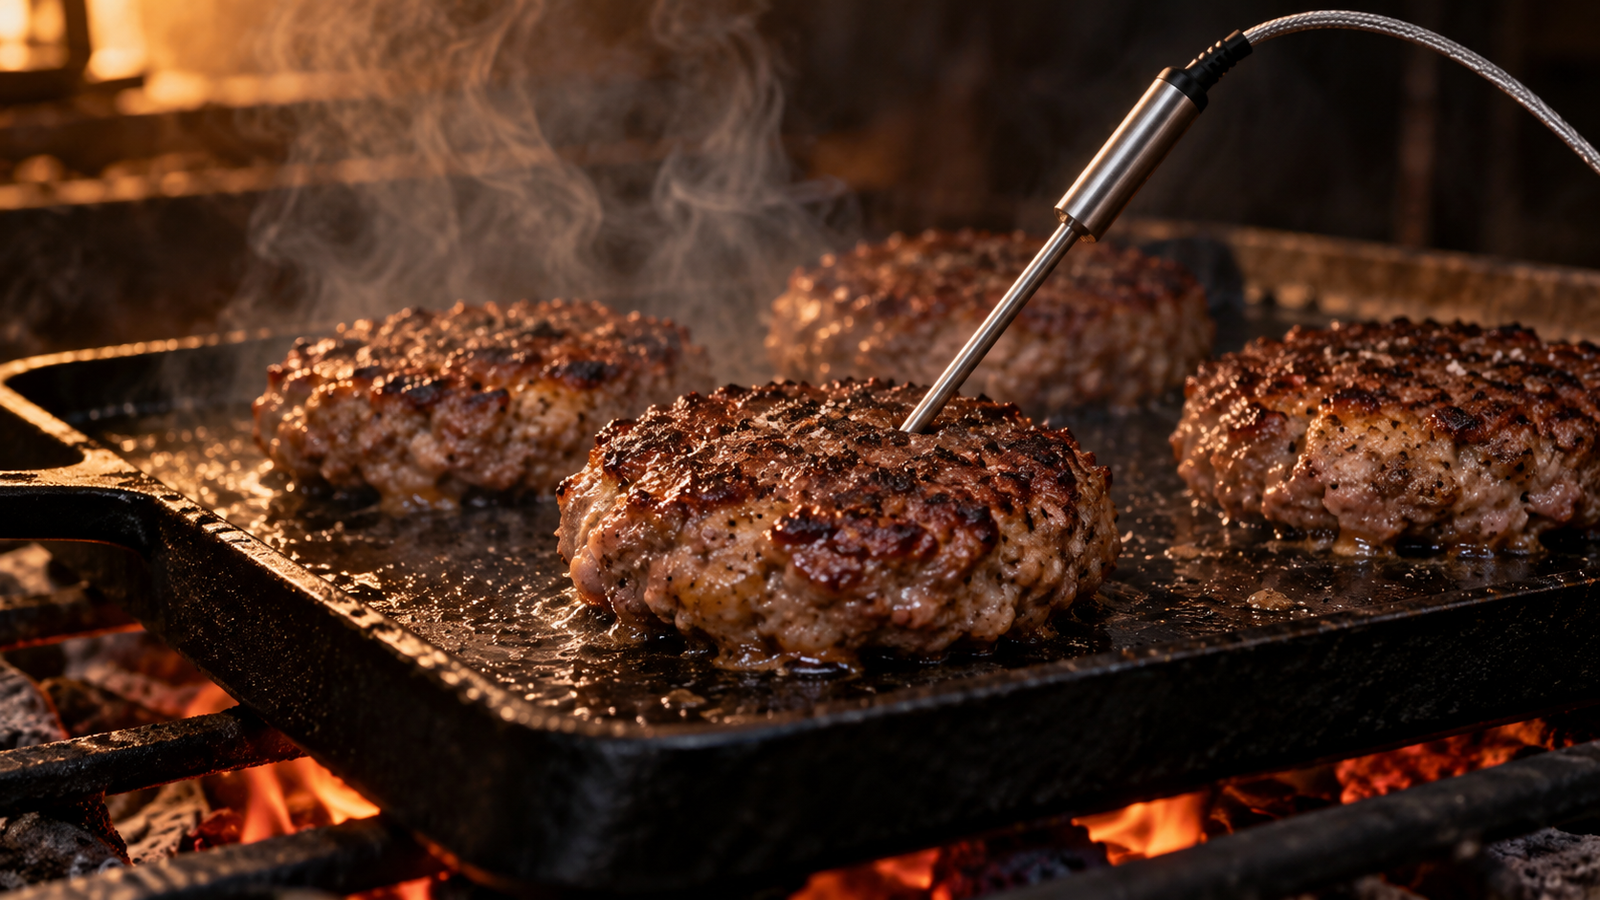
A smash burger doesn’t need a bun, a slice of cheese, or a swipe of sauce to earn its reputation. Everything that makes the style worth bothering with happens in the first fifteen seconds after the ball of meat hits the griddle, and none of it depends on anything beyond the beef itself, salt, and enough fat to carry the crust.
What smashing actually does
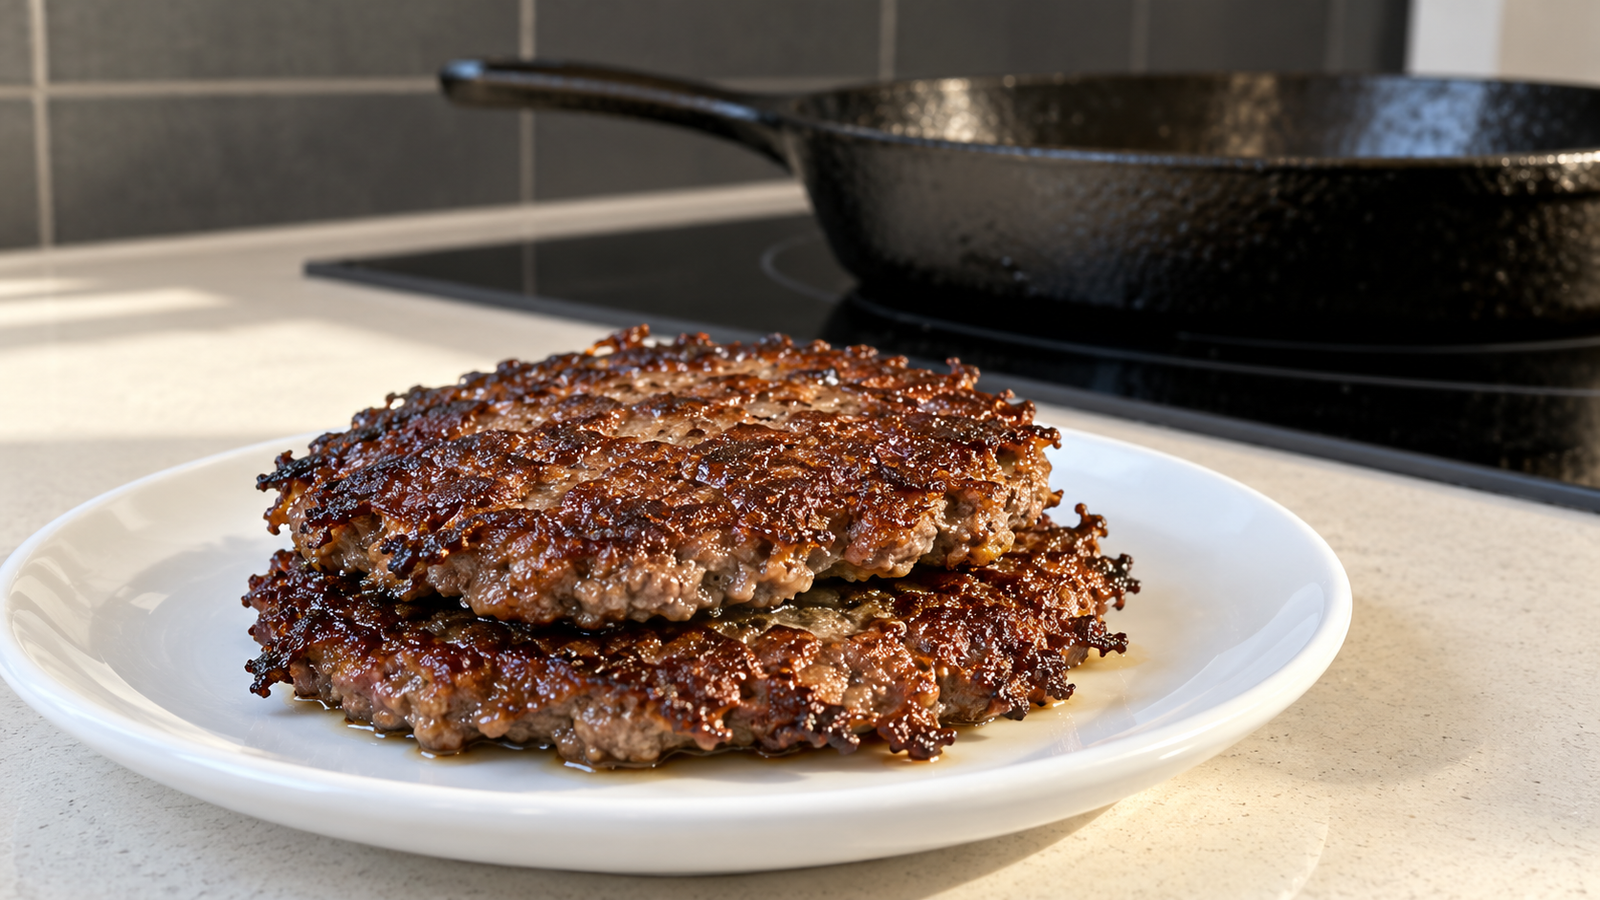
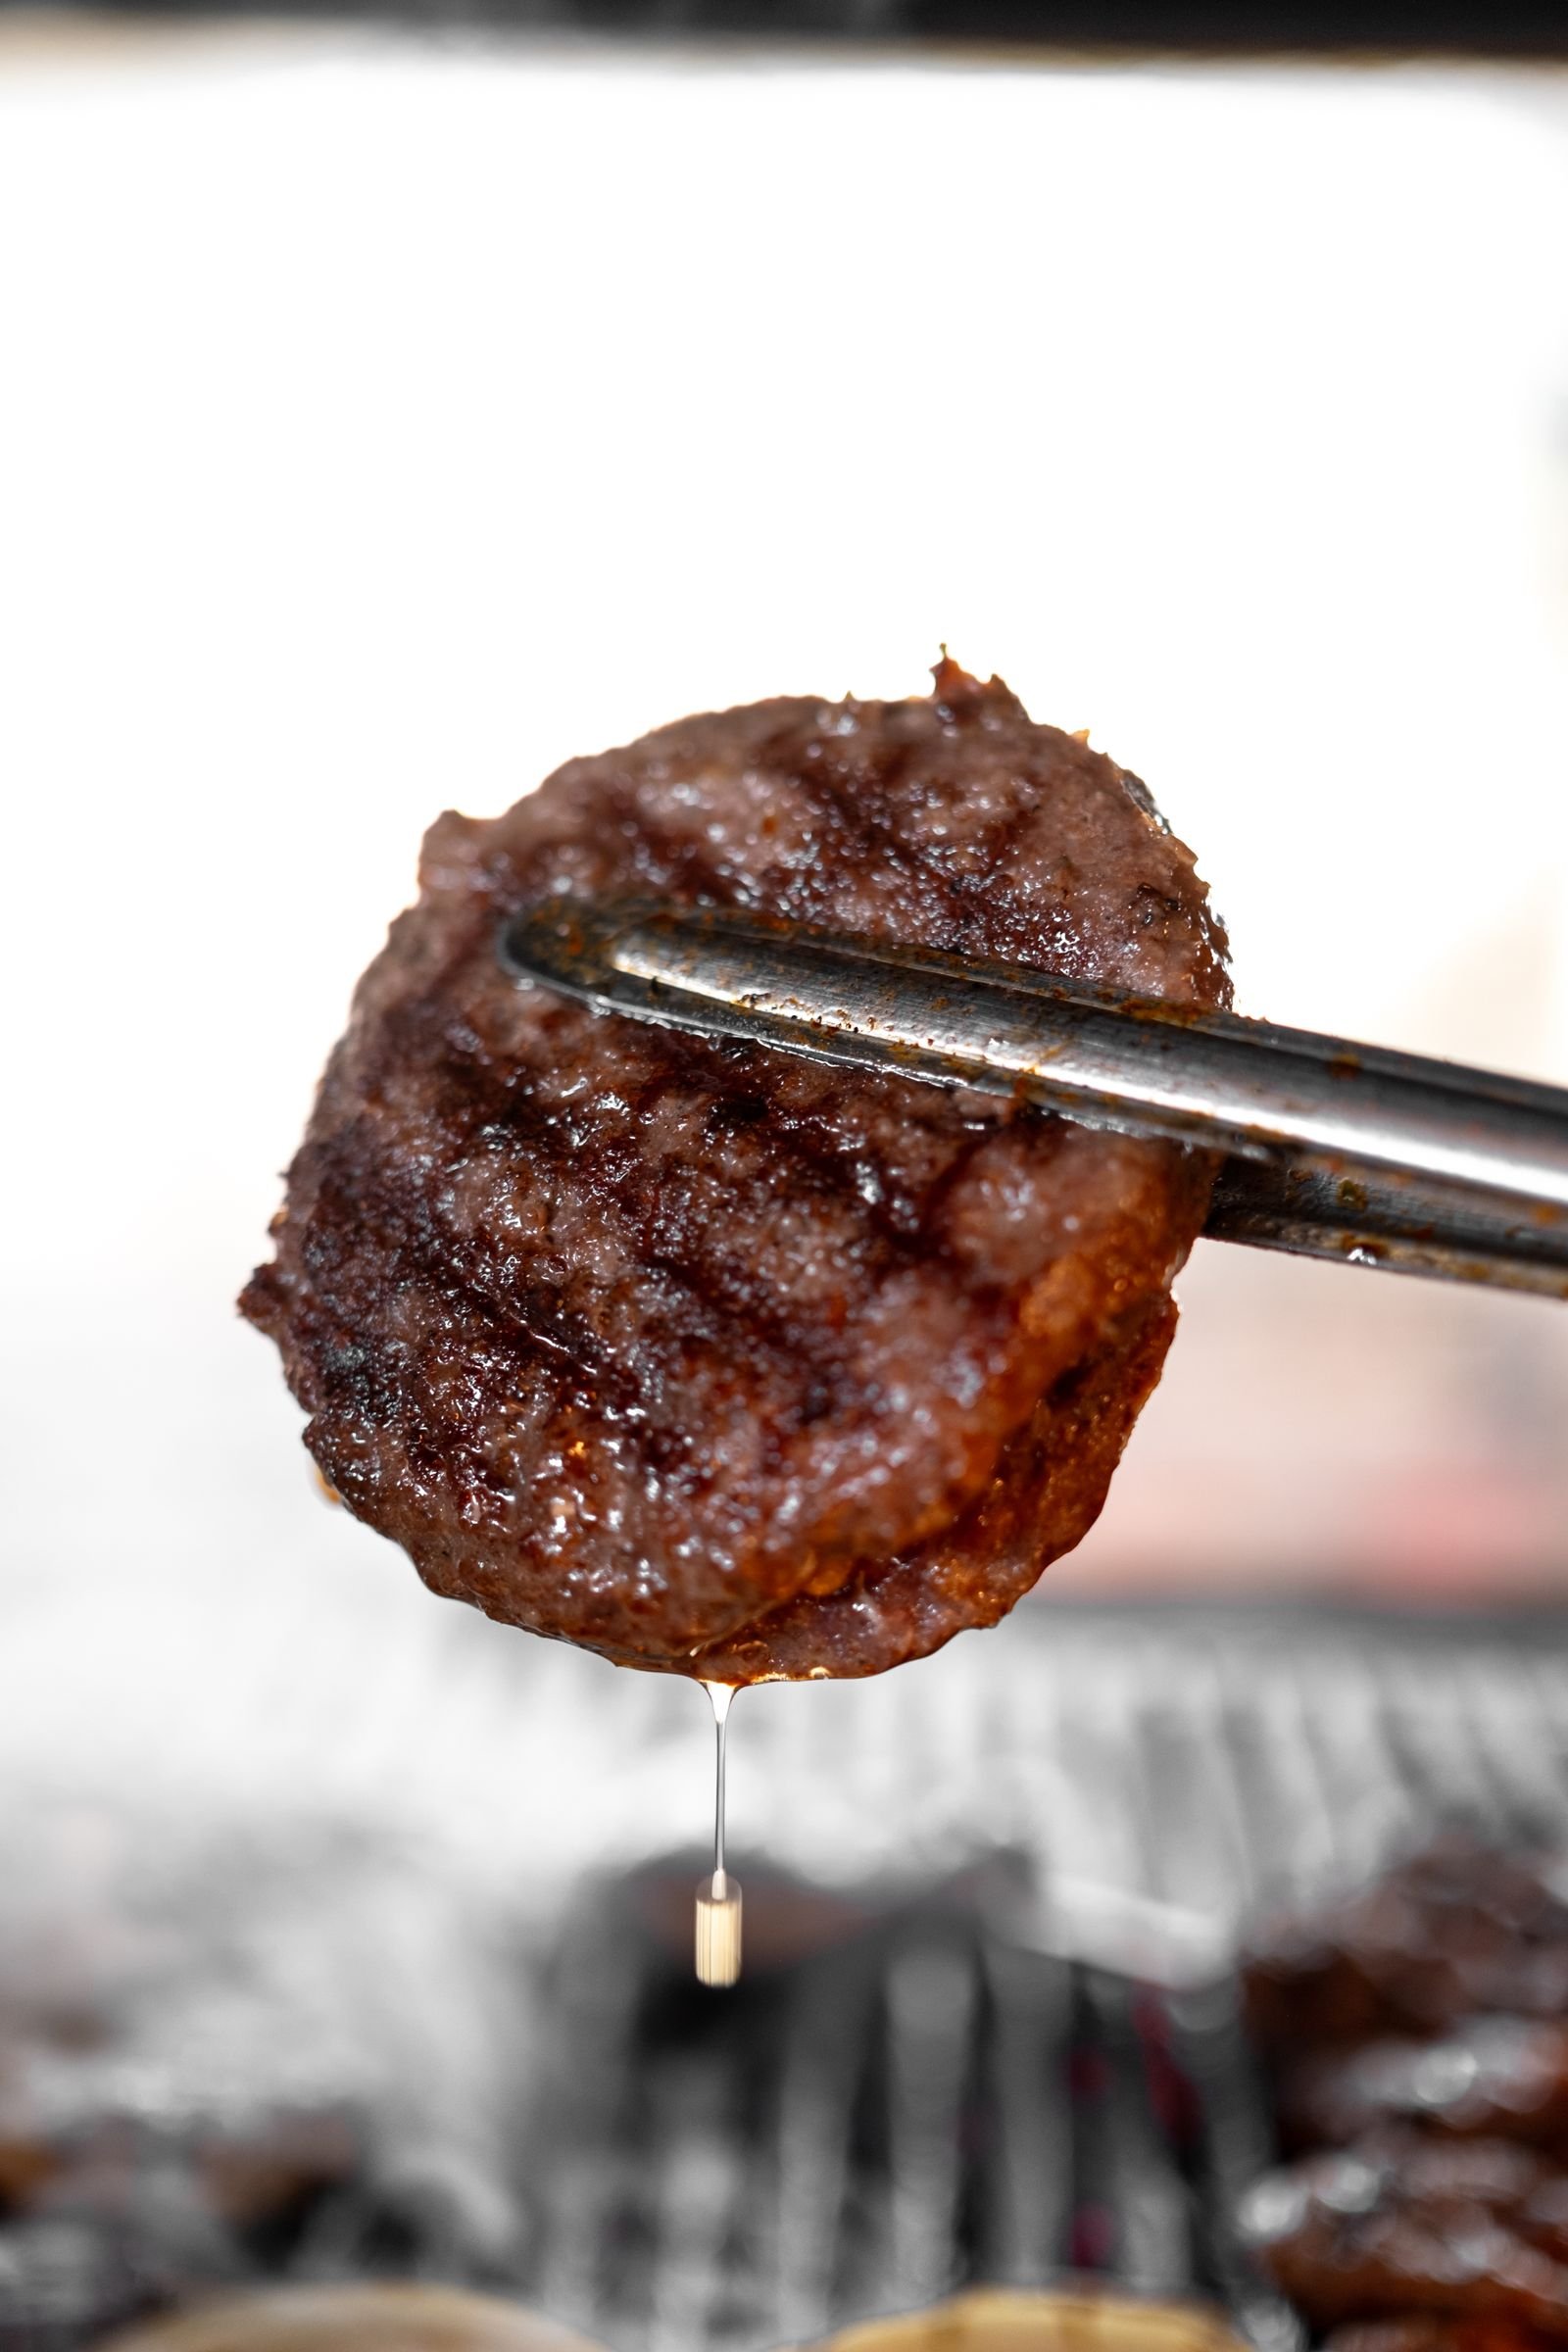
Pressing a loosely formed ball of ground beef flat against a screaming-hot surface does two things a normal patty never gets. First, it maximizes surface contact with the heat in a single instant, which means more of the patty’s surface starts browning immediately instead of gradually. Second, it forces some of the meat’s moisture and fat out through newly exposed cracks and edges, where it hits the hot surface directly and deep-fries those ragged edges into something closer to lace than a clean patty border. That craggy, caramelized edge is the entire signature of the style, and it only happens because of the smash itself, not because of any seasoning or technique applied afterward.
What you need
- 1 lb ground beef, 80/20 (the fat is doing real work here, don’t go leaner)
- 1–2 tbsp tallow or beef fat trim
- Coarse salt
- Optional: a light crack of black pepper
Loosely portioned, barely touched beef is the entire ingredient list. No binder, no filler, nothing else. The technique carries this recipe, not a long ingredient list.
How to make it
- Portion the ground beef into loose balls, about 3–4 oz each, handling the meat as little as possible. Don’t compact or shape them into pucks, a loosely packed ball smashes into those ragged, crispy edges; a pre-formed puck just flattens cleanly without the same texture.
- Heat a cast-iron pan or flat griddle over high heat until it’s genuinely smoking hot, this matters more for smash burgers than almost any other cooking method, since a surface that isn’t hot enough will steam the patty instead of searing it the instant it’s smashed.
- Add the tallow and let it get hot and shimmering. Place a ball of beef on the surface and immediately smash it flat with a sturdy, flat-bottomed spatula (or the bottom of a heavy pan), pressing firmly and holding for a few seconds to maximize contact.
- Salt the exposed top surface immediately after smashing. Let it cook undisturbed for 90 seconds to 2 minutes. You’ll see the edges turn deep brown and lacy, and that’s your cue, not the clock alone.
- Flip once, salt the newly exposed side, and cook for another 60–90 seconds, until the center reads 160°F on an instant-read thermometer.
- Pull immediately and serve hot, a smash patty loses its crisp edge quickly once it sits.
The number that matters
This is ground beef, so the medium-rare conversation that applies to a whole steak doesn’t apply here. The USDA’s Food Safety and Inspection Service sets 160°F as the minimum safe internal temperature for ground beef, checked at the thickest point, because grinding mixes any surface bacteria throughout the meat. A thin smash patty reaches that temperature fast, often within two to three minutes total cook time, so the real risk with this style isn’t undercooking, it’s losing track of the time and overshooting well past 160°F while chasing a darker crust.
Why 80/20 matters more here than on a thick burger
A thick, pan-seared burger can get away with leaner beef because there’s enough mass to hold onto some moisture even as fat renders out. A thin smash patty has almost no mass to spare, it’s mostly surface area, and that surface area is exactly where fat needs to render out to create the crust this style is named for. Going leaner than 80/20 for a smash burger produces a patty that’s drier and less flavorful without any compensating benefit, since the whole appeal of the style depends on having enough fat to spare for the crust-building process. If anything, 75/25 ground beef, when you can find it, makes an even better smash patty than 80/20.
Tools that actually matter
| Tool | Why it matters here |
|---|---|
| Flat-bottomed, sturdy spatula | Even pressure across the whole patty when smashing; a thin or flexible spatula won’t apply consistent force |
| Cast iron or carbon steel surface | Holds and conducts high heat better than most nonstick pans, which matters for getting genuinely hot before the first patty goes on |
| Instant-read thermometer | The visual cues on a thin patty happen fast and are easy to misjudge without confirming the number |
Common mistakes
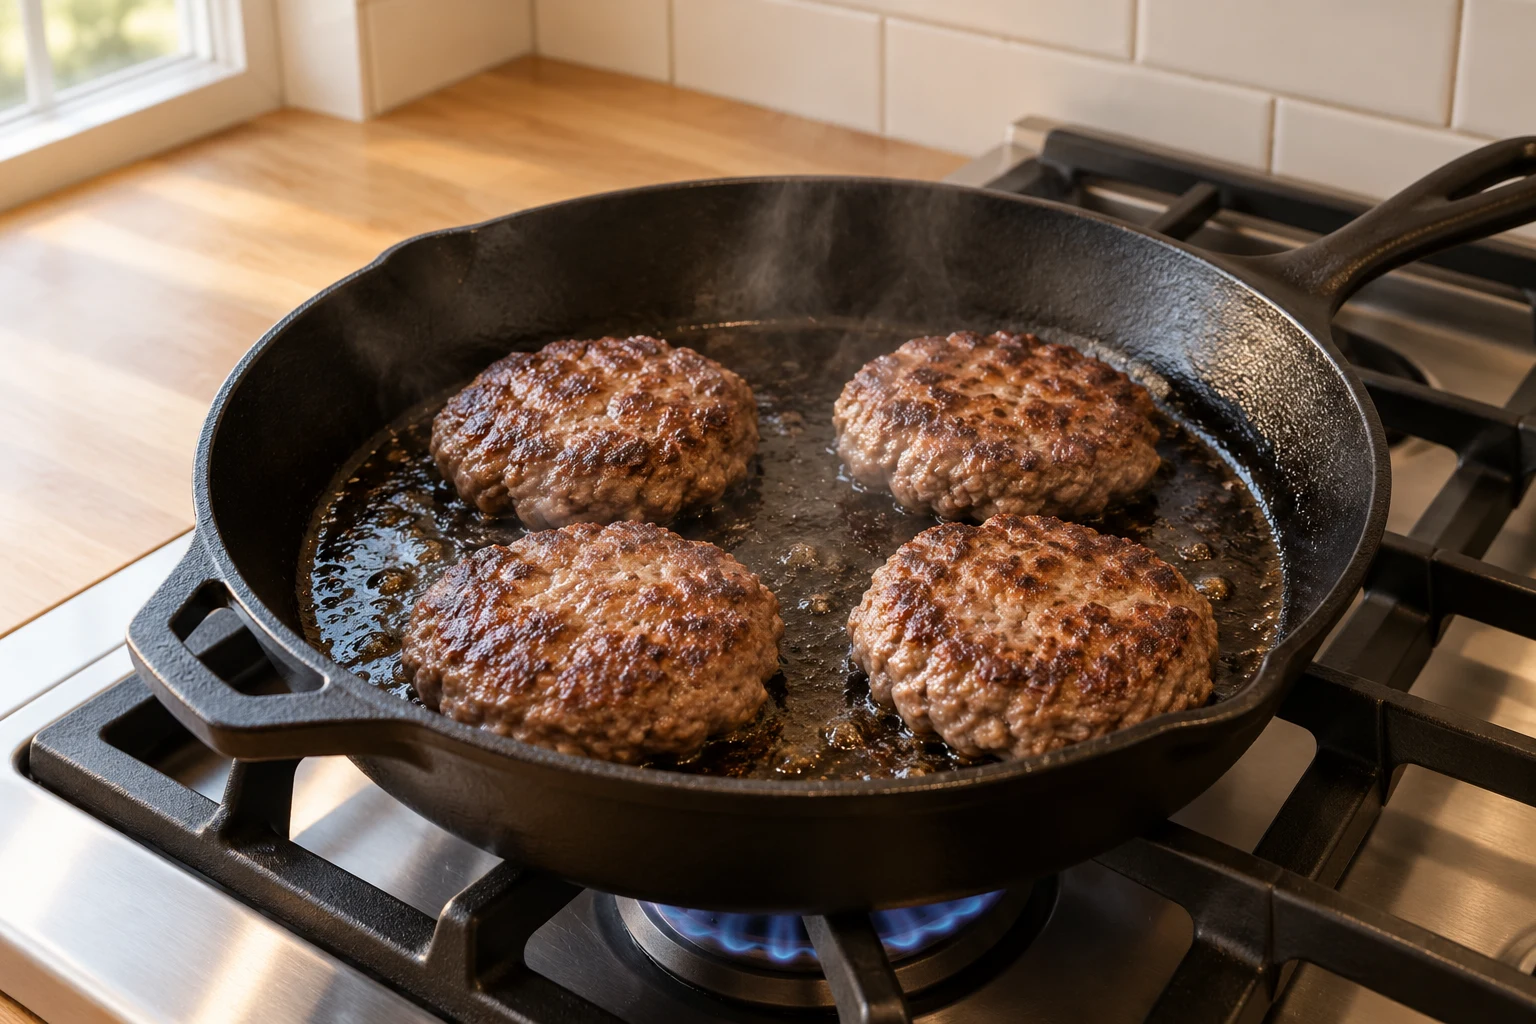
The single most common mistake is smashing a ball that’s already been shaped into a tidy puck rather than left loose. A pre-formed patty has already compacted and smoothed its surface, so smashing it just flattens a dense disc without creating the ragged, crispy edges that make the method worth doing. The second most common mistake is not getting the pan hot enough first, a cold or lukewarm surface steams the patty’s moisture out slowly instead of flash-searing the surface, and you end up with a gray, flat patty with none of the crust. The third is crowding the pan with too many patties at once, which drops the surface temperature across the whole pan and produces the same steaming problem for every patty on it, not just the edges.
Stacking patties without losing the crust
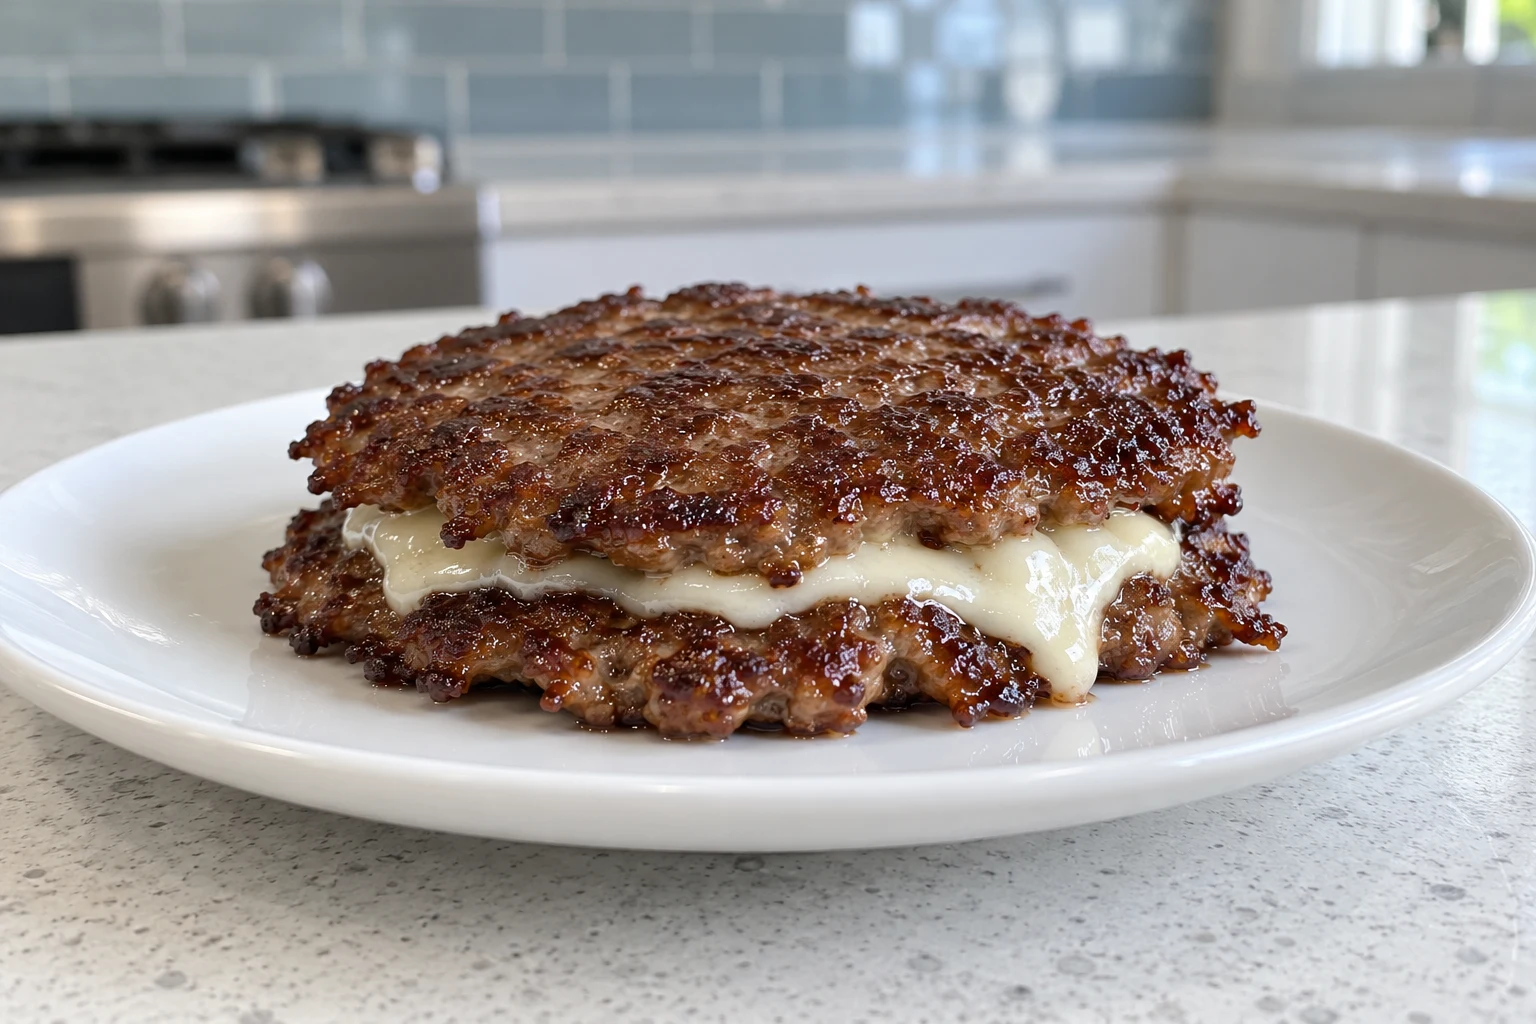
If you’re making a double or triple stack, cook each patty individually rather than trying to smash two balls into one larger patty, a bigger mass of meat takes longer to cook through and loses the thin-patty advantage that makes the style work. Stack the individually cooked patties immediately after each one finishes, while they’re all still hot, so the stack comes together as one hot unit rather than a reheated assembly of parts cooked at different times. For a dedicated walkthrough of the double-stack format specifically, including a thickness-to-crust-time table and tips for feeding a group, see the double smash burger stack guide.
Serving it without a bun
A traditional smash burger leans on a soft, griddle-toasted bun to soak up juice and balance the richness of the beef, and dropping the bun changes how you’ll want to eat this. Serve the patties straight off the pan, stacked two or three high if you’re hungry, with any rendered fat and drippings left in the pan poured back over the top rather than left behind. The drippings are doing some of the moisture-and-richness job the bun used to do, so don’t skip spooning them over the finished patties. If you want something to eat alongside rather than on top, a few strips of pan-crisped bacon or a side of crispy beef fat cracklings both fit the all-animal approach without reaching for bread.
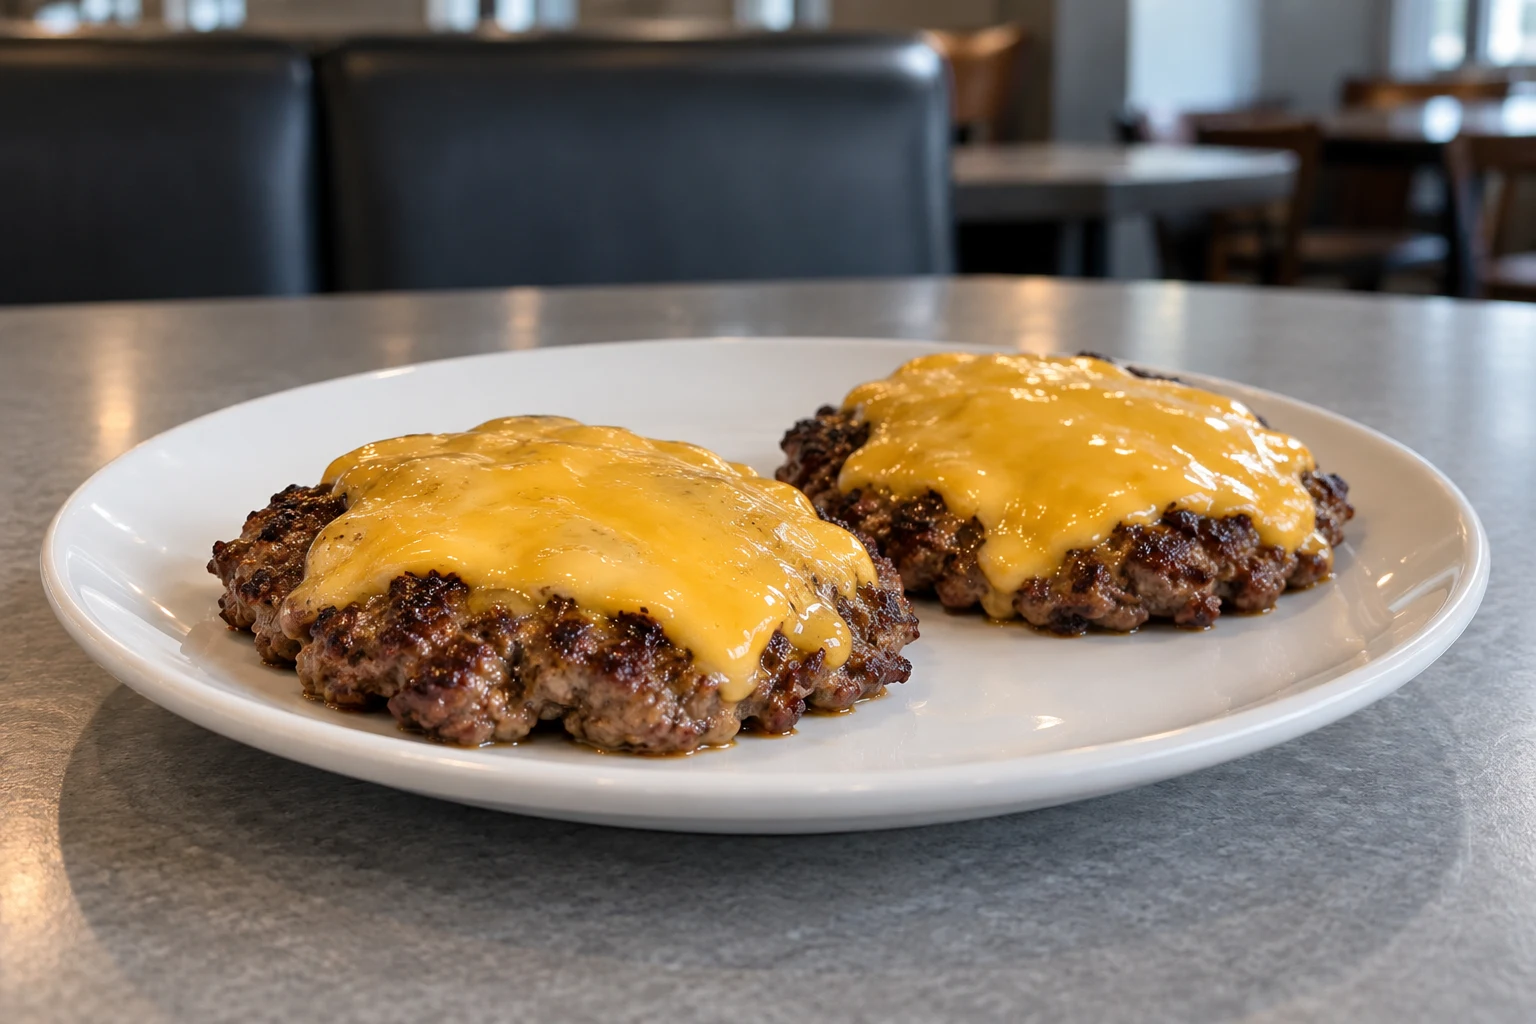
Melted cheese is a judgment call depending on how strictly you’re defining carnivore for yourself, a slice of a hard cheese like cheddar, melted directly onto the patty in the last 30 seconds of cooking, is an animal product and fits comfortably within a dairy-inclusive version of the diet, even though it’s absent from the base recipe here. If you’re avoiding dairy entirely, skip it and lean on the fat drippings instead; the patty doesn’t need cheese to taste finished.
Scaling for a group
Smash burgers don’t scale well by making fewer, bigger batches in a crowded pan. They scale by working in controlled waves on a surface that’s large enough to hold a few patties with real space between them. If you’re cooking for more than two or three people, a griddle gives you more usable hot surface than a single cast-iron pan, and working in relay. Smashing a new patty the moment a finished one comes off. Keeps the whole process moving without ever dropping the pan’s temperature the way a fully loaded surface would. Keep finished patties warm on a sheet pan in a low oven, around 200°F, for the few minutes it takes to finish the rest of the batch, though don’t hold them there longer than necessary since the crust does start to soften even at that low a temperature.
Common questions
My patties are sticking to the pan instead of releasing cleanly. What’s wrong?
Either the pan wasn’t hot enough before the beef went on, or you flipped before the crust had actually set. A properly seared smash patty releases from well-seasoned cast iron or a flat-top griddle on its own once the crust has formed; if you’re fighting it with the spatula, give it another 20–30 seconds before trying again.
Can I use a lid or press to get more even contact instead of a spatula?
A flat press works and some cooks prefer it for consistency, but a sturdy spatula gives you more control over exactly how hard and how long you’re pressing, which matters when you’re still learning how your specific pan and burner behave. Either tool works once you’ve got a feel for the timing.
Why does the first patty always turn out worse than the rest?
The pan is usually still climbing to its final temperature when the first patty goes on, even if it looked ready. Give the empty pan an extra minute or two beyond what seems necessary before the first smash, and the whole batch will come out more consistent.
Storage and reheating
Cooked patties keep refrigerated for three to four days, though the crisp edge that defines this style doesn’t survive storage well. Expect a softer texture on reheat no matter how you handle it. The best reheating method is a quick re-crisp in a hot, dry pan for 30–45 seconds per side rather than the microwave, which will leave the patty uniformly soft with no crust at all. If you’re planning to eat leftovers, it’s worth accepting that a reheated smash patty is a different, lesser experience than a freshly smashed one, and cooking only what you’ll eat in one sitting is generally the better call with this particular style.
If you do end up with raw ground beef left over rather than cooked patties, that stores and freezes far better than the finished product does. Portion it into the loose balls described above before freezing, so it’s ready to smash straight from thawed without any extra handling that would compact it. Thaw in the refrigerator overnight rather than on the counter, and resist shaping the balls more tightly during that process; keeping the loose, barely-touched structure intact from the freezer through to the pan is what gets you the ragged crust on the other end.
Raw portioned balls will hold in the freezer for up to three months without a meaningful drop in quality, provided they’re wrapped well enough to avoid freezer burn, a layer of parchment between portions followed by a sealed bag with the air pressed out is enough. Label the bag with the date, since it’s easy to lose track of how long something has been sitting in a freezer once it’s buried behind other items.
Why this style rewards attention more than skill
There’s very little technical skill involved in a smash burger compared to something like a reverse-seared steak or a slow braise, the whole method is readable within a single attempt, and most people get a recognizable result the first time they try it. What separates a mediocre batch from a genuinely great one is almost entirely attention to the small details covered here: handling the meat as little as possible before it hits the pan, confirming the pan is actually hot rather than assuming it is, and pulling each patty the moment it’s at temperature rather than leaving it a few extra seconds out of habit. None of those details require practice to execute correctly once you know to watch for them, which makes this one of the more forgiving recipes in this collection to get right on the very first try. Once you’ve made a batch or two, the timing stops being something you think about consciously and starts being something your hands just know, the same way judging a steak’s sear or a pan’s heat eventually becomes automatic. That’s the real payoff of a method this simple, it gets easier every time, not harder.
If dense, overworked patties have been a problem for you in other beef recipes, the handling principles here. Minimal mixing, gentle forming. Connect directly to why your burgers turn out dense and how to stop it. The browning science behind why a hard, fast sear builds more crust than a gentle one is the same Maillard reaction discussed in getting a real crust on a steak, even though the technique and cut are completely different. And if 80/20 beef has you thinking about what the fat itself is doing structurally, what to do with rendered animal fat goes deeper into that specifically.