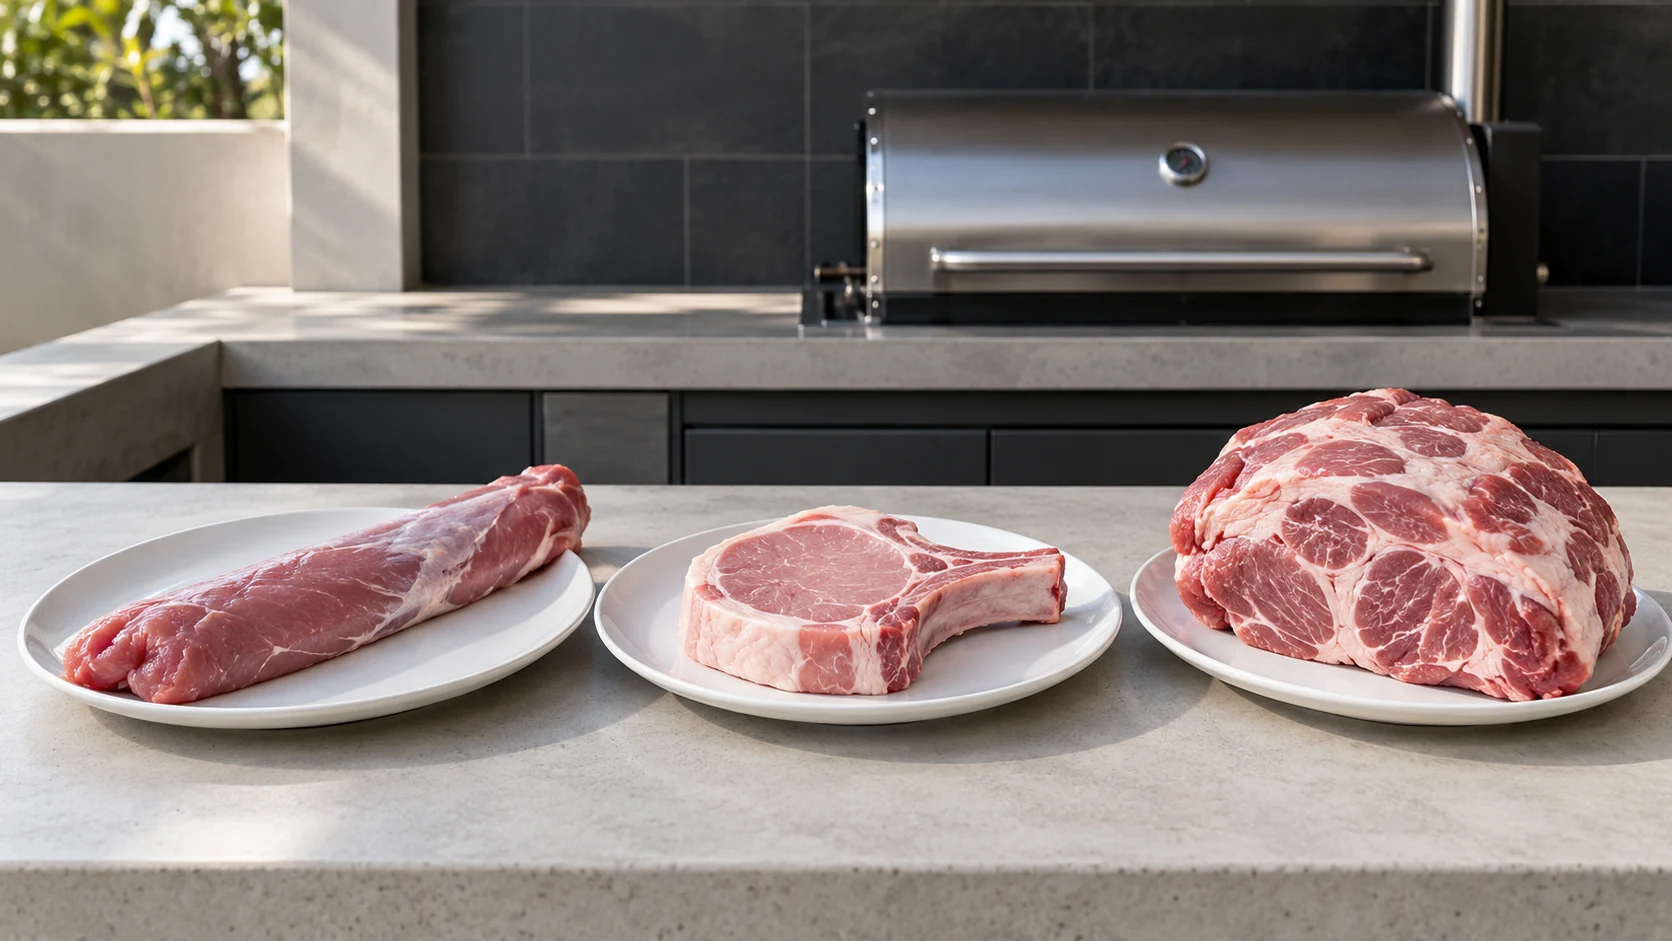
Pork genuinely splits into two camps that have almost nothing in common once they hit the stove, and most pork disasters trace back to a cook treating one camp like the other without realizing it. A chop is lean, fast, and punishes overcooking within a minute or two. A shoulder or a rack of ribs is the opposite: dense with connective tissue that stays tough until hours of low heat have broken it down. Everything on this site about pork sorts into one of those two camps, plus a buying question that applies to both.
The lean cuts: chops, where minutes decide everything
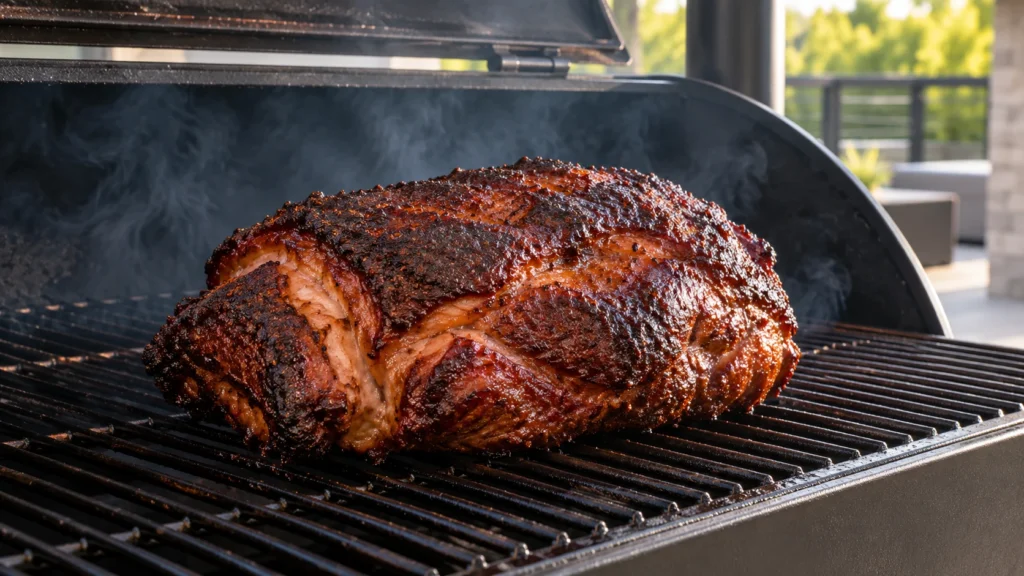
Pork chops come from the loin, a muscle that does almost no work on a living animal and carries almost no internal fat as a result. That lack of fat is the entire story: there’s no buffer to protect a chop once it crosses from done to overdone, which is why a chop cooked exactly like a fattier cut comes out dry more often than not. Stop Overcooking Pork Chops covers the actual fix: enough thickness to let a crust form before the center overshoots, a dry surface, decisive heat, and a thermometer checked from the side rather than guessed at by time alone.
The long cuts: shoulder and ribs, where patience decides everything
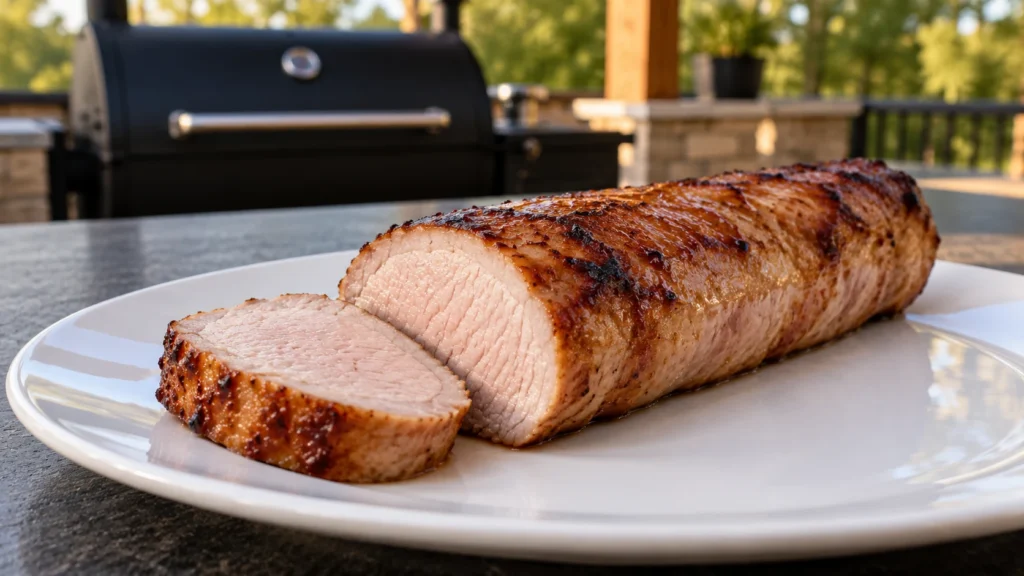
Shoulder and ribs sit at the opposite end of the same animal’s fat and connective-tissue map. Both are full of collagen that stays tough and chewy until it’s held at low heat long enough to melt into gelatin, which is a process measured in hours, not minutes, and genuinely can’t be rushed by turning up the temperature. Two separate pieces on this site cover shoulder from two different directions:
- A Slow-Roast Pork Shoulder, Hour by Hour covers the oven version: a realistic timeline, what the meat is doing internally at each stage, and how to know it’s actually done rather than just tender-seeming.
- Smoked Pulled Pork: Shoulder to Plate covers the same cut taken through a smoker instead of an oven: picking between a Boston butt and a picnic shoulder, the bone test for doneness, pulling technique, and the regional sauce styles worth knowing.
Ribs run on the same collagen-breakdown logic as shoulder but ask for a different kind of doneness check, since there’s no thick, uniform mass to probe the way a shoulder has. How to Tell Pork Ribs Are Done Without a Timer covers the actual physical signs worth trusting over a clock: how the meat pulls back from the bone, how much a rack bends when lifted, and why a specific internal temperature matters less here than it does on a chop.
A quick side-by-side of what’s actually covered
| Cut | Typical cook time | What decides doneness |
|---|---|---|
| Chop | Minutes | Internal temperature, checked with a thermometer |
| Ribs | Several hours | How the meat pulls back from the bone and how much the rack bends |
| Shoulder, oven | Most of a day | Probe feel and a target internal temperature well past the safe minimum |
| Shoulder, smoked | Most of a day, plus smoke setup | The bone test: it should twist free with little resistance |
Why patience actually works on the tough cuts
Collagen, the connective tissue running through shoulder and ribs, is tough and rubbery at room temperature and stays that way through a quick cook. Held at a sustained temperature somewhere in the 190 to 205°F range for long enough, it breaks down into gelatin, which is what actually produces the fall-apart texture people associate with good pulled pork or ribs that pull clean off the bone. That breakdown is a genuine chemical reaction that simply takes real time, no matter how hot the surrounding heat happens to be running. Cranking the oven or smoker higher to speed it up just dries out and toughens the exterior long before the interior has had time to convert, which is the single most common mistake on both of these cuts.
That’s also why a thermometer reading alone isn’t the full doneness picture on shoulder or ribs the way it is on a chop. A shoulder can read 195°F and still have a tight, resistant texture if it simply hasn’t had enough time yet; the probe-feel test covered in the shoulder and pulled-pork guides matters more here than the number on the display.
Buying pork without overpaying for a label that doesn’t matter
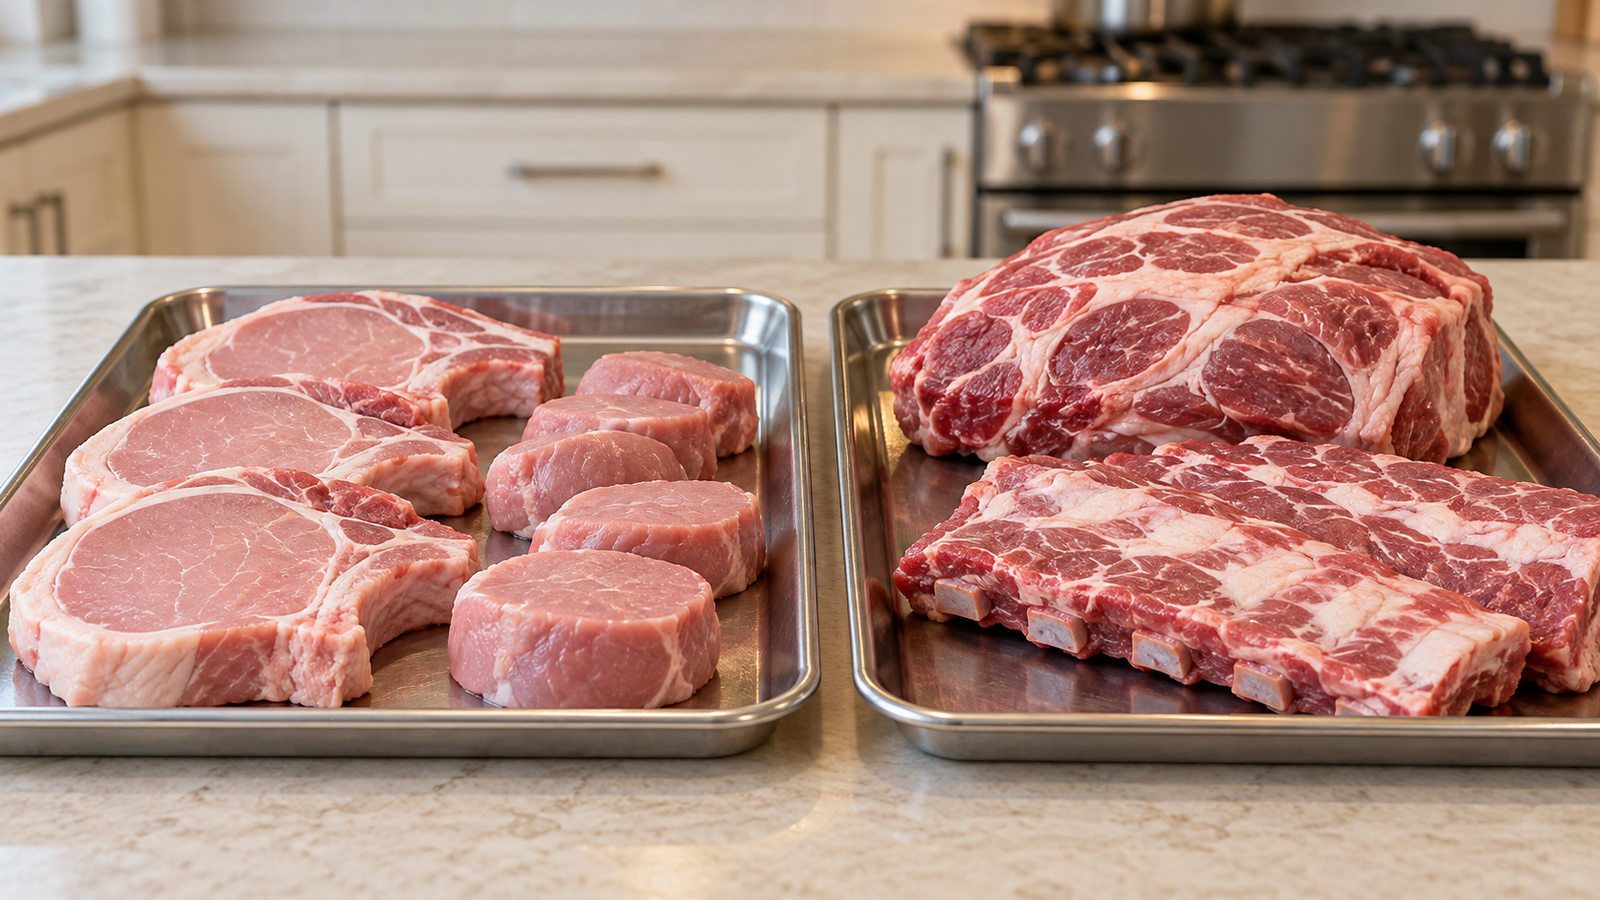
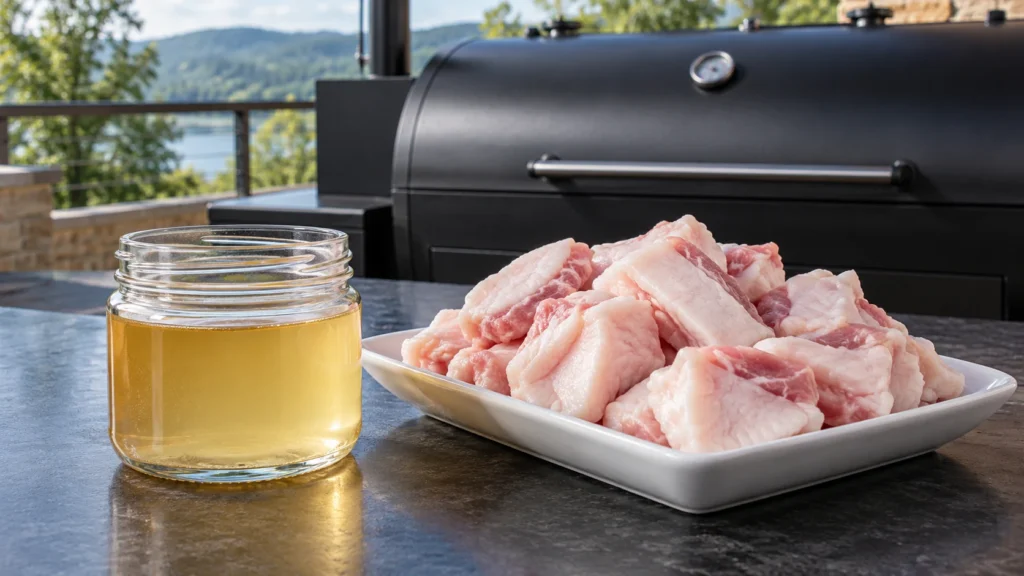
Pork doesn’t carry the same USDA quality-grade system beef does (Prime, Choice, Select), so grade isn’t a factor worth chasing here the way it sometimes is elsewhere on this site. What actually matters is fat marbling visible in the cut itself, which varies more by breed and raising practice than by any single label. Heritage breeds like Berkshire or Duroc genuinely do carry more marbling on average than commodity pork, which shows up directly in how forgiving a chop is and how rich a shoulder tastes once it’s broken down. “Pasture-raised” is a real, meaningful claim worth asking a butcher to confirm directly, the same way it’s worth asking about with any other meat on this site; a generic “natural” label on a package means considerably less and isn’t a reliable proxy for marbling or quality on its own.
Why pork takes seasoning differently than beef
Pork’s milder base flavor, compared to beef’s stronger, more mineral taste, is part of why pork dishes lean more often on sweetness, acidity, or a pronounced spice rub to carry the dish, rather than relying on the meat’s own flavor the way a good steak can stand almost entirely on salt and fat alone. That’s not a weakness in the meat; it’s a real, usable property. A chop takes well to a quick pan sauce built on something bright, a splash of vinegar or citrus deglazing the browned bits left behind. Shoulder and ribs hold up to a heavier hand: a dry rub with real sugar content browns and caramelizes over a long cook in a way it simply doesn’t have time to do on a five-minute chop, which is part of why barbecue rubs lean sweet in a way a quick steak seasoning rarely does.
Salting ahead of time, the same principle covered generally elsewhere on this site, applies to every cut of pork here, though the window differs by cut. A chop benefits from salt applied 30 minutes to an hour ahead. A shoulder or rack of ribs, with hours of cook time ahead of it regardless, can be salted the night before without any real downside, since there’s no risk of the salt drawing out enough moisture to matter over that much subsequent cook time.
Mistakes that show up across both camps
- Treating every pork cut like it needs to hit the old 160°F well-done standard. Current USDA guidance allows pork to rest at 145°F with a 3-minute rest for whole cuts like chops, a real shift from the dry, gray pork recommendations of decades past. Chops cooked to the old standard are reliably overcooked by today’s actual guidance.
- Skipping the rest on either camp. A rested chop and a rested shoulder both hold onto more moisture than one cut into immediately off the heat, for the same underlying reason covered on this site’s general resting guide.
- Buying a shoulder or rack of ribs without checking for a reasonable fat cap. A very lean shoulder dries out faster during a long cook than a well-marbled one, even though both will eventually become tender given enough time.
- Applying chop logic to ribs or shoulder, or the reverse. This is the single mistake that causes the most disappointing pork dinners on this entire site: using a quick, hot method on a cut that needed hours, or holding a lean chop on low heat for far longer than it can survive.
Where the two camps actually meet
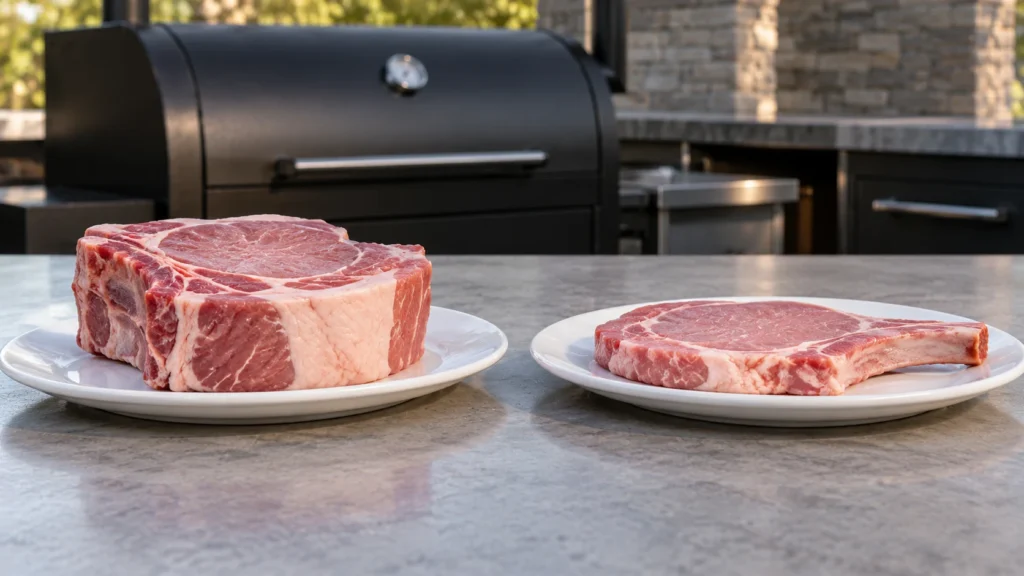
The real throughline across all four pieces here is fat and connective tissue, not the cut name on the package. A chop has neither in any real quantity, so it behaves like the leanest cuts covered elsewhere on this site: short cooking windows, real risk of drying out, and a thermometer doing most of the real work. Shoulder and ribs have both in abundance, so they behave like the toughest, most forgiving cuts covered elsewhere: long cook times, wide margins for a little extra time on the heat, and doneness defined by texture breaking down rather than a single safe-minimum number.
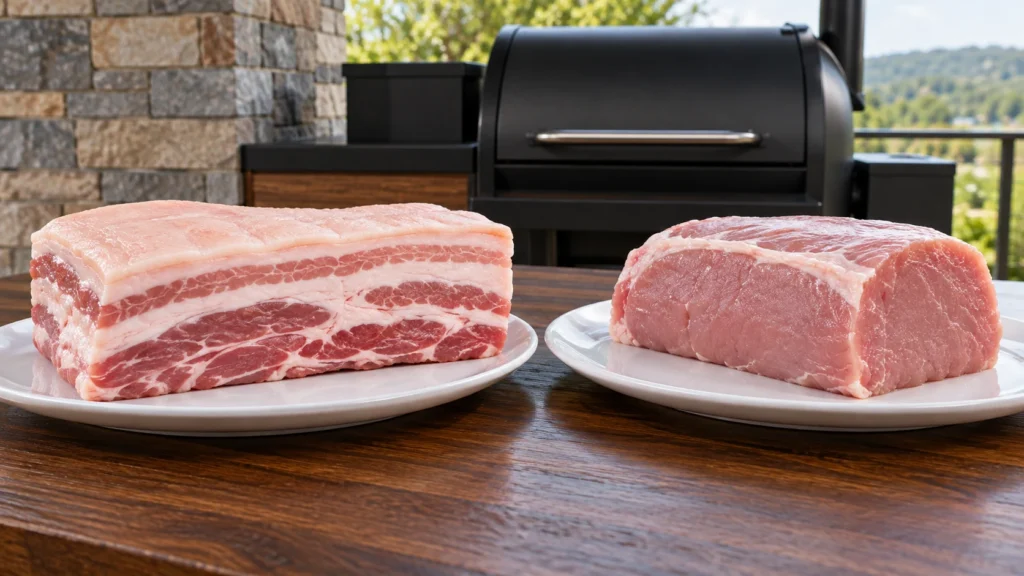
Knowing which camp a specific cut falls into, before any recipe or timer gets involved, is most of what separates a good result from a disappointing one with pork specifically. A loin chop and a shoulder roast can sit next to each other at a butcher counter, look like reasonably similar pieces of meat to an unfamiliar eye, and behave like entirely different ingredients the moment either one hits real heat. Tenderloin, despite its name suggesting something closer to shoulder, actually belongs firmly in the lean camp with chops: it’s a fast-cooking, low-fat muscle that wants a quick, hot finish and an early pull off the heat, not a long, slow braise.
Leftovers behave differently across the two camps too
A leftover chop reheats poorly for the exact same reason it overcooks easily the first time: there’s no fat reserve to protect it from a second pass of heat. A low oven around 275°F, covered, with a splash of broth added, is a far gentler path back to edible than a hot pan or a microwave, both of which tend to finish the drying-out process a slightly overcooked chop started the first time around.
Shoulder and ribs are considerably more forgiving leftovers, since the fat and collagen that made them good the first time are still doing real work the second time. Pulled pork specifically keeps and reheats well for days, covered in a low oven with a little reserved liquid, and often tastes just as good, sometimes better, once the flavors have had a day to settle. This is one more real, practical difference between the two camps worth planning around: a chop is a cook-once, eat-once cut in most kitchens, while shoulder is worth cooking in bulk specifically because it holds up so well afterward.
Where to start
New to cooking pork beyond throwing a chop in a pan: start with the chop guide, since it’s the fastest cook and the easiest place to see the thermometer-over-guesswork principle pay off immediately, with a result on the plate inside half an hour. Planning a weekend cook with real time to spare and people to feed: the oven shoulder timeline is the lower-equipment route, needing nothing beyond an oven and a thermometer, while the smoked version trades that simplicity for real smoke flavor if a smoker is already part of the kitchen. Cooking ribs for the first time and unsure what “done” is even supposed to feel like, since there’s no single clean number to chase the way a chop has: the rib doneness guide answers exactly that question before anything else, covering the bend test and the pullback test in enough detail to trust on a first attempt.
However the entry point gets chosen, the same underlying question is worth asking before the first attempt at any cut: is this a lean cut that needs protecting from overcooking, or a tough cut that needs time, not heat, to actually get tender. Everything else about cooking pork well flows from answering that one question correctly before the pan or the smoker ever gets involved.
This is a technique overview, not a food-safety substitute. Always cook pork to a safe internal temperature using a reliable thermometer. Reference: USDA/FoodSafety.gov safe minimum cooking temperatures.
Visual steps
