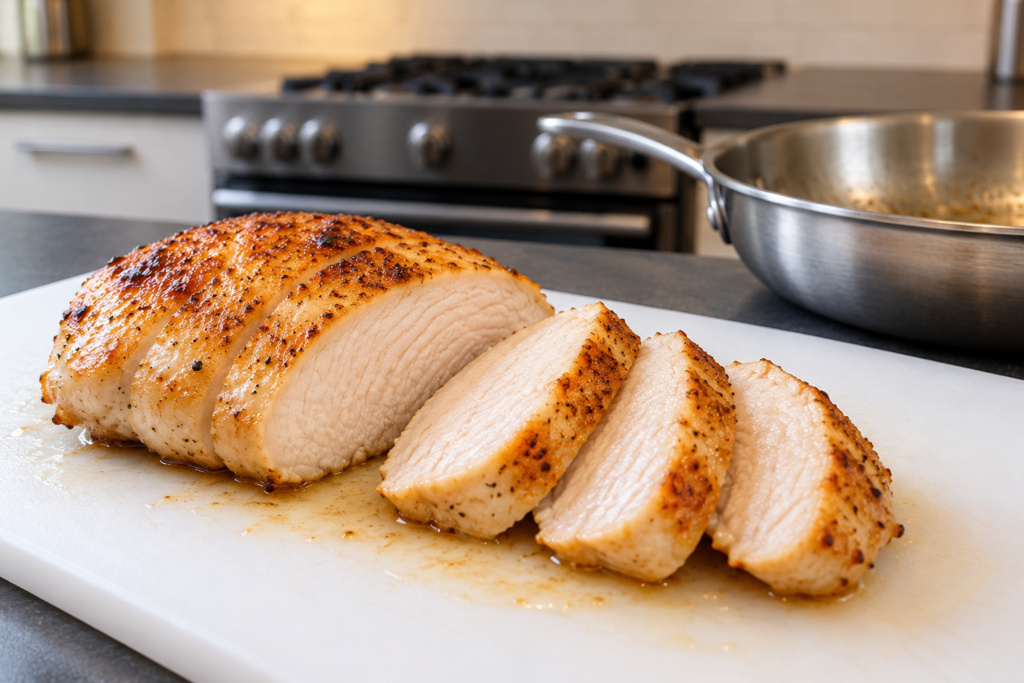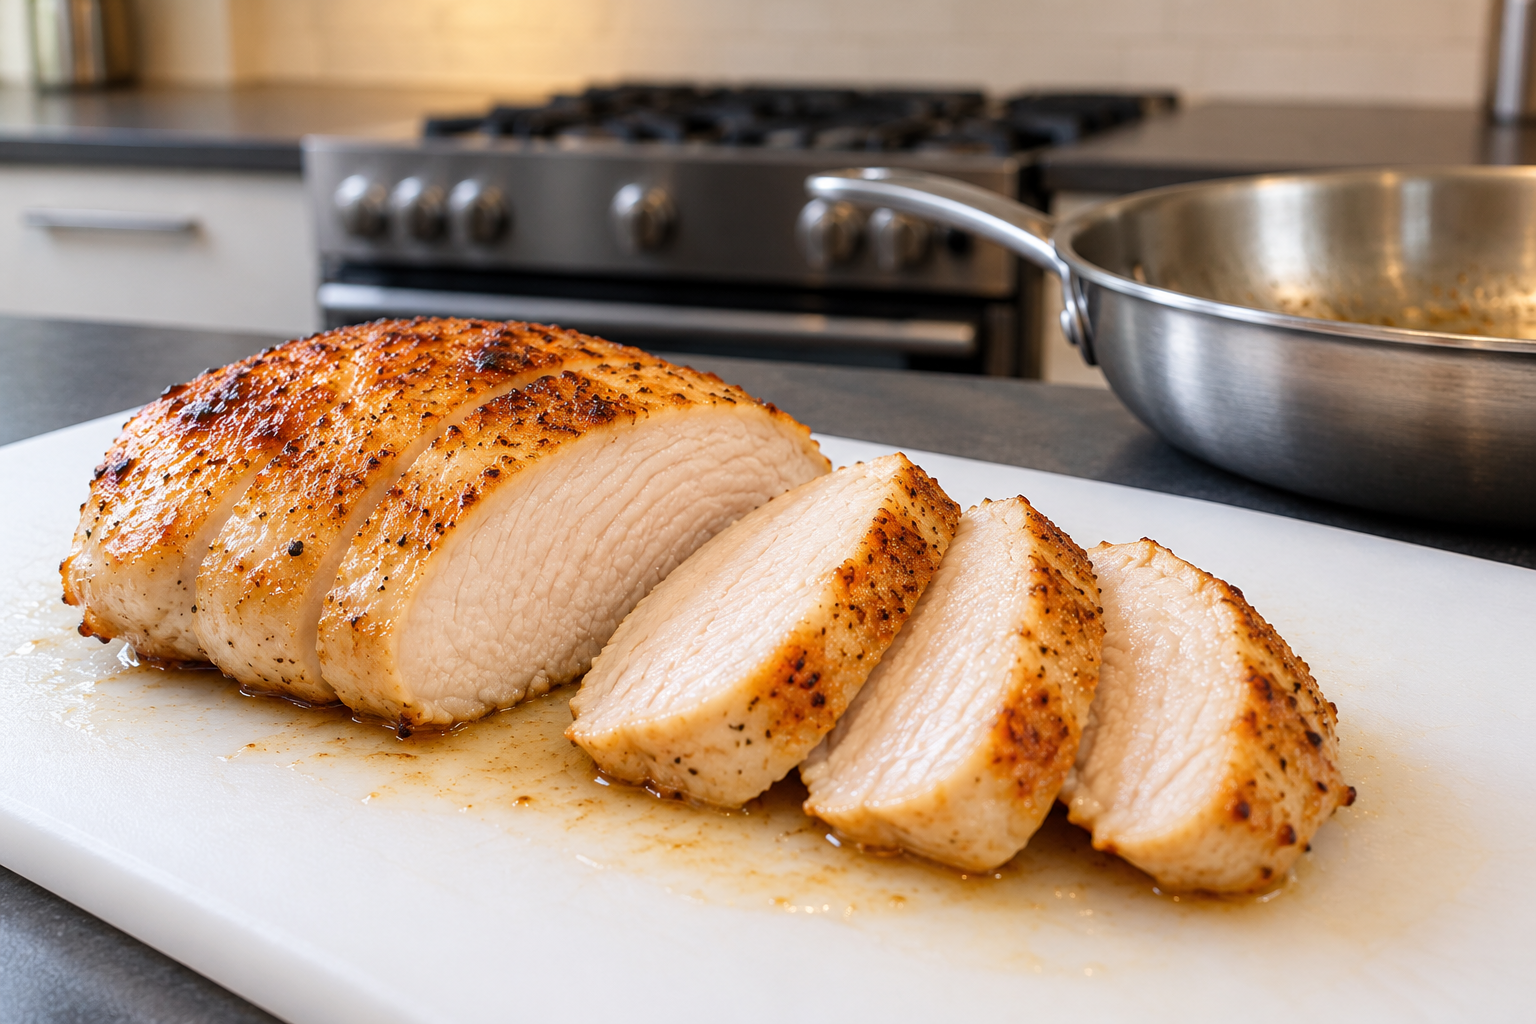
Chicken breast gets blamed for being bland and dry more often than almost any other cut in regular weekly rotation, and the meat itself is rarely the actual, real problem behind it. It’s a lean, genuinely fast-cooking muscle with almost no fat anywhere to buffer a real mistake, which means the margin between juicy and chalky is measured in just minutes, sometimes considerably less. Respect that margin and chicken breast is one of the easiest, fastest proteins in the kitchen. Ignore it and it earns every bit of its reputation.
Why it dries out so much faster than other cuts
Chicken thighs and legs carry real fat and connective tissue that melts and bastes the meat as it cooks, which is part of why dark meat stays forgiving well past the minimum safe temperature. Breast meat has almost none of that insurance. Its muscle fibers are built for short bursts of activity, not endurance, which means less intramuscular fat and a tighter protein structure to begin with. Push breast meat even 10 to 15 degrees past done and those proteins squeeze tight and push out moisture fast, with nothing left behind to keep the texture from turning stringy and dry.
That’s the entire problem in one sentence: chicken breast has a narrow window, and most of what reads as “chicken breast is just dry by nature” is actually a thermometer problem, not a meat problem.
The number that actually matters
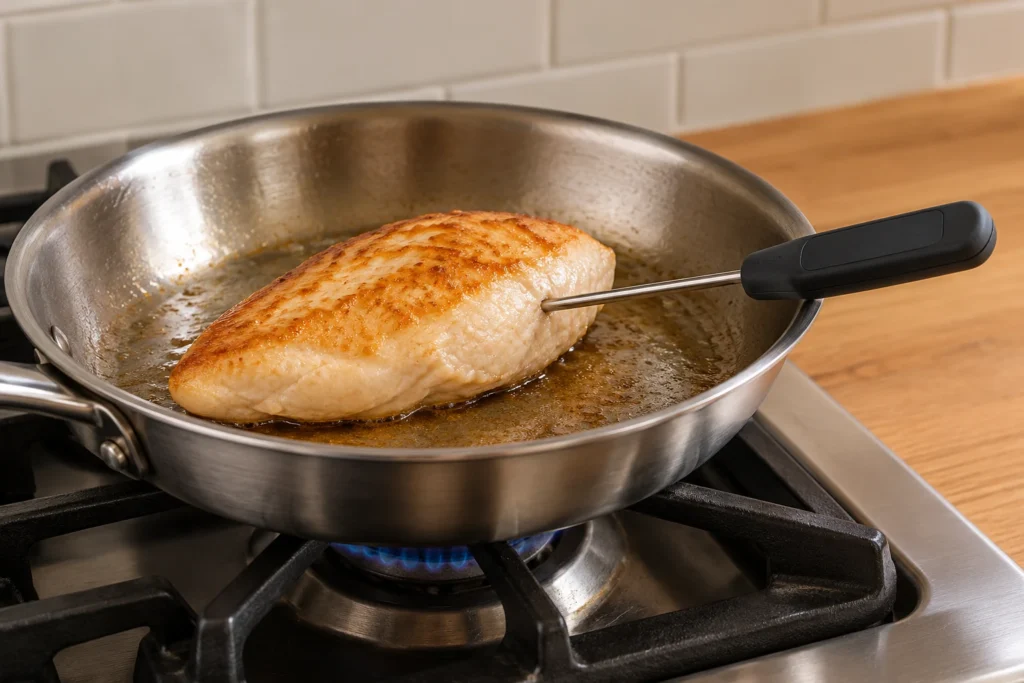
USDA guidance sets 165°F as the safe minimum internal temperature for poultry, and for chicken breast specifically, that number also happens to sit close to where texture starts to suffer. Pull it at exactly 165°F measured at the thickest part, then let it rest for a few minutes before cutting. Carryover heat (the temperature still climbing after the pan or oven) typically adds another 3 to 5 degrees during that rest, which means pulling at 165°F and resting properly often lands the final result closer to 168 to 170°F, still well within a texture that holds moisture. Waiting until a thermometer reads 165°F after the rest, rather than before it, is one of the most common and most avoidable ways to overshoot.
| Pull temp | After a 5-minute rest | Result |
|---|---|---|
| 160°F | 163–165°F | Cutting it close; fine with an accurate thermometer, risky without one |
| 165°F | 168–170°F | The reliable target: safe, still genuinely juicy |
| 175°F+ | 178°F+ | Past the point of real return; texture turns dry and stringy |
An even thickness matters more here than on almost any other cut
A chicken breast is naturally thicker at one end than the other, sometimes by close to double. Cook it as-is and the thin end is already dry before the thick end has even reached a safe temperature, which is one of the most common reasons a single breast can be both overdone and underdone at the same time. Pounding it to an even thickness with a meat mallet or the flat side of a heavy pan, working from the thick end outward, solves this directly. There’s no need to pound it paper-thin: an even half-inch to three-quarter-inch thickness across the whole piece is enough to let it cook evenly without turning the texture mushy from overworking it.
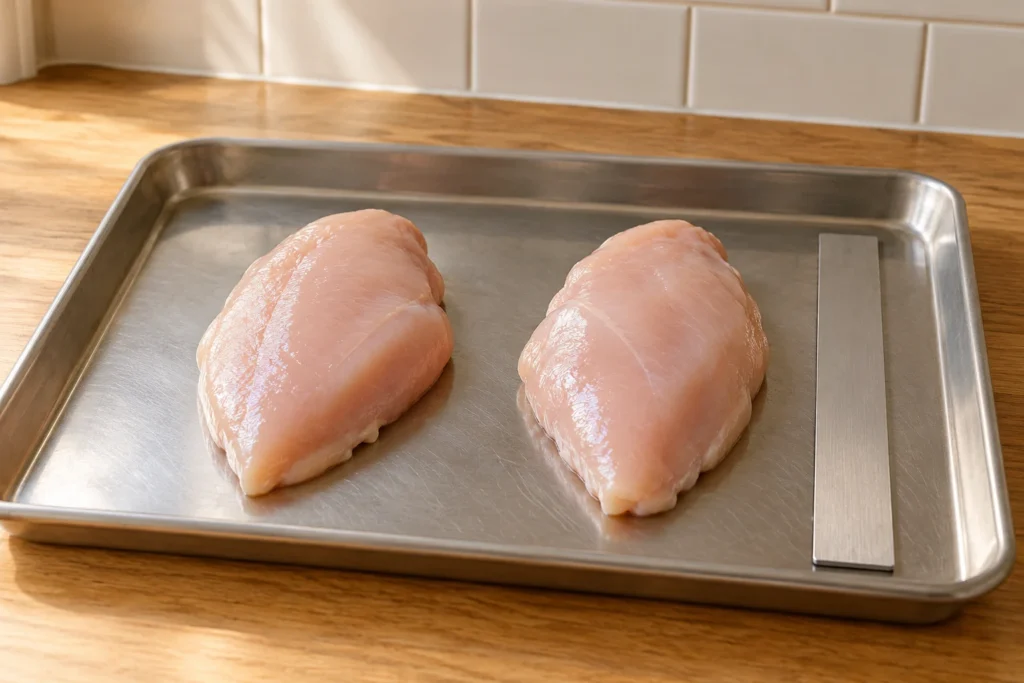
Butterflying a thick breast (slicing it horizontally most of the way through and opening it like a book) is the other common fix, and it’s often faster than pounding since it needs no equipment beyond a sharp knife. Either method gets to the same place: a piece of meat that finishes cooking at roughly the same moment all the way across, instead of racing to a dry finish on one end while the other end lags behind.
Salting ahead of time does real work here
Chicken breast benefits from salting well before it hits the heat more than almost any other cut on this site, precisely because it has so little fat to fall back on for flavor and moisture. Salt applied at least 30 minutes ahead, ideally an hour or more, draws out a small amount of surface moisture that dissolves the salt into a light brine, which then works its way back into the meat and seasons it all the way through rather than sitting only on the surface. That same process also helps the proteins hold slightly more moisture during cooking, which matters even more on a cut with no fat reserve to compensate for a dry pan or an overcooked moment.
A quick brine does more than salt alone
A short wet brine, roughly a quarter cup of salt dissolved in four cups of water, holding the breast submerged in the fridge for 30 minutes to an hour, pushes this same moisture-retention effect further than dry salting alone. The breast actually absorbs some of that salted water directly into the muscle fibers through osmosis, which means it’s carrying real extra moisture into the pan or oven before cooking even starts, not just a seasoned surface. For a thinner, pounded breast, a brine this short is plenty; much longer than an hour and the texture can start turning slightly spongy, which is the one real risk of overdoing this step.
A brine isn’t required on top of a dry salt ahead of time; it’s a second, stronger option for anyone who’s tried salting alone and still wants more insurance, particularly on a baking or grilling day with no pan involved to add moisture back in through a sauce or basting fat.
What the label on the package is actually telling you
Bone-in, skin-on breast holds moisture more reliably than boneless, skinless, simply because the bone slows heat transfer through the center and the skin acts as a physical barrier against direct, drying heat. For anyone who finds boneless breast consistently disappointing, switching to bone-in for a few attempts, even if the skin gets removed before eating, is a genuinely useful way to isolate whether the problem is technique or the starting cut itself.
“Air-chilled” on a label refers to the processing method (cooled with cold air rather than a chilled water bath), which tends to leave less water weight in the final product and a drier, better-browning surface in the pan as a direct result. It’s a real, meaningful difference for searing specifically, less relevant for poaching or anything simmered in liquid from the start.
Pan-searing it without the middle staying raw
Medium heat, not high, is the right call for a pan-seared chicken breast, which runs counter to the instinct that high heat means a better crust faster. A screaming-hot pan browns the outside before a breast this thick has any real chance to cook through, which forces a choice between a burnt exterior and a raw center, or flipping so often that no real crust ever has time to form the way it does on a hard-seared steak. Medium heat with a few extra minutes gets both: a proper golden crust and a center that’s actually cooked by the time that crust is done.
A boneless breast, pounded or butterflied to an even thickness, typically takes 5 to 7 minutes per side in a hot but not scorching pan, finishing in the oven briefly if it’s a thicker cut that needs a bit more time than the pan alone should reasonably give it before the outside overcooks.
Baking it without the dry-out most ovens cause
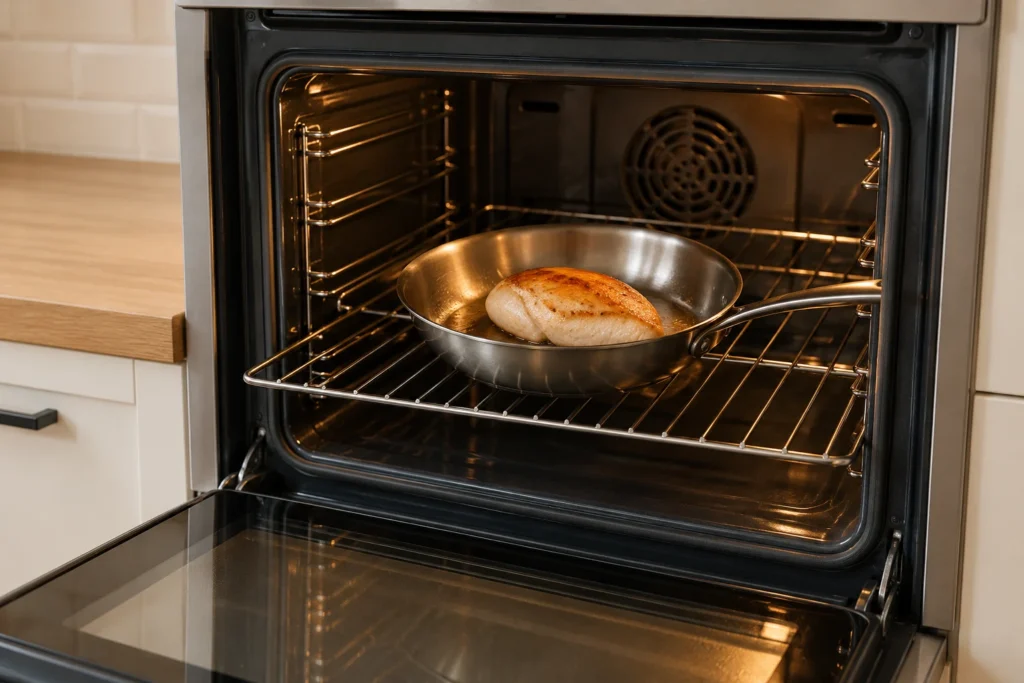
A 425°F oven, hot enough to cook the breast through quickly without leaving it in long enough to dry out, is the more reliable target than the lower, slower temperatures a lot of older recipes still call for. A bone-in, skin-on breast takes roughly 25 to 30 minutes at that temperature; boneless, skinless runs closer to 18 to 22 minutes depending on thickness. Starting the thermometer check a few minutes before the low end of that range, rather than trusting the clock alone, catches a breast that’s running ahead of schedule before it overshoots.
Poaching, the method nobody thinks to use but should
Poaching is the most forgiving method available for chicken breast, genuinely difficult to overcook by accident, which makes it worth knowing even for someone who’ll rarely reach for it as a first choice. Submerge the breast in liquid (water, broth, or a mix) barely trembling, not bubbling, and cook until it reaches 165°F, usually 12 to 15 minutes depending on thickness. The gentle, even heat of a bare simmer makes the kind of overshoot that ruins a pan-seared or oven-baked breast far less likely, which makes this the method worth defaulting to for shredded chicken headed into a dish where the breast itself isn’t the star of the plate.
Resting it matters just as much as any other cut
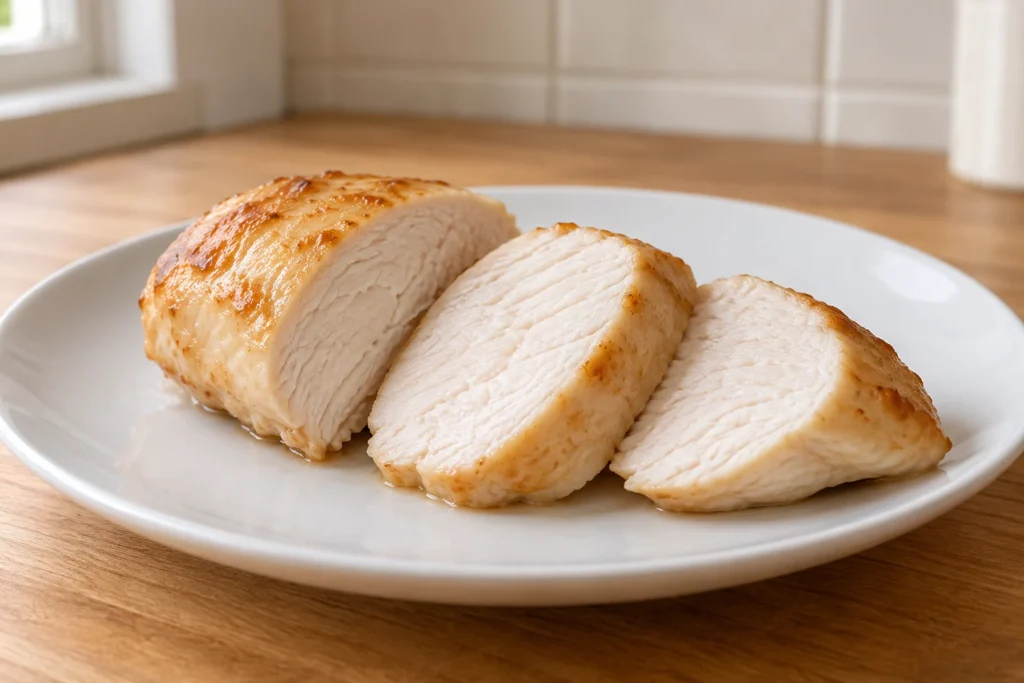
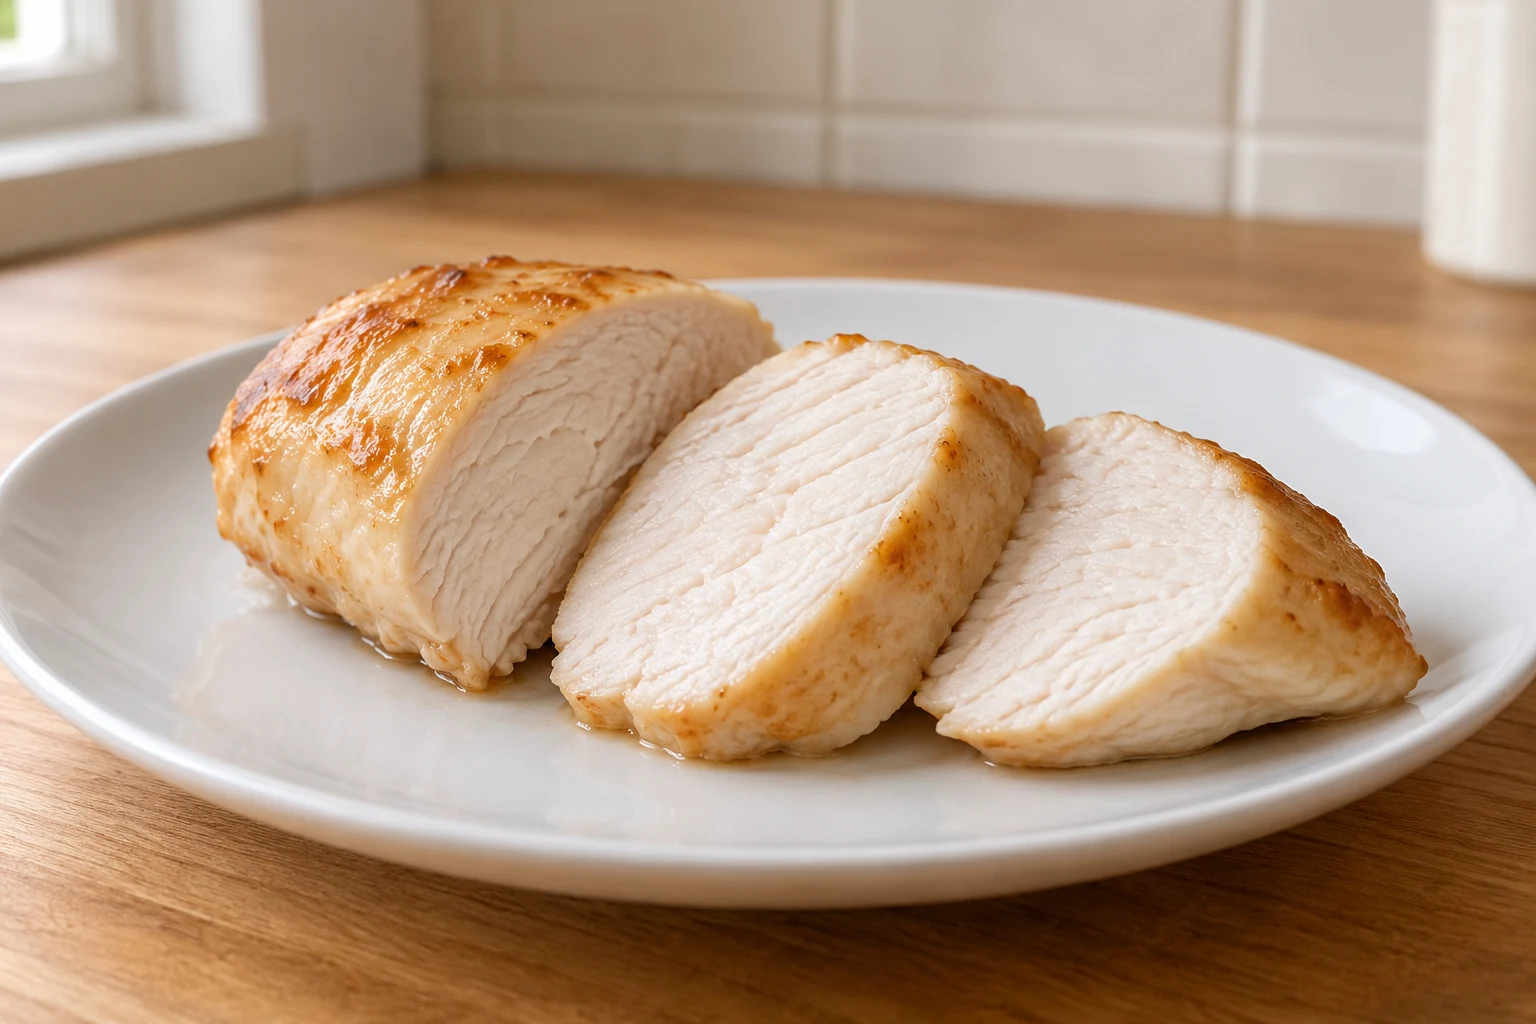
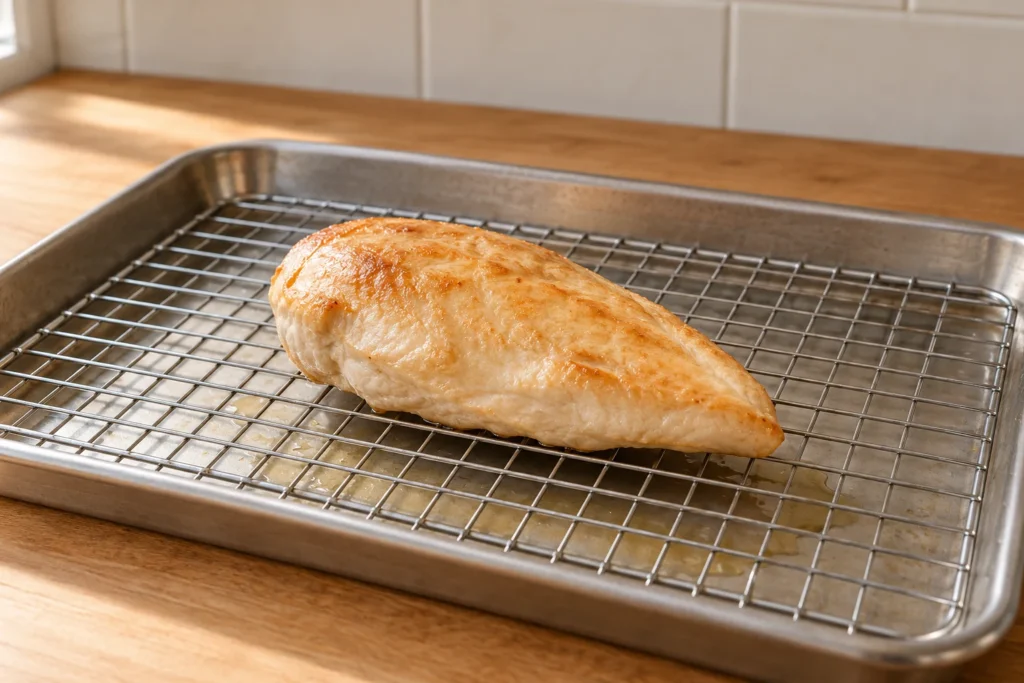
A chicken breast cut into immediately off the heat loses a real, noticeable amount of moisture onto the cutting board instead of keeping it where it belongs. The same resting mechanism that applies to a steak applies here: five minutes, loosely tented, gives the juices pushed toward the center during cooking time to redistribute evenly through the meat before the first cut releases them. Skipping this step on a cut with as little moisture margin as chicken breast is a disproportionately costly shortcut compared to skipping it on a fattier cut that has more to spare.
Mistakes that quietly ruin an otherwise fine piece of chicken
- Cooking it straight from the fridge. A cold center takes longer to come up to temperature, which gives the outside more time to overcook while the inside catches up. Letting it sit at room temperature for 15 to 20 minutes before cooking closes that gap.
- Trusting color instead of a thermometer. Chicken can look fully opaque and white well before it’s actually reached 165°F, and the reverse is also true: a slightly pink spot near the bone on a bone-in piece doesn’t automatically mean it’s underdone. An accurate instant-read thermometer settles the question a visual check can’t.
- Skipping the pound or butterfly on a noticeably uneven piece. This is the single most common reason one bite is perfect and the next, from the same piece, is dry.
- Flipping constantly in the pan. Each flip resets the browning process and adds time without adding anything useful; two flips, maybe three, is usually enough for a properly seared breast.
- Not salting ahead of time. A breast salted only right before it hits the pan never gets the chance to actually season itself the way one salted an hour ahead does.
When whole-bird logic applies instead
Everything above is about cooking a chicken breast on its own, separated from the rest of the bird. Roasting a whole chicken is a different problem entirely, since the breast and legs finish at meaningfully different rates and the whole-bird technique has to account for both at once rather than optimizing for breast meat alone. Anyone roasting a whole chicken specifically because of how the breast turns out should read that guide instead; anyone working with just the breast, bought separately or portioned out ahead of time, is better served by everything covered here.
Storing and reheating it without redoing the dry-out
Cooked chicken breast keeps for 3 to 4 days refrigerated, and it’s worth storing whole or in large pieces rather than pre-sliced, since less exposed surface area means less moisture lost in the fridge. Reheating gently matters even more here than on fattier cuts: a low oven around 300°F with a splash of broth added and the dish covered, or a covered pan over low heat with a similar splash of liquid, brings leftover chicken breast back close to its first-day texture. A microwave on full power is the fastest way to turn already-lean meat into something genuinely unpleasant, since it tends to overheat the edges long before the center has caught up, compounding the exact moisture problem this whole cut is already prone to.
This is a technique guide, not a food-safety substitute. Always cook chicken to a safe internal temperature using a reliable thermometer. Reference: USDA/FoodSafety.gov safe minimum cooking temperatures.
Visual steps