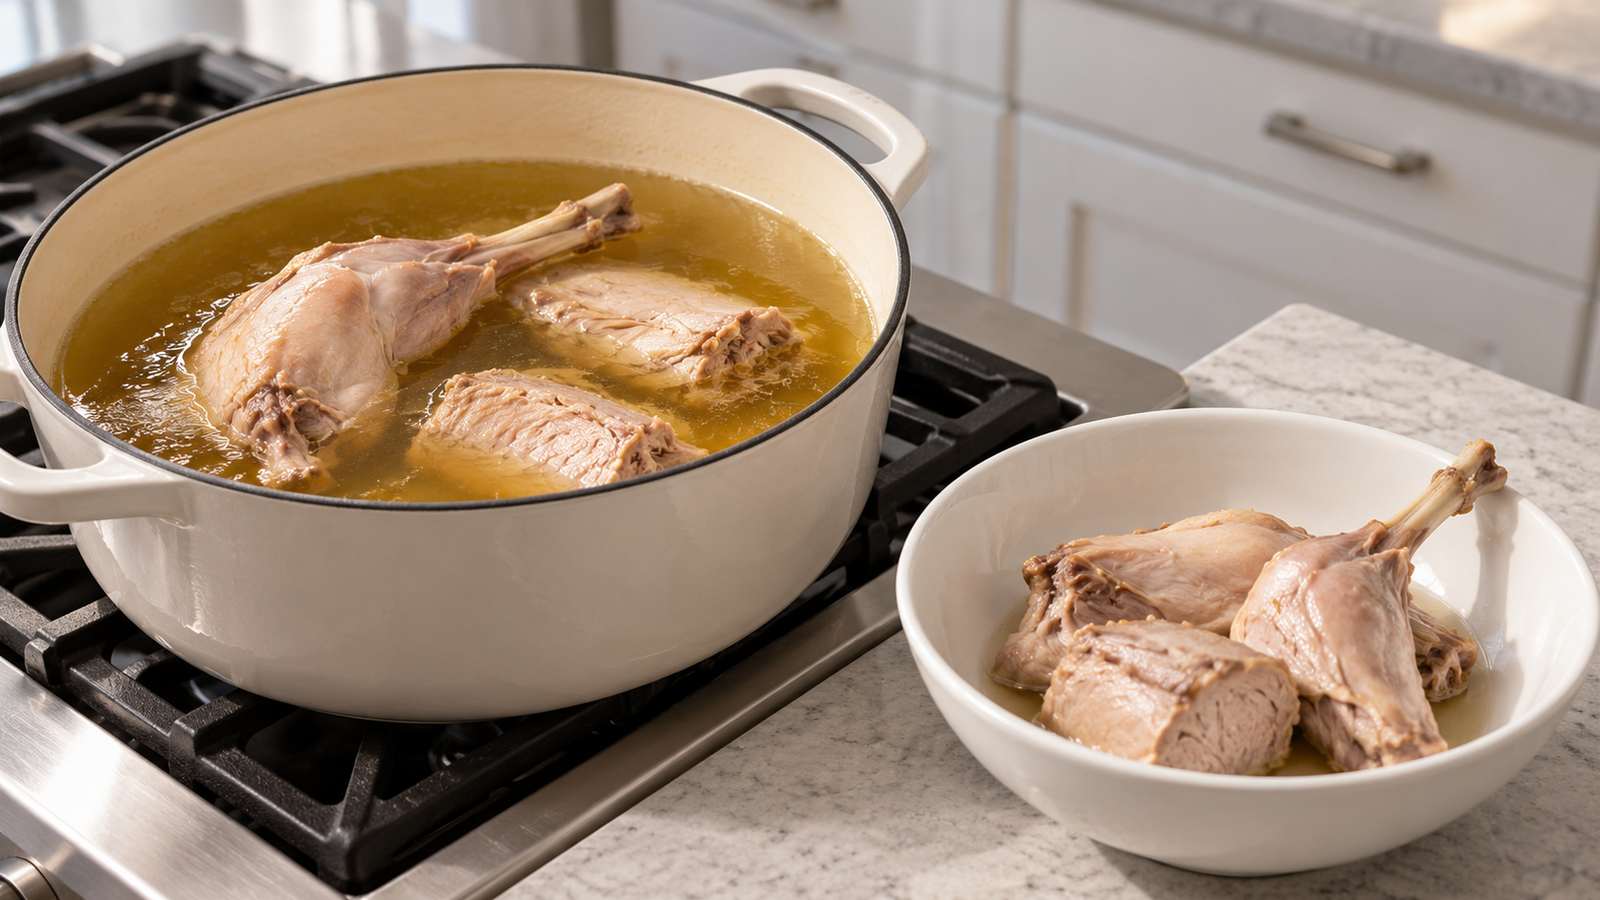
Rabbit intimidates a lot of home cooks who’ll happily roast a whole chicken without a second thought. Part of it is unfamiliarity, part of it is the animal’s reputation for drying out if you so much as glance at it wrong. Both concerns mostly disappear once you stop trying to roast rabbit like poultry and braise it instead, in its own bone broth, low and slow until the meat is falling off the bone.
Why rabbit dries out, and why braising solves it
Rabbit is exceptionally lean. Leaner than skinless chicken breast, with almost no intramuscular fat to protect the meat from dry heat. Roasting it the way you’d roast a chicken, exposed to hot, dry oven air, drives moisture out fast and leaves you with the tough, stringy texture rabbit is unfairly known for. A braise works against that problem directly: the meat sits submerged in liquid at a gentle simmer, which cooks it through without ever exposing it to dry heat, and the extended low-temperature time breaks down the rabbit’s connective tissue into gelatin the same way it would in a beef or lamb braise.
What you need
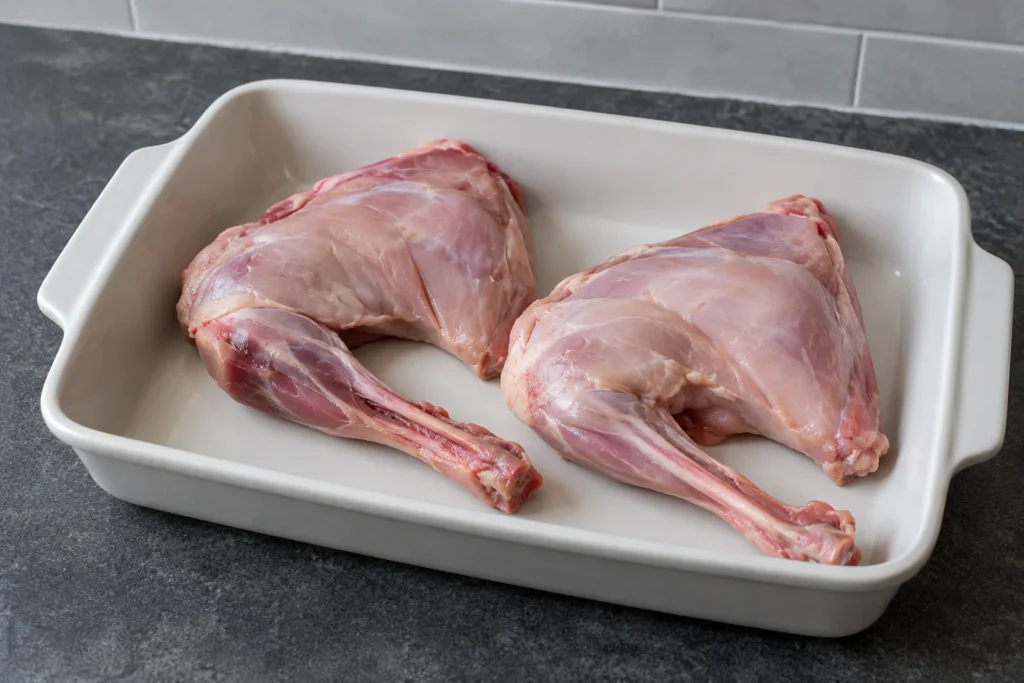
- 1 whole rabbit, cut into 6–8 pieces (or ask your butcher to do this)
- 4 cups beef or chicken bone broth (homemade, meat and bones only. No vegetable stock)
- 2 tbsp tallow or lard
- Coarse salt
- Optional: a light crack of black pepper
No wine, no mustard, no bay leaf, no carrots or celery. The usual braising aromatics are all plant-based, and none of them make it into this version. The bone broth itself is doing the flavor-building work that a mix of wine and vegetables would normally do in a conventional braise.
How to make it
- Pat the rabbit pieces dry and salt them generously on all sides. Let them sit at room temperature for 20–30 minutes while you heat the fat.
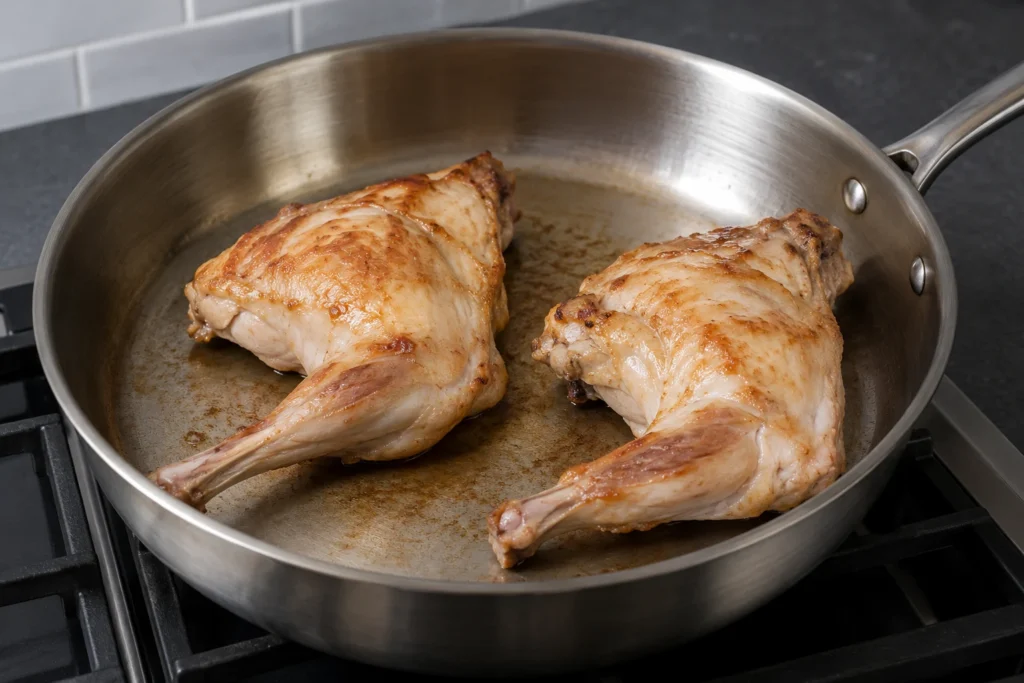
- In a heavy pot or Dutch oven, melt the tallow over medium-high heat until shimmering. Brown the rabbit pieces in batches, a few minutes per side, until deeply golden. Don’t crowd the pot, since crowded pieces steam instead of browning. Set the browned pieces aside as you work through the batches.
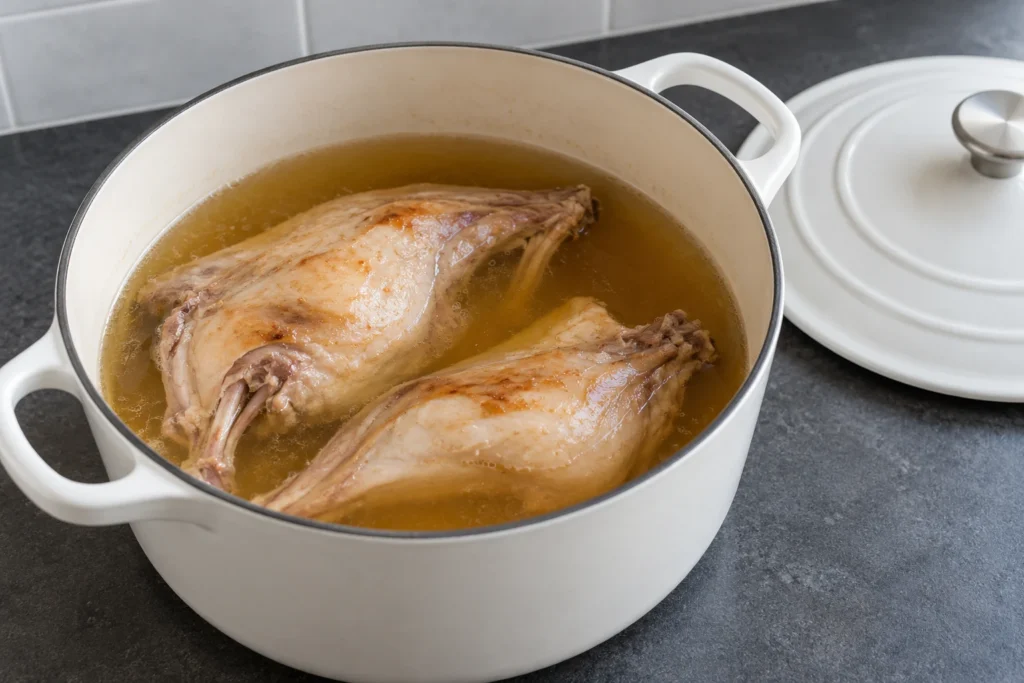
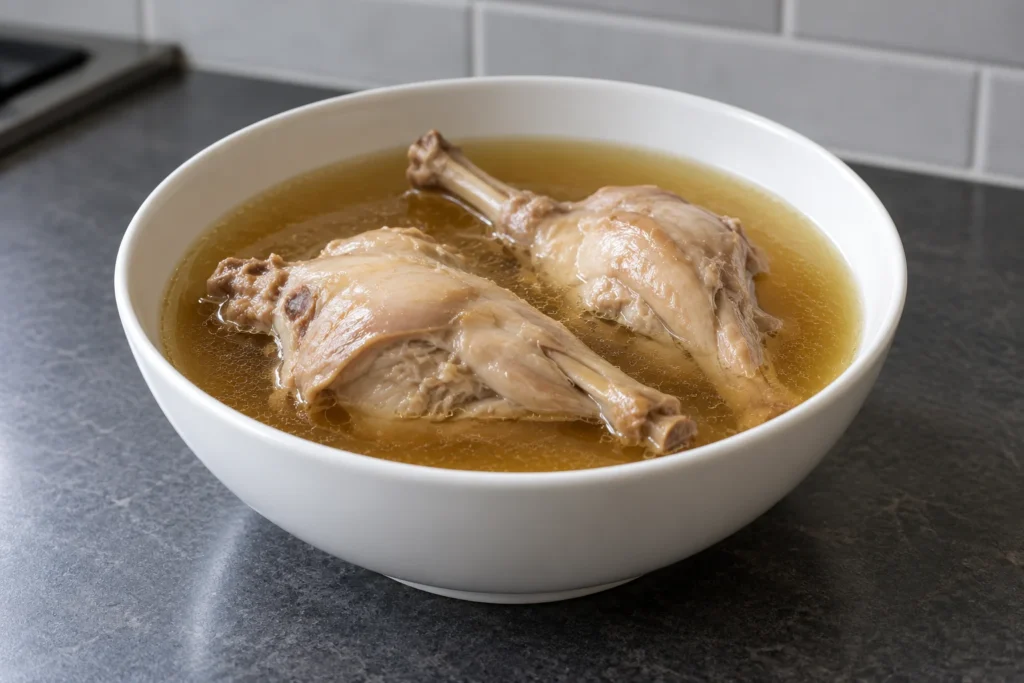
- Once all the rabbit is browned, return everything to the pot and pour in the bone broth until the pieces are mostly submerged, with the tops just peeking above the liquid.
- Bring to a gentle simmer on the stovetop, then cover and either keep it on the lowest stovetop setting or transfer to a 300°F oven. Either works; the oven holds a steadier, more even temperature if your stovetop runs hot even on low.
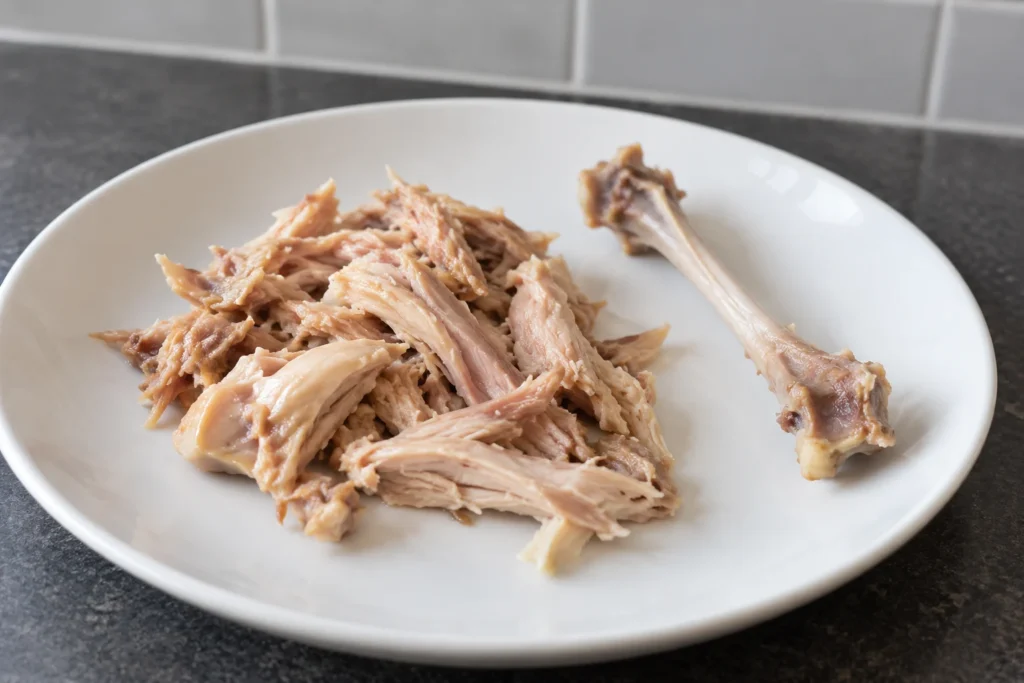
- Braise for 1½ to 2 hours, until the meat is tender enough to pull away from the bone with light pressure from a fork. Check at the 1½-hour mark and continue in 15-minute increments from there if it’s not quite there yet.
- Remove the rabbit pieces and, if you want a thicker sauce, simmer the remaining broth uncovered over medium heat for 10–15 minutes to reduce it before spooning it back over the meat.
The temperature question for rabbit specifically
Rabbit sits in an unusual spot in food-safety guidance. The USDA treats rabbit as a distinct category from both poultry and red meat, and the commonly cited safe minimum internal temperature for rabbit is 160°F. Higher than the 145°F floor for whole-muscle red meat, closer to (though still below) poultry’s 165°F. Practically, this braise makes the question close to moot: by the time rabbit is tender enough to pull apart after an hour and a half to two hours at a gentle simmer, it has been well above 160°F throughout for a sustained period, far beyond the single-point temperature check that matters more for a quickly cooked cut. If you want to confirm anyway, an instant-read thermometer in the thickest part of a hind leg piece is the spot to check.
Why this braise skips the usual aromatics and still tastes complete
A conventional rabbit braise leans heavily on wine, mustard, and a vegetable base to build a complex sauce, and skipping all of that might sound like it leaves a gap. In practice, browning the rabbit well before braising and using a real bone broth. One that actually gels when chilled, meaning it’s extracted real collagen and flavor from the bones. Covers most of that ground. The Maillard browning on the rabbit itself contributes a roasted depth that a liquid-only braise lacks, and a properly made bone broth carries far more savory concentration than most people expect from something built on just bones, meat, and water.
Working with whole rabbit pieces
Rabbit has less meat relative to bone than chicken, and the pieces are smaller and more irregular in shape once cut up. The saddle (back) pieces are the meatiest and most tender; the legs carry more connective tissue and benefit most from the extended braise time. If your pieces vary significantly in size, check the smaller pieces first for tenderness since they’ll finish before the larger leg pieces do. You can pull smaller pieces out early and keep them warm while the rest continues braising, rather than overcooking everything to match the slowest piece.
Sourcing rabbit
Farmed rabbit, the kind most commonly available through a butcher or specialty meat counter, is consistently mild and tender, closer in character to chicken than most people expect going in. Wild rabbit is a different animal in practice. Leaner still, more variable in age and toughness depending on how and when it was taken, and more likely to need the full upper end of the braising time given here or slightly longer. If you’re working with wild rabbit and it’s still tough after two hours, keep going in 20-minute increments rather than assuming something went wrong; older wild rabbit can occasionally need closer to three hours total before the connective tissue fully gives way. Farmed rabbit almost never needs beyond the two-hour mark.
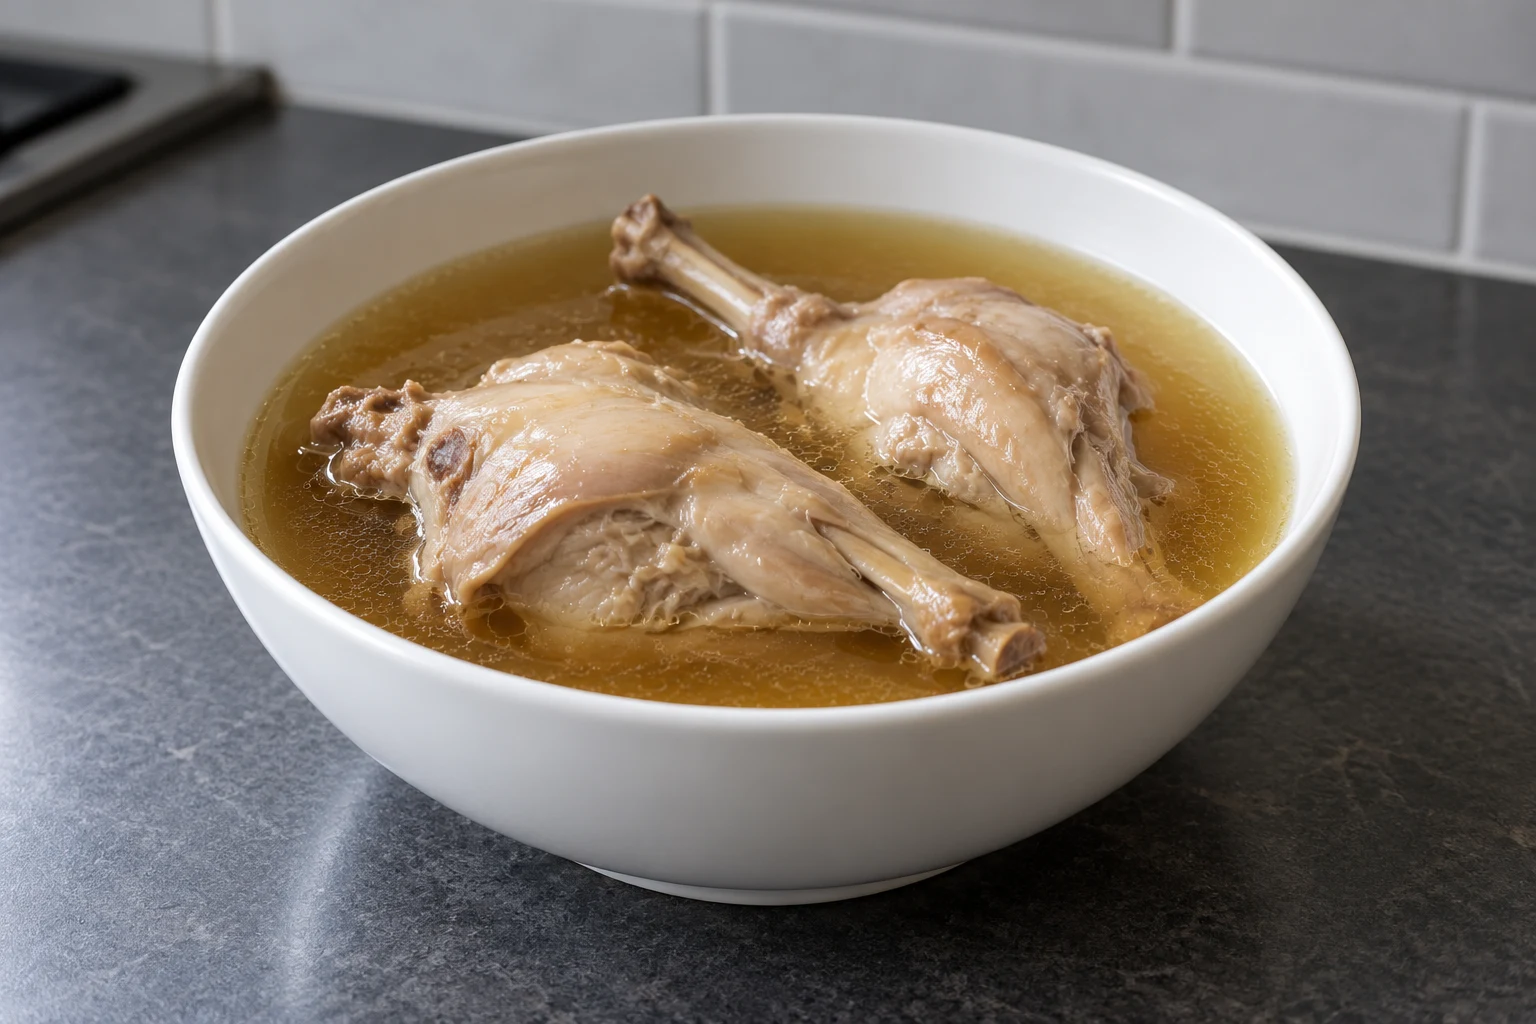
If you’ve never broken down a whole rabbit yourself, most butchers who sell it whole will cut it into pieces on request at no extra charge, and there’s no real downside to asking rather than learning the breakdown yourself the first time.
Getting a real brown on the rabbit before it braises
The browning step is easy to rush, and rushing it is the single biggest thing that separates a flat-tasting braise from one with real depth. Rabbit pieces are irregular in shape, with bone close to the surface in a lot of spots, which makes it tempting to pull them off the heat the moment any color develops. Resist that and let each side genuinely brown (a deep golden color, not just a light tan) before flipping or removing a piece. This usually takes 3–4 minutes per side per batch, longer than most people expect for a animal this size. If the pot seems to be smoking excessively or the fat looks like it’s breaking down, the heat is too high; back it off slightly rather than pulling the rabbit early.
Once all the rabbit is out of the pot and before you add the broth, take a moment to scrape any browned bits stuck to the bottom of the pot loose with a wooden spoon or spatula. Those stuck bits, sometimes called fond, are concentrated flavor from the browning process, and leaving them stuck to the pot instead of incorporating them into the broth is a straightforward way to leave flavor behind that you already paid for in time.
Common questions
Do I need a Dutch oven specifically, or will any pot work?
Any heavy pot with a tight-fitting lid works. What matters more than the specific pot is that it holds heat evenly without hot spots, since an uneven pot can scorch the broth on one side while the rest stays at a gentle simmer. If you’re using a thinner pot, the oven method tends to distribute heat more evenly than a stovetop burner would with the same pot.
The meat is tender but the broth tastes thin. What went wrong?
Almost always the starting broth. A braise built on a weak or watered-down stock will never develop more flavor than it started with, no matter how well the rabbit itself browns or how long it simmers. Using a broth that genuinely gels when chilled (a sign of real collagen extraction) solves this more reliably than extending the cook time of a thin broth and hoping it concentrates on its own.
Can I use plain water instead of bone broth if I don’t have any on hand?
You can, but you’ll lose most of the depth this braise is built around, since bone broth is carrying a significant share of the flavor in a recipe with no wine, vegetables, or herbs to lean on instead. If water is genuinely all you have, lean harder into the browning step, since the fond from well-browned rabbit becomes an even larger share of the final flavor when the liquid itself starts out neutral.
Storage and reheating
Braised rabbit keeps, submerged in its own broth, for four to five days refrigerated. The broth itself acts as a protective barrier against drying out, which is one more reason to keep meat and liquid together in storage rather than separating them. Reheat gently on the stovetop, covered, until warmed through to 165°F, which is the standard target for reheated cooked meat generally. The dish also freezes well for up to three months, submerged in its braising liquid in a sealed container, and thaws and reheats the same way.
If this braise is your introduction to cooking with real bone broth rather than store-bought stock, it’s worth understanding what separates a broth that gels from grey water before your next batch, since the broth you use here directly determines how much flavor this braise ends up with. The browning step at the start follows the same logic covered in choosing and treating a braising cut, even though rabbit is a different animal entirely from the beef cuts discussed there. And if rabbit’s leanness has you curious about other lean proteins that need a different approach than fattier cuts, cooking lean game without drying it out covers the same underlying problem from a different angle.
What to do with the braising liquid after the meal
Don’t discard the liquid left in the pot once the rabbit is served. It has picked up gelatin, rendered fat, and concentrated flavor over the full braise, which makes it close to a finished sauce or a strong soup base on its own. Strained and chilled, it will set into a soft gel, the same sign of real collagen extraction that a good standalone bone broth shows. Reheated gently, it works as a simple sauce spooned back over the rabbit, or it can be portioned and frozen on its own to use as a flavor base the next time you’re making a different braise or simmering down another batch of bones. Treating it as a byproduct worth keeping, rather than something to pour down the drain once the meal is plated, is consistent with the broader idea that almost nothing from a whole animal needs to go to waste if you’re willing to hang onto it for a day or two.
This is also a useful dish to scale up deliberately. A single rabbit doesn’t feed a large table on its own, so if you’re cooking for more than two or three people, braising two whole rabbits in the same pot, in roughly double the broth, works cleanly without any change to the method. Just make sure the pot is large enough that both rabbits are still mostly submerged, and expect the same cook time rather than a longer one, since braise time is driven by the size of the individual pieces, not the total quantity in the pot. Browning two rabbits’ worth of pieces will simply take longer in batches, so budget extra time for that stage specifically rather than the braise itself.
For a dish with a reputation for being fussy, the actual hands-on time here is short. Most of the work is browning, which takes fifteen minutes at most, and everything after that is unattended simmering. Rabbit’s reputation for being difficult has much more to do with people cooking it the wrong way than with the animal itself being genuinely hard to get right. Give it the same patience you’d give a beef or lamb braise, and it rewards you with the same fall-apart result, just on a smaller, quicker animal.
Visual steps
