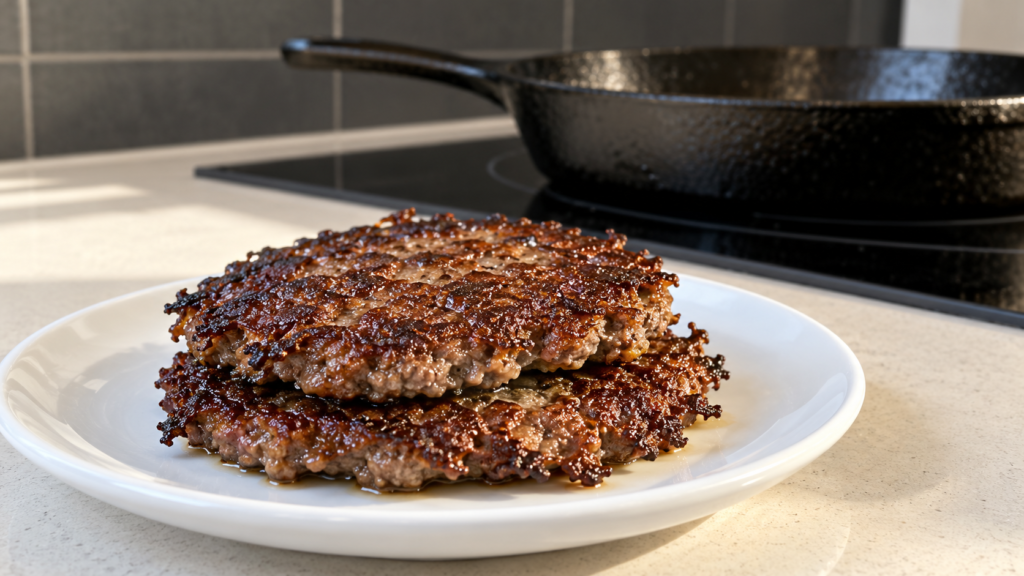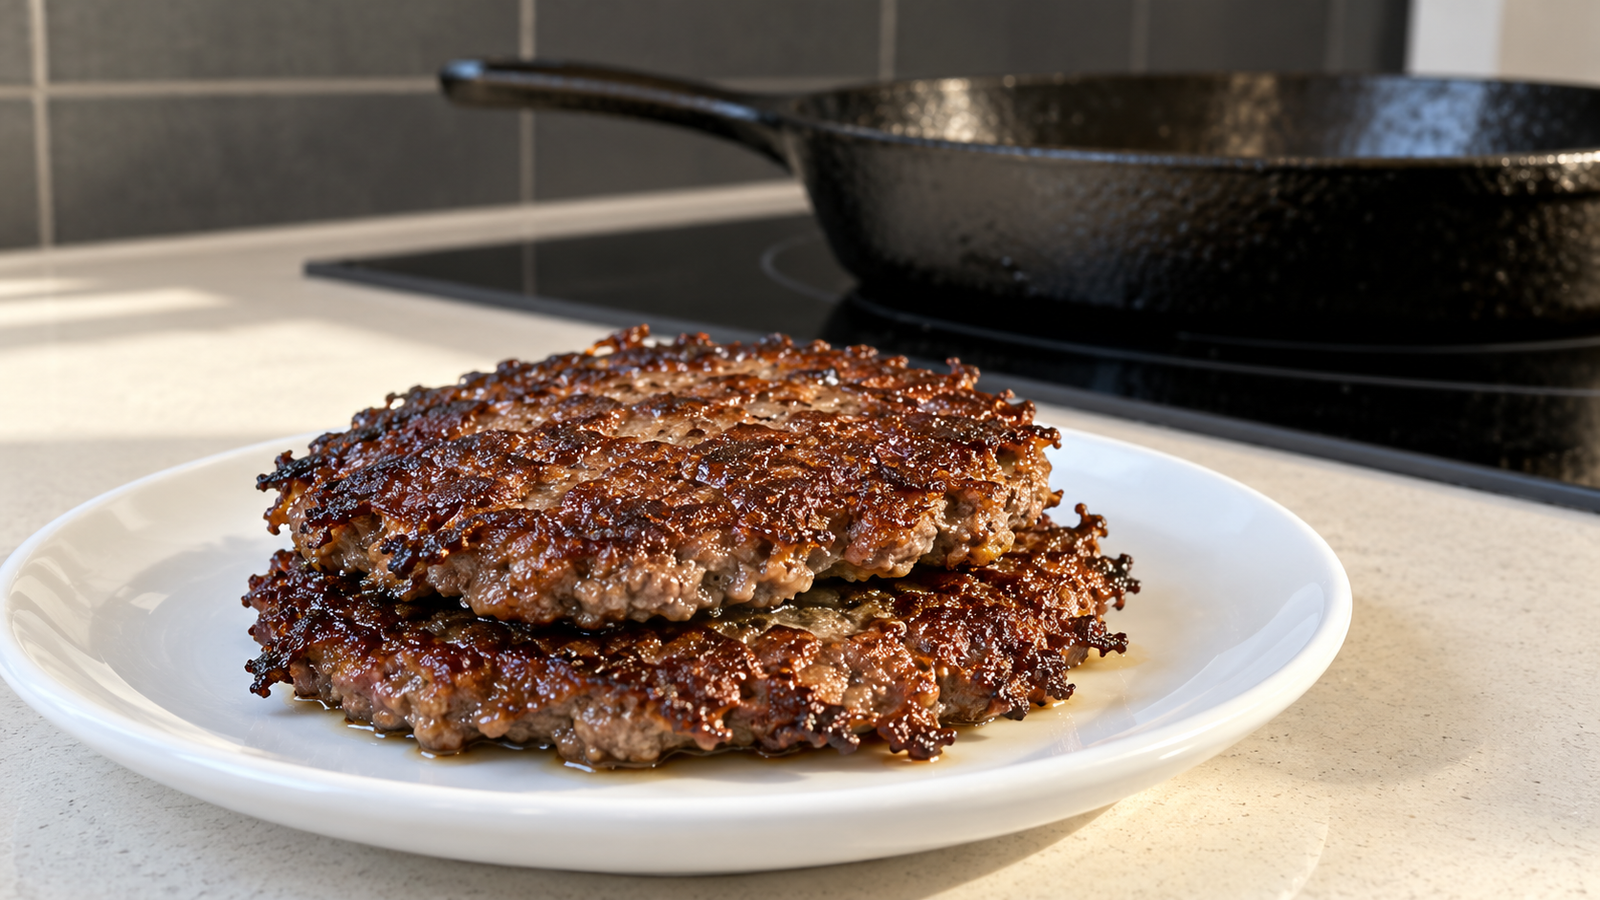
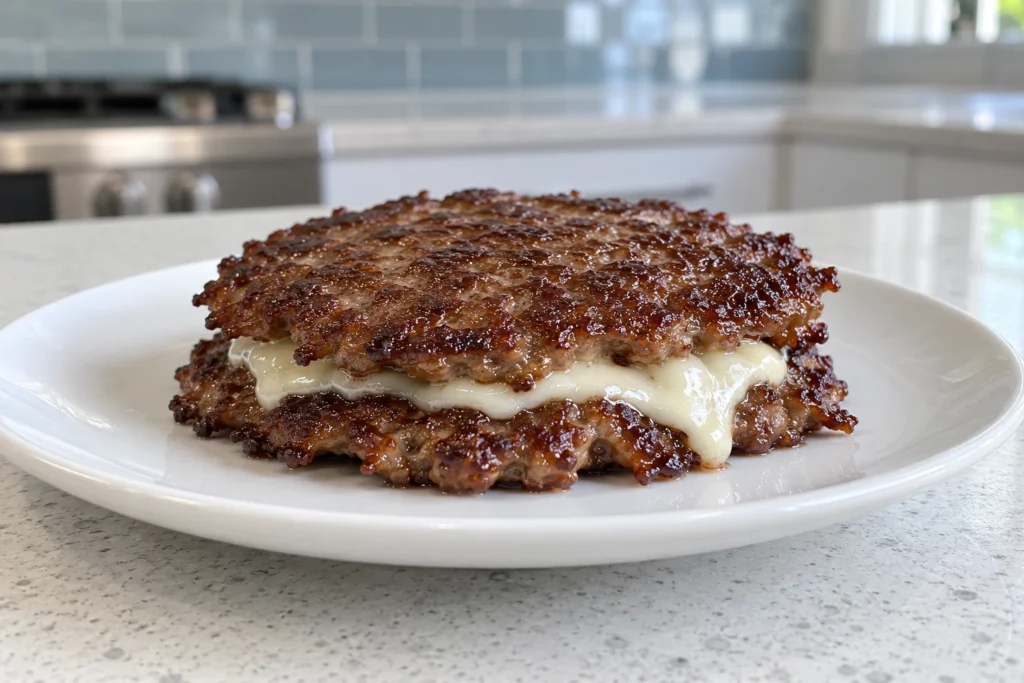
The pan is screaming hot, the ball of ground beef hits the surface, and you have about four seconds to flatten it before the moment passes. Smash too late and you get a pale, steamed patty. Smash hard and fast at the right second and you get a thin disc with a lace of dark brown crust clinging to almost every square inch of the meat. That crust, not the bun, is the entire point of a smash burger, which works out well here, because there is no bun in this version at all. Two thin, violently seared patties stacked with rendered beef fat and, if you want it, a layer of melted cheese is a complete carnivore meal that takes less time to cook than it takes to read this sentence twice.
Smash burgers reward a narrow set of conditions: hot surface, thin patty, minimal handling, and a short cook. Miss any one of those and you end up with a regular burger that happens to be flatter. This recipe walks through all four, plus the stacking technique that turns two patties into something that eats bigger than its size suggests.
Why smashing works, briefly
Flattening the patty forces far more of its surface into direct contact with hot metal at once, which is what drives the Maillard browning and the craggy, lace-edged crust the style is known for. The full mechanics of why that works, fat content, pan heat, and the moisture side of the equation are covered in more depth in this site’s single-patty smash guide. This article picks up from there and focuses on what changes once you’re stacking two patties instead of cooking one.
Choosing the beef
Standard 80/20 ground beef (80 percent lean, 20 percent fat) is the reliable choice for this method, and you don’t need anything fancier. A coarser, fresh grind from a butcher counter smashes into a craggier surface than a fine, pre-packaged grind, simply because the individual bits of meat and fat separate more roughly under pressure instead of flattening into a single smooth disc. If you only have access to leaner beef, 85/15 still works, but you will lose some of the self-basting effect and should watch the second side closely so it doesn’t dry out before hitting temperature. Avoid anything leaner than that for this specific method, a 90/10 patty smashed this thin has almost nothing left to keep it from turning tough and chalky in the sixty to ninety seconds it spends in the pan.
What you need
- 1 lb (450g) ground beef, 80/20 fat ratio, cold from the fridge
- 1 tablespoon beef tallow or rendered beef fat, plus more for the pan
- Salt, to taste
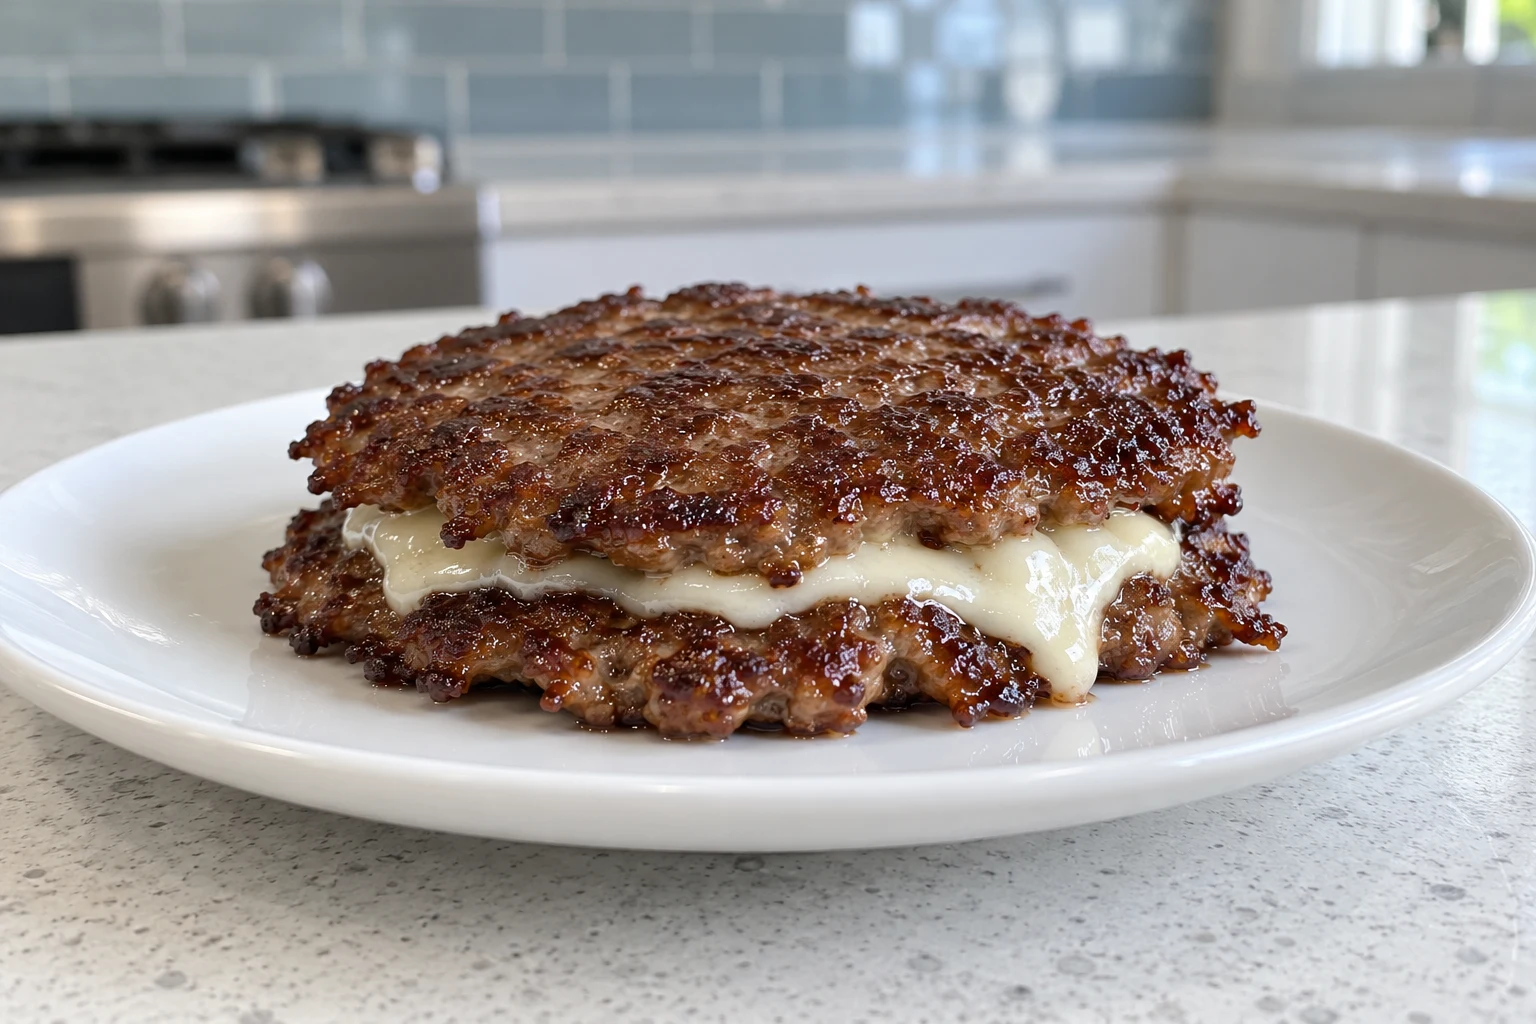
- Optional: 2-4 slices of a hard cheese that melts well (cheddar, American-style, or a sharp cheese of your choice)
That is the entire ingredient list. No binder, no filler, no seasoning beyond salt. Cold beef matters more than it sounds like it should, it holds together better when you form the balls, and it gives you a slightly longer window before the fat starts smearing instead of searing.
Equipment
A cast-iron skillet or carbon steel pan is strongly preferred over a nonstick pan here. You need a surface that can hold serious heat and that you are willing to scrape hard against with a metal spatula. You also want a sturdy, flat-edged metal spatula or a dedicated burger smasher, and a second heavy, flat object (a second spatula, a bacon press, or even a clean, flat-bottomed pot) to add extra downward force in the first couple of seconds. A thin metal spatula with a sharp, straight edge also does double duty as the tool you’ll use to scrape the crust cleanly off the pan surface when you flip, a thick, rounded edge tends to leave some of the best-browned bits stuck behind.
Step by step
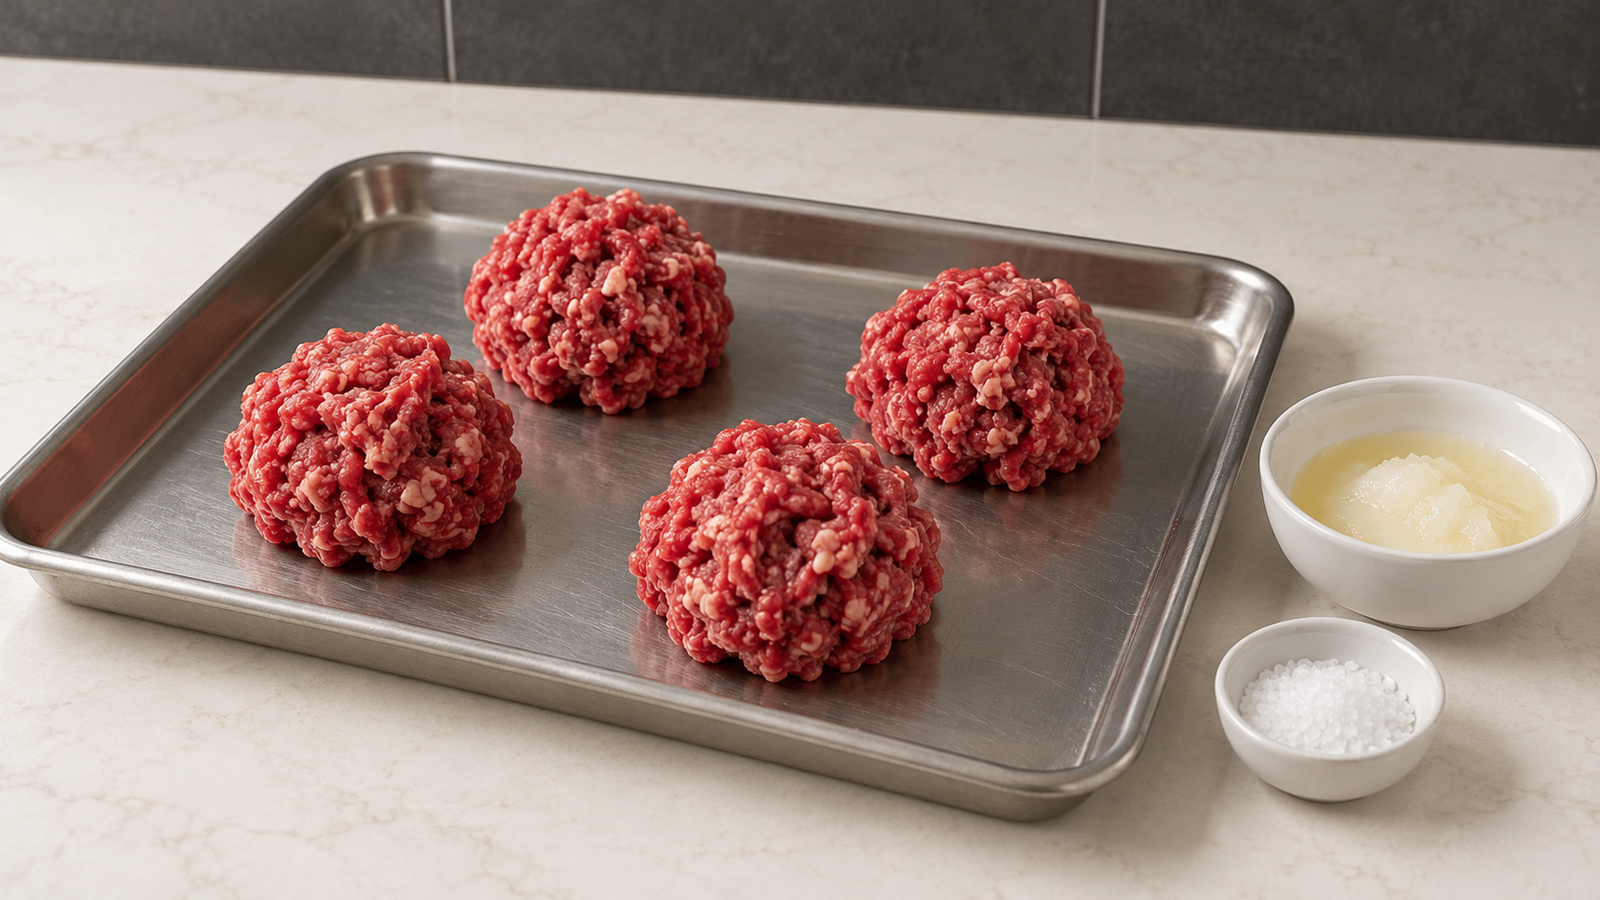
- Divide the cold ground beef into four equal balls, roughly 4 oz (115g) each. Don’t pack them tightly, a loose, barely-formed ball smashes into a craggier, more crust-friendly surface than a dense one.
- Heat the skillet over high heat for a full 3-4 minutes before adding any fat. You want it close to smoking. Add a thin coating of tallow once it is hot, not before.
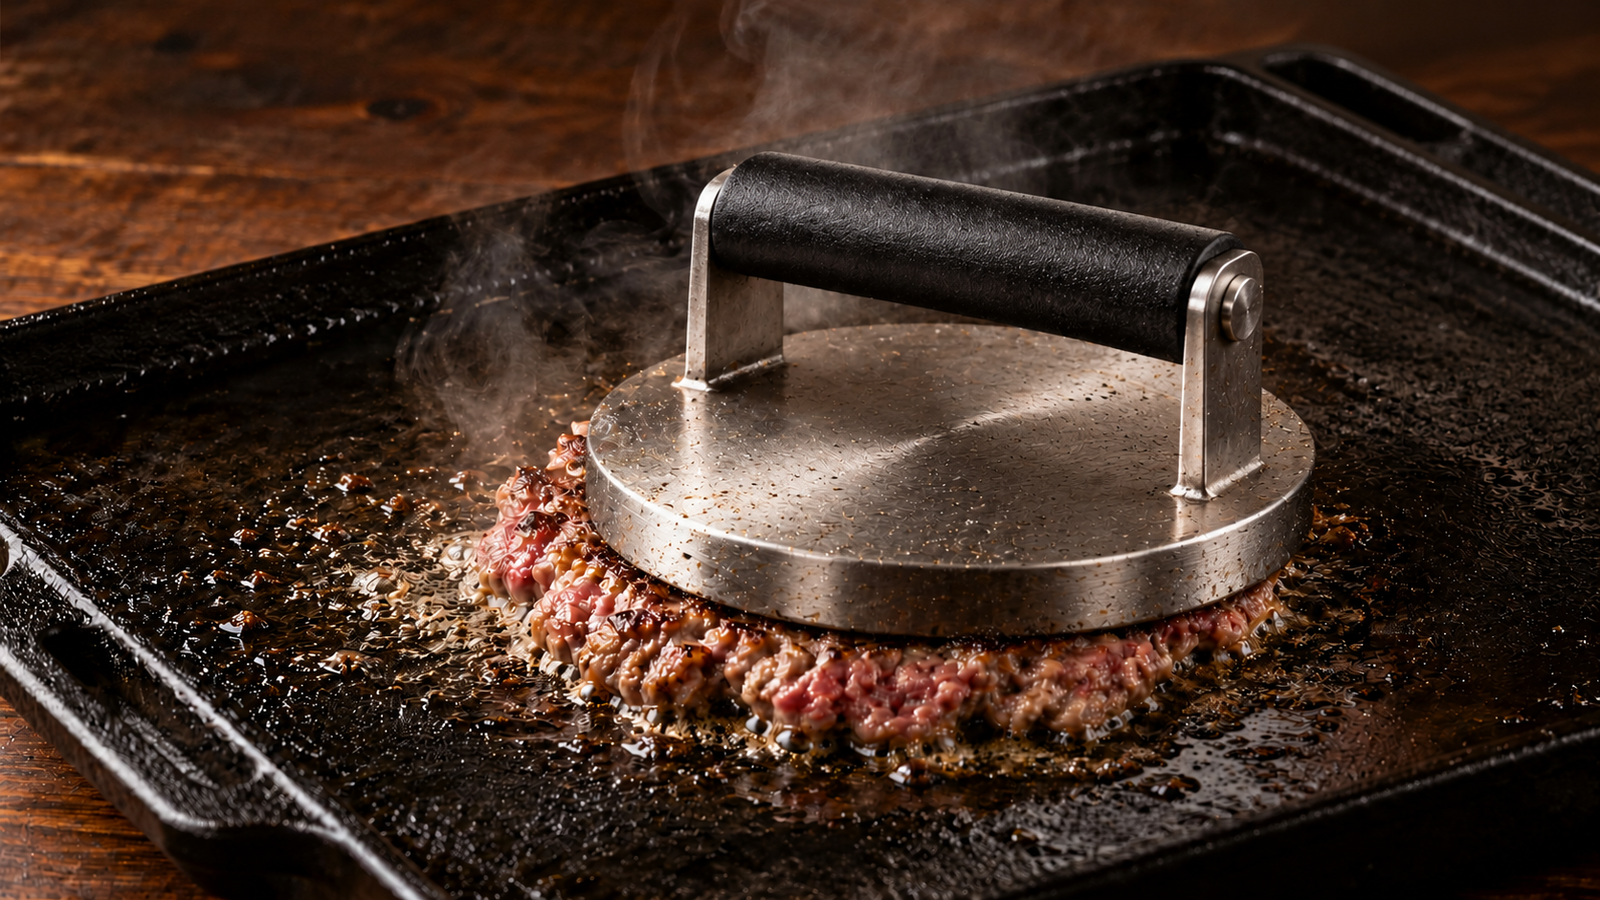
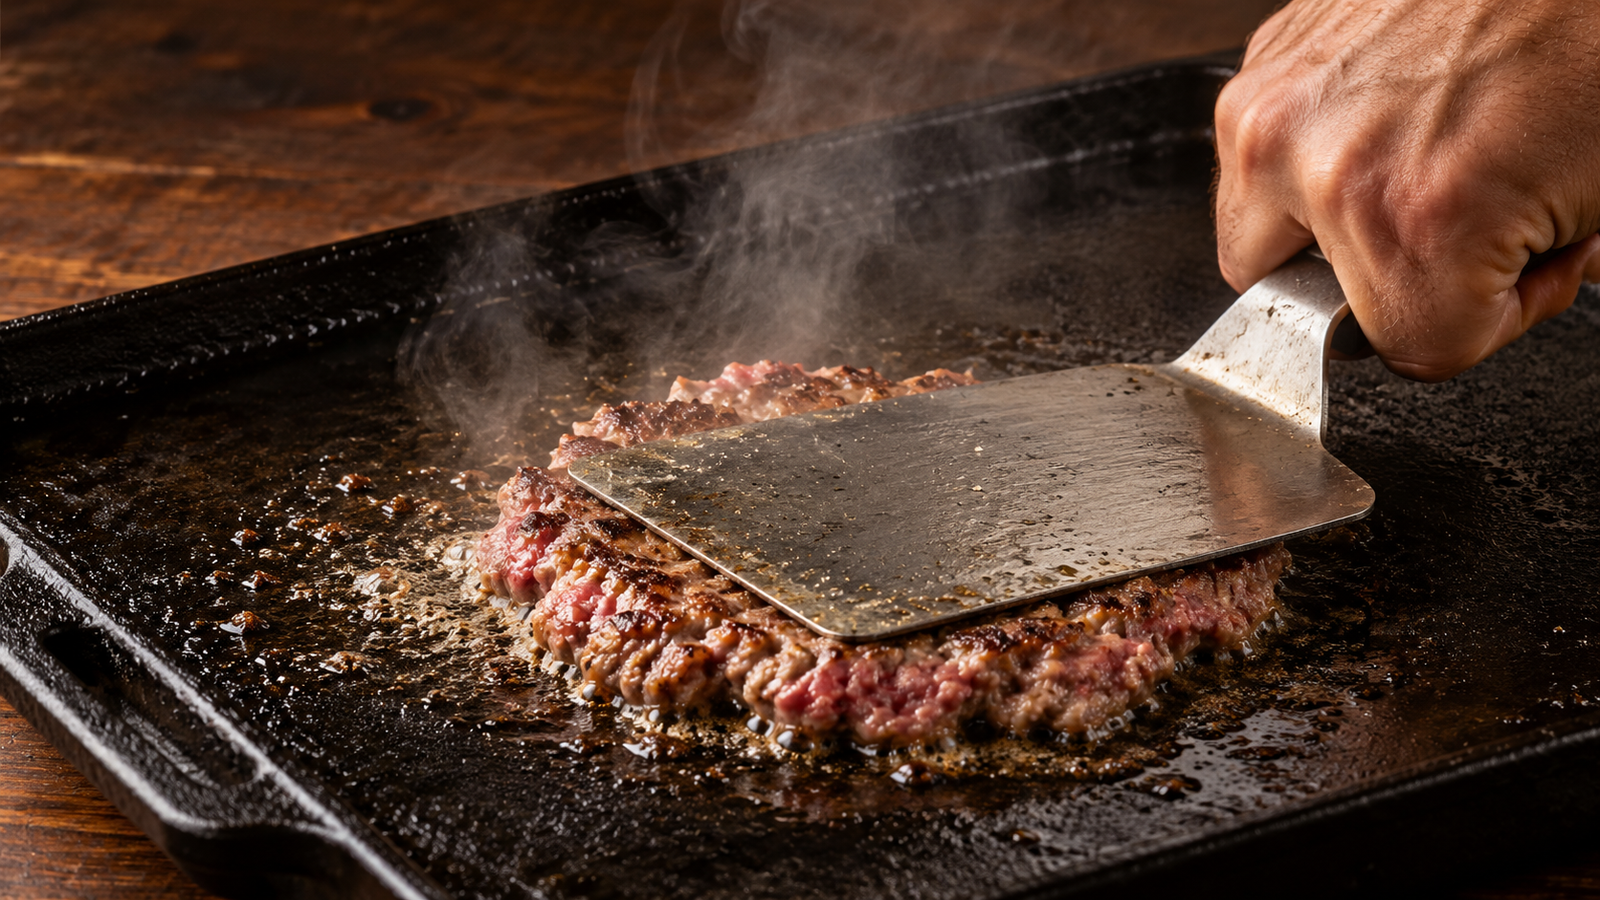
- Place one ball of beef in the skillet and immediately press it flat with the spatula, using the second heavy object on top of the spatula for extra force. Hold firm pressure for 3-5 seconds. The goal is a patty roughly 1/4 inch thick and noticeably wider than it was as a ball, with the edges turning craggy and lacy.
- Salt the exposed top surface immediately. Repeat with the remaining balls if your skillet is large enough to fit more than one; otherwise work in batches.
- Leave the patties completely alone for 90 seconds to 2 minutes. Resist poking or lifting an edge to check. You will tear the crust before it has fully formed. You will know it is ready when the edges look deeply browned and slightly crisp.
- Flip each patty in one confident motion. If using cheese, add it now, directly onto the just-flipped patty, so it has the full remaining cook time to melt.
- Cook the second side for another 60-90 seconds. Ground beef should reach a minimum internal temperature of 160°F (71°C), per USDA guidance for all ground meats. At this thickness it will hit that mark quickly, so start checking around the 60-second mark on the second side if you have a thermometer handy.
- Remove the patties and let them rest for 60 seconds on a plate before stacking. Stack two patties together, cheese side facing in if you used it, and serve immediately while the crust is still audibly crisp.
Patty thickness and crust time
Thickness changes everything about timing. This is the rough relationship to expect, assuming a consistently hot pan:
| Patty thickness | First-side time | Crust character |
|---|---|---|
| 1/8 inch (very thin, more surface area) | 60-75 seconds | Maximum crust, minimal interior, cooks almost entirely through from the sear alone |
| 1/4 inch (standard smash) | 90-120 seconds | Heavy crust with a thin band of pink-to-gray interior |
| 3/8 inch (lightly smashed) | 2-3 minutes | Good crust, more interior texture, closer to a regular thin burger |
If your patties are coming out gray and steamed rather than browned and crisp, the most common cause is a pan that wasn’t hot enough before the meat went in, or a pan overcrowded with too many patties cooling the surface down at once. Work in smaller batches on a hotter pan rather than a full pan at a lower temperature.
Tips for getting the crust right every time
- Smash immediately after the beef hits the pan. Waiting even ten seconds lets the bottom start to set, and you’ll tear the patty instead of flattening it cleanly.
- Use a thin coat of fat, not a pool. A pan swimming in tallow insulates the meat from direct contact rather than helping it sear.
- Don’t move the patty once it’s down. Every time you nudge it, you’re disturbing the crust that’s forming underneath.
- Scrape the pan clean between batches if you’re cooking more than one round. Leftover fond can scorch and turn bitter on the next patties.
Common mistakes
- Starting with a pan that isn’t hot enough. A lukewarm pan produces gray, steamed meat no matter how hard you smash. Give the empty pan a full three to four minutes on high heat before the fat and beef go in.
- Forming tight, dense meatballs before smashing. A compacted ball smashes into a smooth, even surface with far less of the craggy texture that holds crust. Handle the beef as little as possible when forming it.
- Flipping too early, out of impatience. If the crust hasn’t set, the patty will tear and stick instead of releasing cleanly. Give it the full window and check the edge color before you flip.
- Salting before the beef goes in the pan. Salting raw ground beef too far ahead draws moisture to the surface and can leave you with a slightly denser, springier patty. Salt it the moment it hits the heat, not before.
- Skipping the rest. A patty straight off blistering-hot cast iron is still finishing its carryover cooking. Sixty seconds of rest settles the temperature and makes the stack easier to handle without the top patty sliding off.
Variations once you have the technique down
The same smashing method works on other ground meats with small adjustments. Ground lamb smashes beautifully and renders even more aggressively than beef, so pull it slightly earlier. Ground venison or other game meat is lean enough that you may want to mix in a spoonful of tallow directly into the meat before forming the balls, since the meat itself won’t render enough fat to self-baste. For a triple stack instead of a double, drop the per-patty weight to about 3 oz (85g) each so the total serving size stays reasonable and each individual patty still smashes thin enough to crust properly. Three patties at 4 oz each gets heavy and harder to flip cleanly. A crisped slice of bacon tucked between the two patties is also a natural addition, since it is already rendered and crisp and adds very little extra cook time to the stack. If you’re cooking for a group, holding finished stacks on a warm plate loosely tented with foil for a few minutes keeps them hot without softening the crust the way a fully sealed cover would.
Yield and cost
One pound of ground beef makes two full double-stacks, or four single patties if you’d rather serve them one at a time. That is a straightforward, inexpensive way to feed two people a filling, protein-dense meal with almost no prep time and no ingredients beyond the beef itself, fat, and salt, worth keeping in mind on nights when stretching a grocery budget matters as much as getting dinner on the table quickly.
Storage and reheating
Cooked patties keep well in an airtight container in the refrigerator for up to 3-4 days. They do not reheat the same way they cooked, a microwave will leave you with a soft, steamed patty and none of the crust. For something closer to the original, reheat in a dry skillet over medium-high heat for about a minute per side, which re-crisps the exterior even though it won’t fully recapture that first-sear texture. Reheated patties, like any cooked meat, should be brought back to 165°F (74°C) internally before eating. These patties also freeze well raw, formed into balls but not yet smashed. Thaw fully in the refrigerator before cooking so the smash step still works correctly.
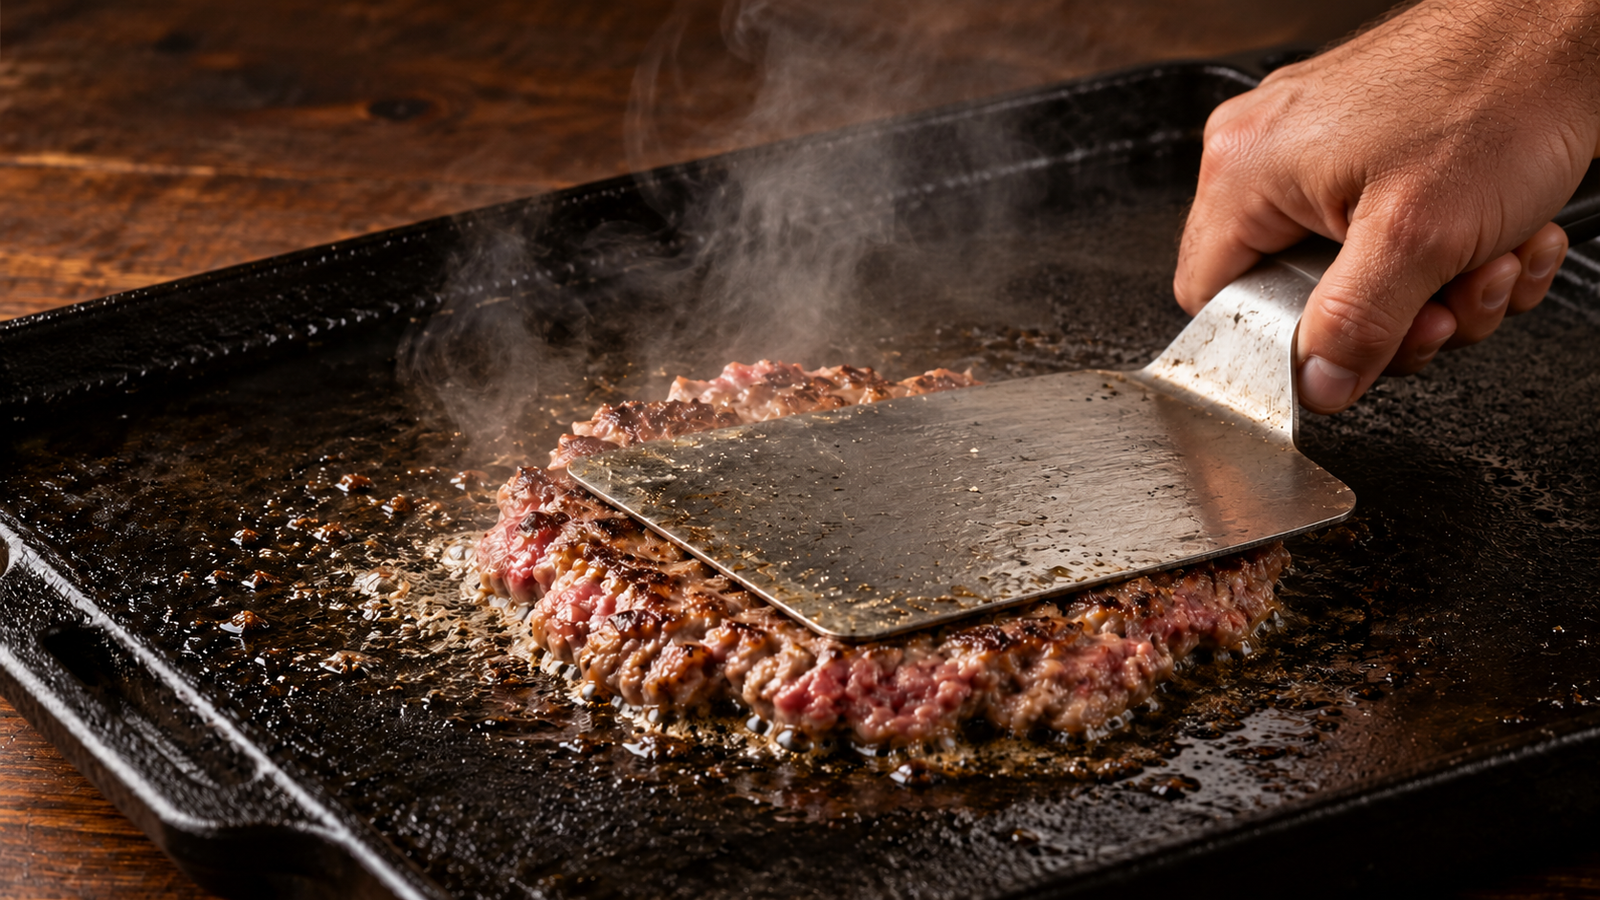
Once you’ve made a batch this way, a regular thick burger starts to feel like it’s hiding most of its flavor on the inside where you can’t taste it. The whole method is really just an argument for maximizing contact between meat and hot metal, and a double stack is just two chances to prove the point instead of one. For a deeper look at why that contact matters so much, see dry heat vs. moist heat and how method changes what a cut of meat becomes.
Visual steps