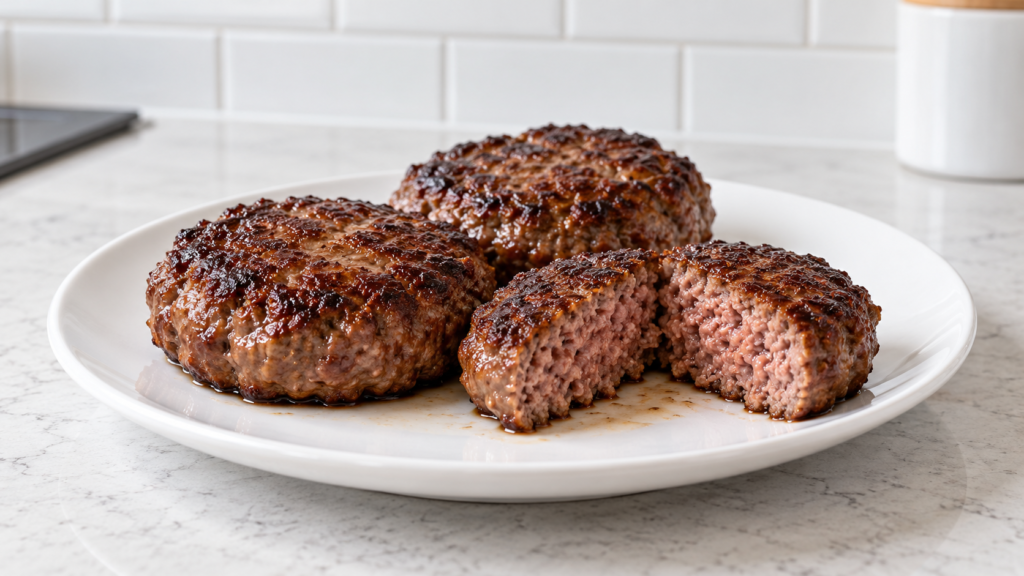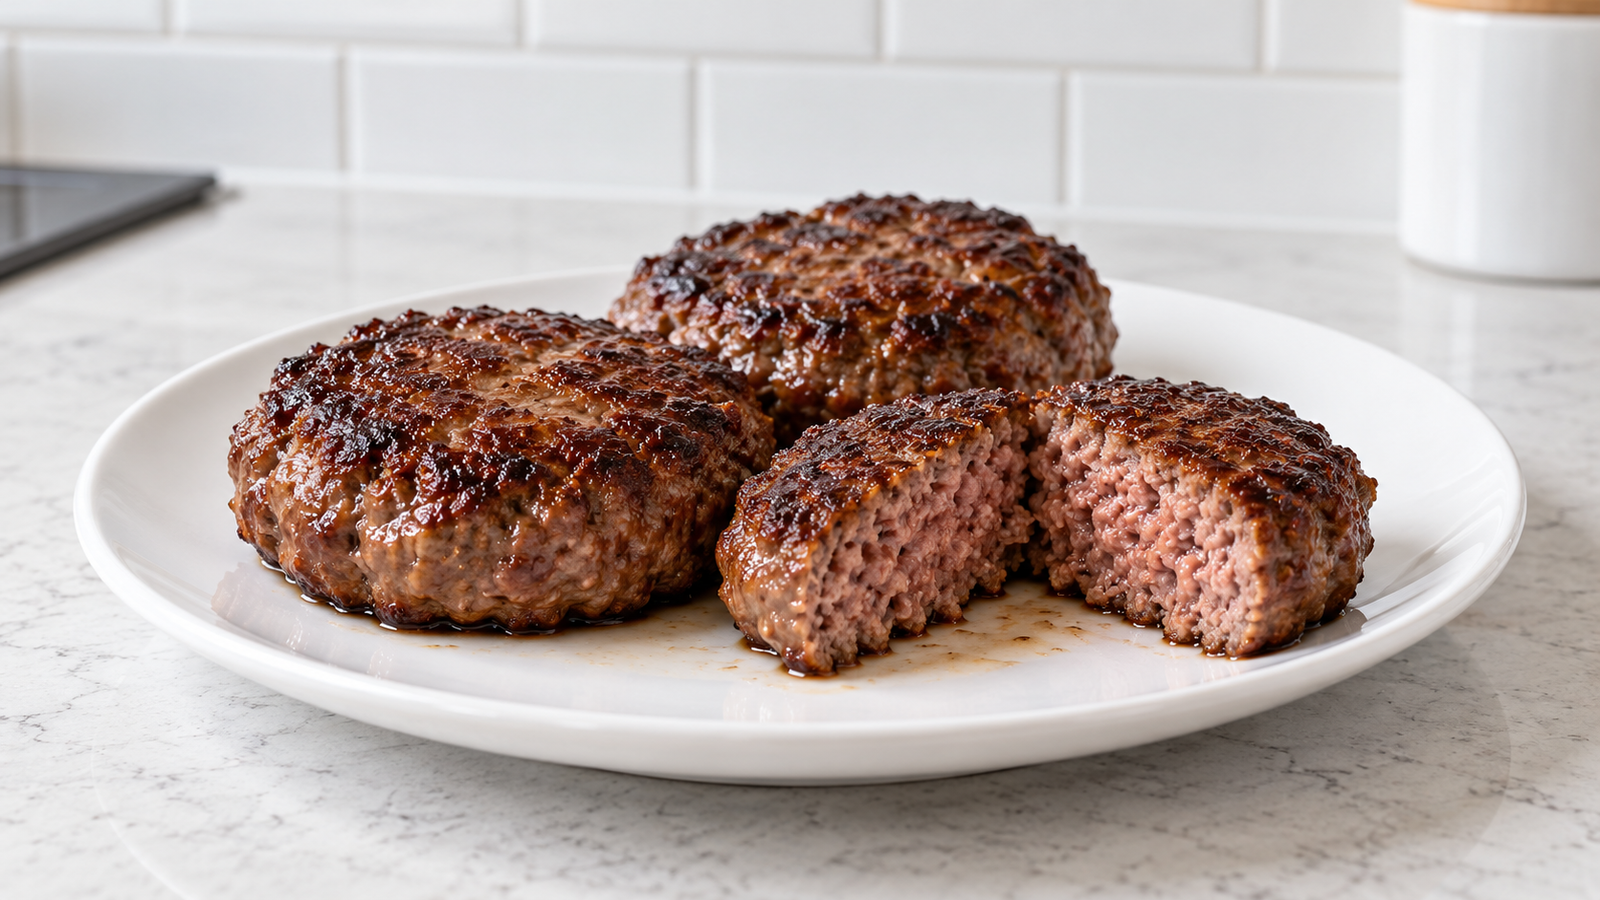
The patty looked right coming off the grill (good color, decent crust) and then you bit into something closer to a hockey puck than a burger. Nothing went wrong with your technique in the way you probably think. The problem is that bison was never beef, and cooking it on beef’s timeline is the single fastest way to ruin it.
Bison carries a fraction of the fat that commodity ground beef does. A typical 80/20 ground beef patty is swimming in rendered fat by the time it hits temperature, and that fat is doing a lot of the work of keeping the burger moist. Ground bison, even the fattier grinds, rarely clears 10–15 percent fat, and a lot of what’s sold as “ground bison” is leaner than that. Treat it like beef and push it to beef’s usual doneness window, and you’ve just driven out the small amount of moisture it had to begin with.
Why bison needs a different approach than beef
Leanness changes more than flavor. It changes how fast the patty heats through, how little margin you have between done and overdone, and how much external fat you need to add back if you want something that eats like a burger instead of a dry disc of protein. The fix isn’t a special bison-only technique. It’s respecting that this is a leaner animal and compensating with added fat and a shorter, more attentive cook.
The most reliable fix is blending in rendered beef tallow or a little extra ground beef fat trim before you form the patties. A ratio of roughly 85 percent ground bison to 15 percent added tallow gets you most of the way to the mouthfeel of a well-marbled beef patty while keeping the clean, slightly sweeter flavor that makes bison worth cooking in the first place. If you can only find lean ground bison with no fat percentage on the label, assume it’s closer to 92/8 or leaner and add fat accordingly.
What you need
- 1 ½ lbs ground bison
- 3–4 tbsp beef tallow, softened (or finely diced beef fat trim)
- Coarse salt
- Optional: a light crack of black pepper
That’s the entire ingredient list. No binder, no filler, nothing plant-based anywhere near this patty. The tallow is doing the job that breadcrumbs or egg would do in a conventional recipe, except it’s adding fat instead of structure, which is exactly what lean bison is missing.
How to make it
- Let the softened tallow come close to room temperature so it folds into the meat instead of clumping. If you’re using diced fat trim instead, pulse it in short bursts until it’s in small, even pieces, not a paste.
- In a wide bowl, break up the ground bison with your hands and distribute the tallow through it in small streaks. Work it gently. Overmixing ground meat compacts the proteins and gives you a dense, springy patty instead of a tender one. Stop as soon as the fat is evenly distributed.
- Divide into four patties, about 6 oz each, and press a shallow dimple into the center of each with your thumb. Lean meat shrinks and domes as it cooks; the dimple keeps the patty from turning into a ball in the middle.
- Salt both sides generously right before the pan or grill, not earlier. Ground meat has a lot of surface area, and early salting on a loose patty like this draws out moisture faster than it would on a whole steak.
- Cook over medium-high heat, whether that’s a cast-iron pan or a hot grill grate. Give each side 3–4 minutes without pressing down on the patty. Pressing squeezes out the moisture you added the tallow to protect.
- Start checking internal temperature around the 6-minute mark total. Because the patty is thinner and leaner than a beef burger of the same weight, it climbs in temperature faster than you’d expect.
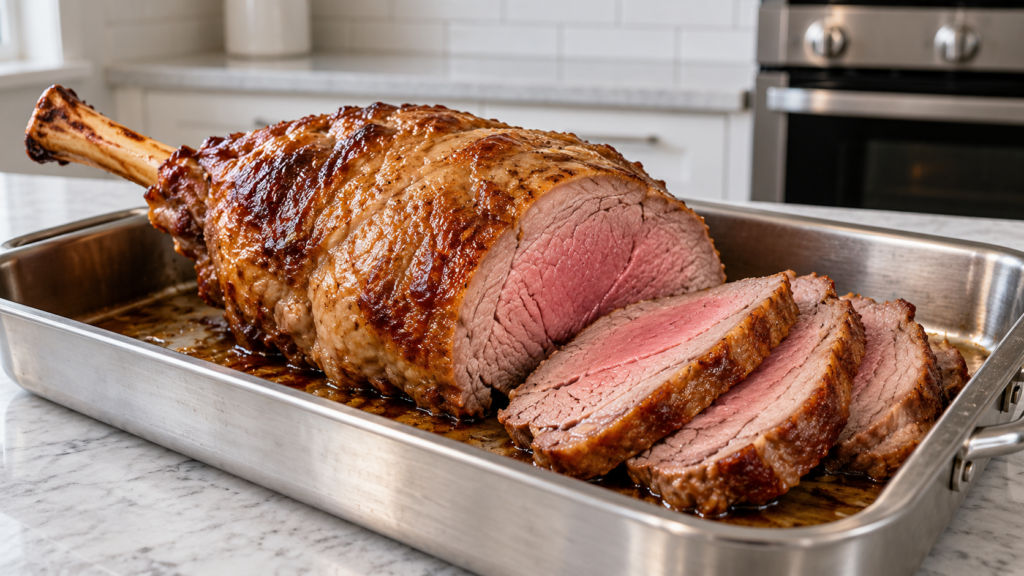
- Pull it right at temperature, not after. There is almost no carryover cooking benefit to leave on a thin, lean patty the way there is on a thick roast.
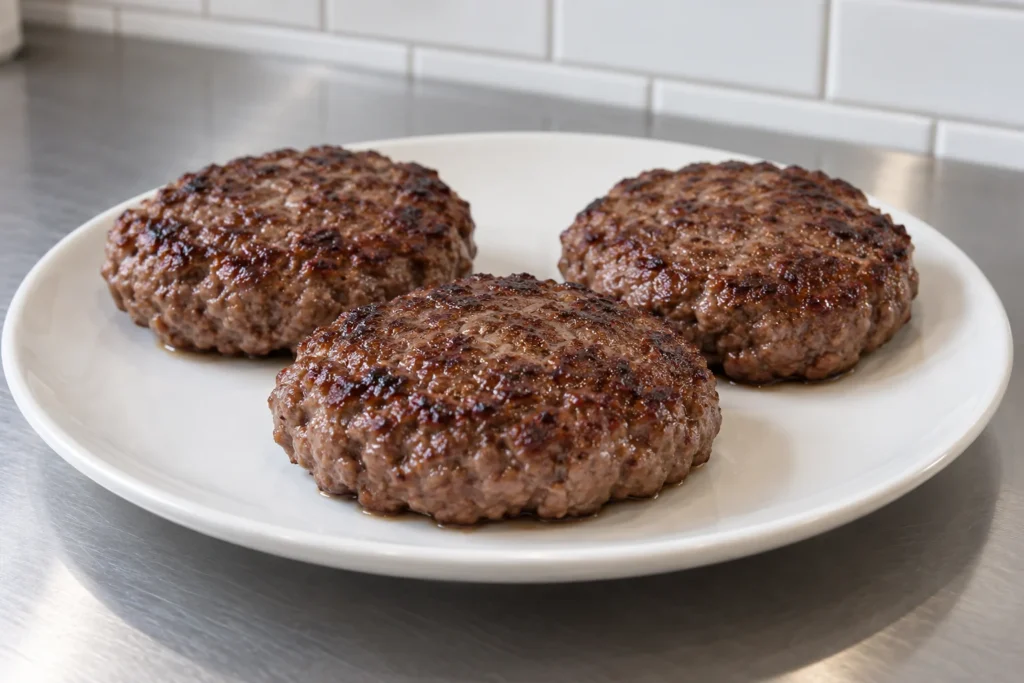
The temperature that matters
Ground bison follows the same food-safety rule as any ground red meat: the USDA’s Food Safety and Inspection Service sets 160°F as the minimum safe internal temperature for ground meat, checked in the thickest part of the patty. Grinding mixes surface bacteria throughout the meat in a way an intact steak doesn’t have, which is why ground meat’s safe number sits well above a whole muscle cut’s medium-rare range. There’s no gray area to play with here. 160°F is the floor, and because bison has so little fat to carry you past that point gracefully, pulling it the instant it reads 160°F matters more than it does with a fattier beef patty.
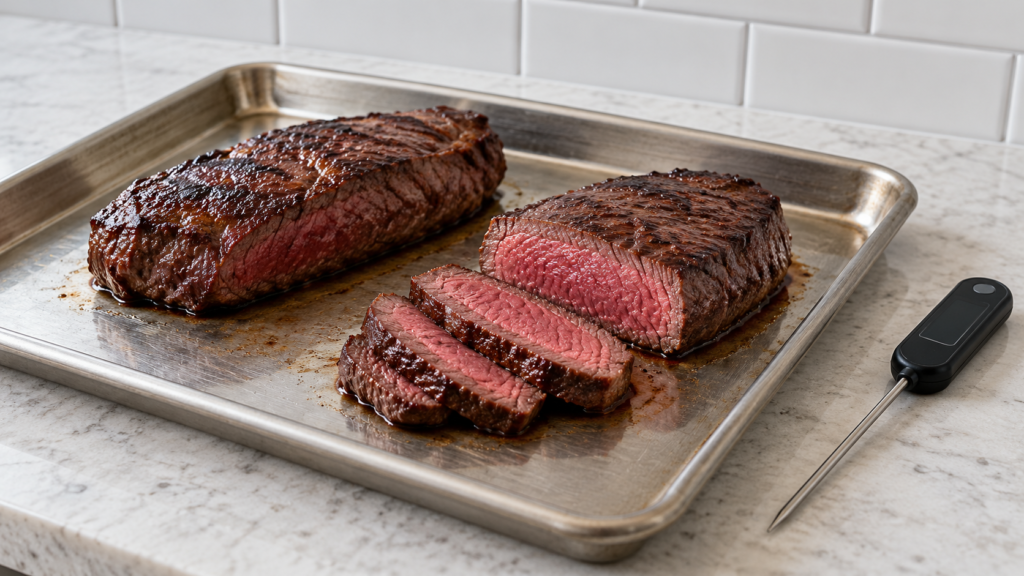
A reliable instant-read thermometer is worth more here than visual cues. Ground bison can look pink well past 160°F because the meat itself is naturally a deeper red than beef, and color alone will mislead you in either direction.
How much fat to add, by what you can find
Labels on ground bison aren’t always as precise as labels on ground beef, and the fat percentage printed on the package (when there is one) often undersells how lean the meat actually runs. Rather than guessing once, it helps to have a rough map of how much tallow to work in depending on what you’re starting with.
| Ground bison you have | Tallow to add (per 1 ½ lbs) | What you’re aiming for |
|---|---|---|
| Unlabeled, assume very lean | 4–5 tbsp | A patty that holds together and doesn’t taste chalky |
| Labeled 90–93% lean | 3–4 tbsp | Close to standard 80/20 beef mouthfeel |
| Labeled 85% lean or fattier | 1–2 tbsp, or none | Letting the bison’s own fat do the work |
If you genuinely can’t get tallow, rendered beef suet or even a little lard will do the same structural job, though lard carries a slightly different flavor that’s more neutral than beefy. What you want to avoid is skipping the added fat altogether and trying to compensate with a longer rest or a lower cooking temperature. Neither one puts moisture back into meat that never had much to begin with. Fat is the only real lever here.
Reading the pan instead of just the clock
Because lean patties heat through faster than fatty ones, the minute counts above are a starting point, not a guarantee, and they shift depending on patty thickness, starting temperature, and how hot your pan or grill actually runs versus how hot you think it runs. A few things are more reliable than the clock. Juices pooling on the top surface of the patty are a signal that the center is getting close. On a well-marbled beef patty that moment arrives later because there’s more fat buffering the interior, but on bison it shows up earlier and means check the temperature now, not in another two minutes. The edges of the patty firming up and losing their raw give under light finger pressure is another tell, though it’s a softer signal than the thermometer and shouldn’t replace it.
Resist the urge to flip more than once. Every flip is an opportunity to press down out of habit, and a patty built from lean meat and emulsified fat doesn’t have the structural margin to survive being squeezed the way a fattier burger does. One flip, one checkpoint with the thermometer, done.
A note on grinding your own
If you have access to a meat grinder and whole bison cuts, grinding your own from chuck or round gives you control over the fat ratio from the start instead of correcting for it afterward. Grind the meat and a proportional amount of beef fat trim together in the same pass rather than grinding them separately and mixing by hand. A single pass through the grinder distributes fat far more evenly than folding diced fat into already-ground meat, and it’s the closest you can get at home to how a butcher blends a proper burger grind. Keep everything cold going into the grinder, including the grinder parts themselves if you can chill them first; warm fat smears instead of cutting cleanly, which changes the texture of the final patty.
Common questions
Can I cook these to medium instead of well past the safe minimum?
No. This is ground meat, and 160°F is a food-safety floor set by the USDA for ground meat specifically, not a flavor preference. The grinding process mixes any surface bacteria throughout the meat, which is exactly why ground meat’s safe number sits above a whole steak’s medium-rare range. There’s no version of this recipe where cooking it to a lower temperature is safe, regardless of how it looks.
Why does my bison patty taste slightly sweet compared to beef?
That’s the bison, not a sign anything went wrong. Bison tends to carry a cleaner, slightly sweeter flavor profile than beef, largely attributed to differences in diet and fat composition between the two animals. Adding beef tallow brings back a familiar beefy note without erasing that underlying sweetness, which is part of why tallow works better here than, say, pork lard.
My patties fell apart on the grill. What happened?
Almost always one of two things: the patties were handled too much after forming (walking them to the grill, flipping them repeatedly, pressing on them), or they went on the grate before the surface had a chance to firm up with a quick sear. Starting on a hotter zone for the first minute, undisturbed, locks the exterior enough to survive the rest of the cook.
Where people go wrong with bison specifically
The most common mistake is buying bison expecting it to behave like 80/20 ground beef and getting frustrated when it doesn’t. The second most common mistake is overcorrecting by drowning it in added fat until it just tastes like a worse version of beef, which defeats the reason to cook bison at all. A 15 percent fat addition is a starting point, not a rule. If you’re working with a fattier grind already, back it off. The goal is a patty that still tastes distinctly like bison (a little sweeter, a little more mineral) with enough fat that it doesn’t punish you for eating it.
Grill flare-ups are also more common with bison patties built this way, since you’ve just added rendering fat to a cut that didn’t have much naturally. Keep a cooler zone on the grill you can shift the patties to if drippings start flaring, rather than fighting the flame with the lid.
Storage and reheating
Cooked patties keep in the refrigerator for three to four days in a sealed container. Because they’re already lean, reheating them in a dry pan over high heat will finish the drying-out job the original cook started to avoid. Reheat gently instead, covered, in a low oven around 275°F until the center reaches 165°F, which is the standard reheating target for previously cooked meat. A splash of extra tallow in the pan during reheating helps more than it would with a fattier cut.
For longer storage, raw formed patties freeze well for up to three months. Separate them with parchment before freezing so they don’t fuse into a single block, and thaw in the refrigerator rather than on the counter.
One more freezing note specific to lean meat: bison patties that sit in the freezer uninsulated for longer than three months are more prone to freezer burn than a fattier beef patty would be, simply because there’s less fat on the surface acting as a barrier against moisture loss. Wrap tightly in a double layer (parchment against the meat, then a sealed freezer bag with as much air pressed out as you can manage) and label with the date so you’re not guessing later about how long they’ve been in there.
Served simply, with nothing but the tallow it was cooked in, a bison patty built this way eats closer to a well-aged beef burger than most people expect from a leaner animal. The entire fix is upstream of the cooking itself. It happens the moment you decide how much fat to fold in before anything touches the pan.
If you’re new to cooking lean game meats generally, the same leanness logic shows up across venison and other wild cuts. Worth reading alongside this one if bison is your entry point into game meat. The same instinct to add back fat and shorten the cook also explains why dense, overworked burgers go wrong even with standard beef, and why getting a salting timing right matters more on thin, lean patties than on thick steaks. If tallow is new to your kitchen, it’s worth understanding what rendered animal fat actually does before you start adding it to other cuts beyond this patty.
Visual steps