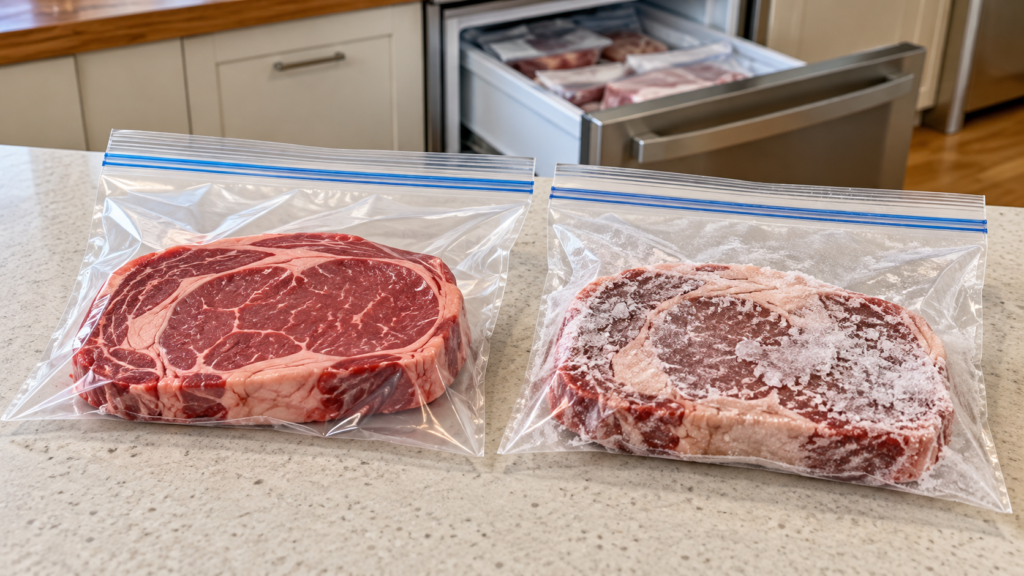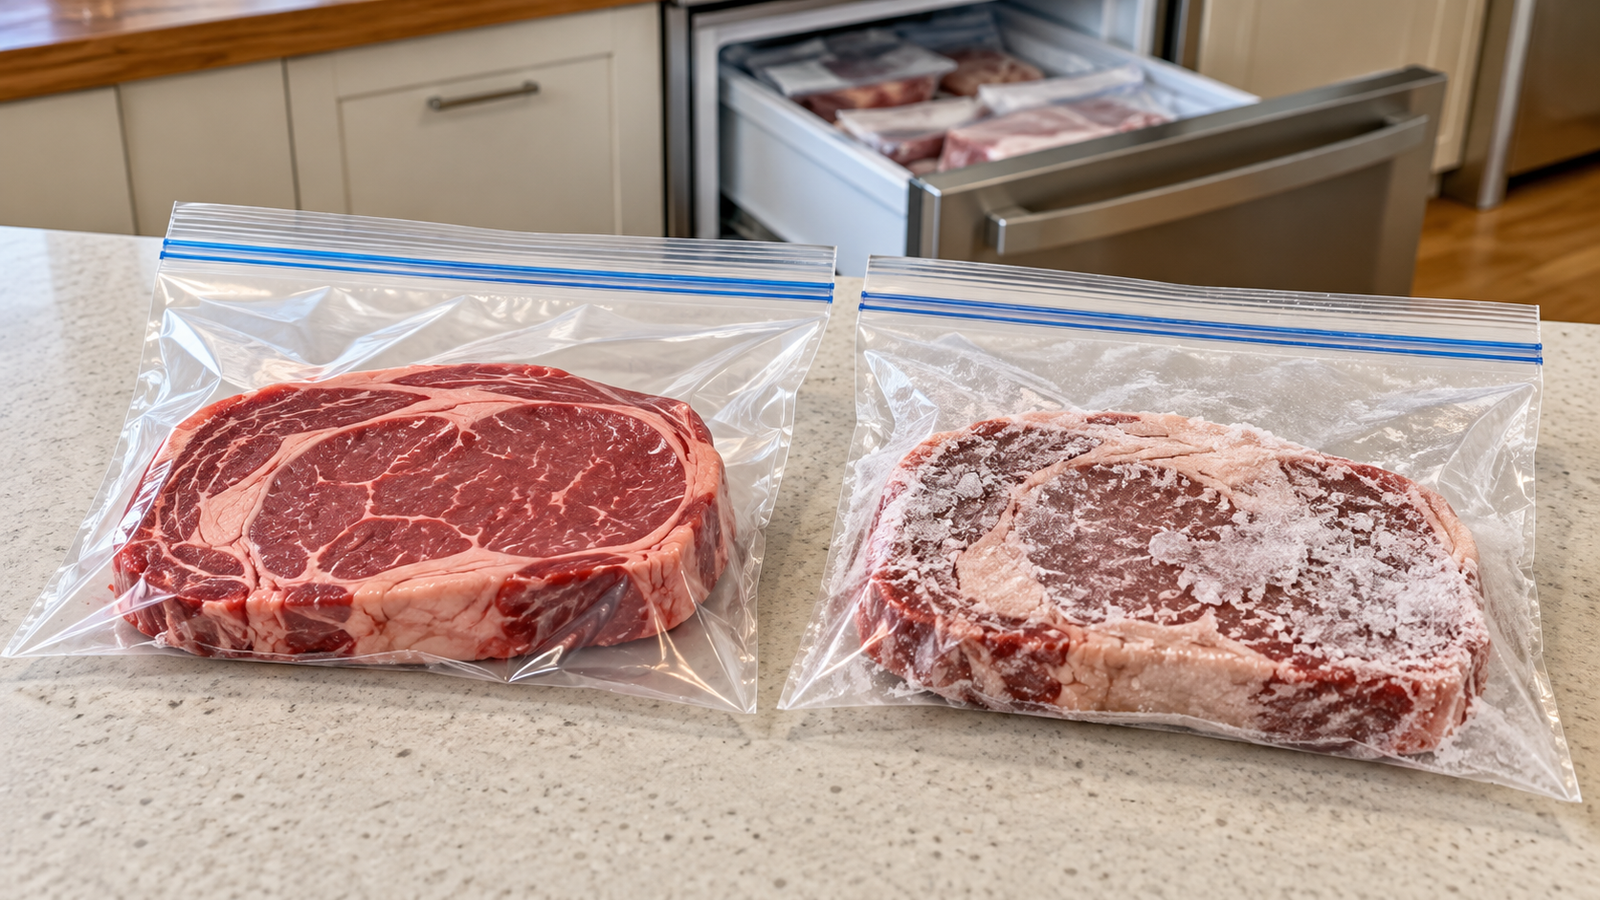
Freezer burn makes meat look worse than it usually is. A steak comes out with pale, dry patches. A roast has a gray-brown corner. Ground meat has an icy, flattened edge that feels hard instead of supple. The first question is often whether the meat is safe. The better question is what the freezer did to its quality, how much of the damage matters, and whether the cut is still worth cooking.
Freezer burn is a quality problem caused by air reaching the meat’s surface. It dries exposed areas and makes them less pleasant to eat. It is not, by itself, proof that the meat has become unsafe. Once you understand the difference, you can stop throwing out minor damage, pack future meat better, and make a clear call when a package has crossed from imperfect to not worth the effort.
What freezer burn actually is
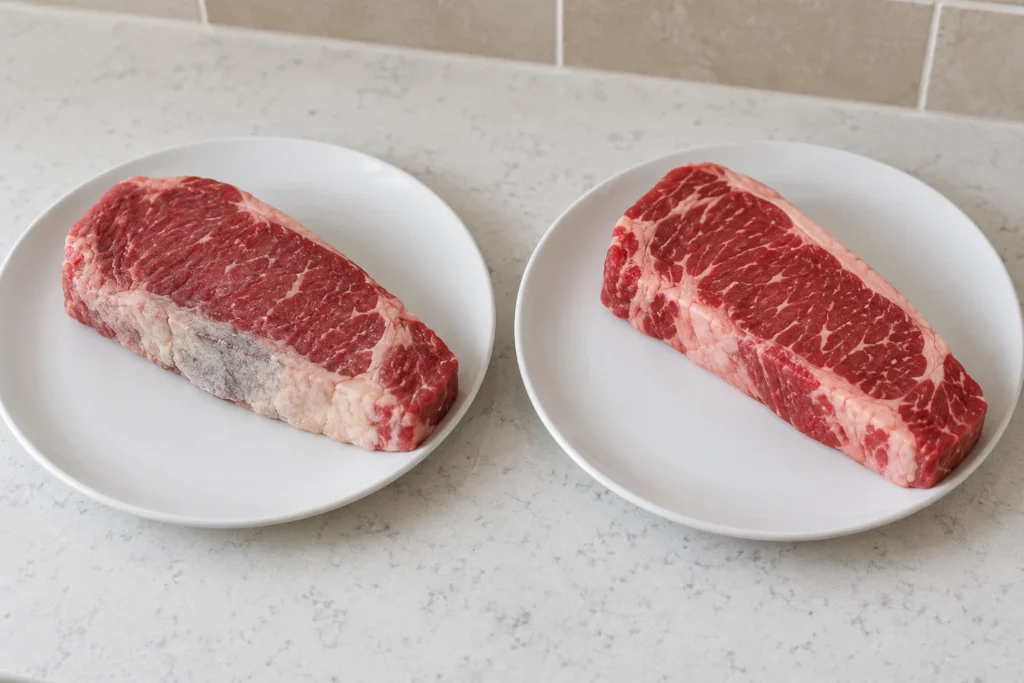
Freezer burn happens when air contacts the surface of frozen meat and moisture leaves that exposed area. The result is a dry, tough, discoloured patch. On red meat, it can look pale, grayish, brown, or leathery. On poultry, the dried area can look lighter than the surrounding meat. Ice crystals inside a package often point to the same problem: the package was not sealed tightly enough, was opened, or has spent long enough in the freezer that quality has started moving in the wrong direction.
Do not confuse freezer burn with a power failure or a package that warmed and thawed. Freezer burn is an exposure and dehydration problem. Temperature abuse is a separate safety question. A package that has stayed frozen at 0°F / -18°C can be safe even if it looks rough. A package with an uncertain thawing history deserves a different, more cautious decision.
Safe does not always mean worth serving
The size and location of the damage decide what to do. A small dry patch on the edge of a steak can be trimmed. A thin corner of a roast can be cut away after cooking. A package of ground meat with one slightly dried face can still become a good browned pan of meat if the rest is in strong condition. But if a large share of the meat is pale, hard, and dry, the final texture may not reward the time you put into it.
| What you see | Best call | Useful route |
|---|---|---|
| One small dry edge or patch | Trim it if desired | Cook the remaining meat normally. |
| Dry surface on an otherwise solid roast | Keep it | Trim before or after cooking; choose a moist, patient method if needed. |
| Several dry areas but a substantial good center | Use selectively | Cut away the worst sections and cook the good meat with care. |
| Most of the package is dried, hard, and stale-smelling after thawing | Discard for quality | The result is unlikely to be worth eating. |
Freezer burn does not repair itself in the pan. High heat may hide a small dry edge with browning, but it cannot put moisture back into a badly dehydrated cut. Be honest before cooking. Save the good center when there is one. Let a heavily damaged package go when the meat has lost the texture you wanted from it.
Read the whole package before you decide
Look at more than colour. Check whether the package is intact, whether the meat remained frozen solid, whether there are large air pockets, and whether the damage sits only on the outside. A torn wrapper is not automatic proof of spoilage, but it is a reason to inspect carefully and rewrap the package if it is still frozen and otherwise in good condition.
- Small amount of frost inside a tight package: usually a quality clue, not a final verdict.
- One exposed corner: trim or accept the dry edge; protect the rest of the cut.
- A split package with meat still solidly frozen: rewrap tightly before storing it longer.
- Unknown temperature history: do not use freezer burn to answer a safety question it cannot answer.
Once thawed, do not use appearance alone to decide safety. Treat the meat according to its thawing and storage history. If it thawed in the refrigerator and is still within its proper handling window, the freezer-burned area remains a texture issue. If it was left warm or the timeline is unknown, the decision is no longer about freezer burn.
Do not mistake ordinary frozen colour change for freezer burn
Meat can become darker or paler in the freezer without developing the dry, exposed texture that defines freezer burn. Colour alone is not enough. Look for the combination: a patch at the surface, a papery or leathery feel after thawing, and evidence that air reached the package. A uniform colour change beneath an intact wrap can be less important than one obviously dried edge.
This distinction keeps you from trimming good meat merely because it looks different from the day it was bought. The package, the temperature history, and the surface texture tell a more useful story than colour by itself.
Trim strategically instead of carving away the whole cut
For a steak, trim the pale, dry outer strip before cooking if it is substantial enough to interfere with the bite. For a roast, you can trim the damaged surface before cooking or remove it after the roast is sliced. For ribs, remove only the visibly dried edge and leave the protected meat alone. For ground meat, break it apart once it has thawed enough to judge how deep the dry layer goes.
Do not trim good fat merely because it has changed colour at the surface. Fat can pick up freezer flavour over a very long hold, but a minor surface change is not the same as a ruined package. Use your eyes, the package history, and the amount of damage together. The goal is to remove the parts that would distract from the meal, not turn one dry edge into needless waste.
Choose the cooking method that gives damaged meat a chance
A lightly freezer-burned steak can still take a fast sear if you have trimmed the rough edge and the center is in good shape. A larger roast with a dry outer band is often better suited to a gentler cook with its own juices and fat. Ground meat can handle a little surface dryness if it is browned in a wide pan and not crowded. The method should support the remaining good meat rather than punish it further.
Avoid treating a dried piece as though it were a perfectly fresh one. Long, aggressive heat will make the texture worse. Add rendered fat or reserved meat juices where they make sense, cover when a slow finish is useful, and stop cooking once the center is properly done. You are not hiding a flaw; you are using the best route for the meat that is still there.
Prevent freezer burn before the package goes in
The preventive rule is simple: remove air, use freezer-grade packaging, and freeze portions quickly. Store wrapping is fine for a short hold, but it often lets air through over a longer one. For meat you know will sit for months, overwrap it or move it to a heavy freezer bag or freezer-safe container. Push out as much air as practical without crushing the cut.
- Portion the meat for the meal you will actually cook.
- Use a thick freezer bag, heavy freezer wrap, or a tight freezer-safe container.
- Press out excess air and close the package completely.
- Label the cut and date before it enters the freezer.
- Freeze packages in a single layer until solid, then stack them in their assigned zone.
Fast freezing helps quality because smaller ice crystals do less structural damage than large, slow-forming crystals. Do not build a warm tower of packages in one spot. Give new packages enough space to freeze, then organize them once solid. The small difference in the first day pays off when the package comes back out.
Use time as a quality guide, not a reason to panic
Meat held continuously frozen stays safe, but quality changes over time. Cooked meat is generally at its best within two to three months. Raw roasts, steaks, and chops usually keep quality longer than ground meat. The useful move is not memorizing every possible number. Label the date, use the oldest package first, and freeze meat while it is still at its best rather than near the end of its refrigerator life.
A simple freezer reset every few weeks exposes packages before they turn into archaeology. Move older packages forward, decide which one belongs in the next thaw queue, and rewrap anything that is still solidly frozen but clearly losing its seal. That keeps the freezer from becoming a collection of expensive questions.
The useful rule
Freezer burn is dry, exposed meat—not an automatic safety failure. Trim a little. Cook the protected center well. Rewrap a split package while it is still solidly frozen. Discard a heavily damaged package when the quality is no longer worth the meal. Then prevent the next one by packing meat tightly, freezing it early, and keeping the freezer organized enough that nothing stays hidden for years.
Food-safety reference: USDA freezing and food-safety guidance explains that freezer burn is a quality issue caused by exposure to air and that continuously frozen food remains safe. See also the USDA’s freezer-burn guidance for trimming and quality advice.
Visual steps