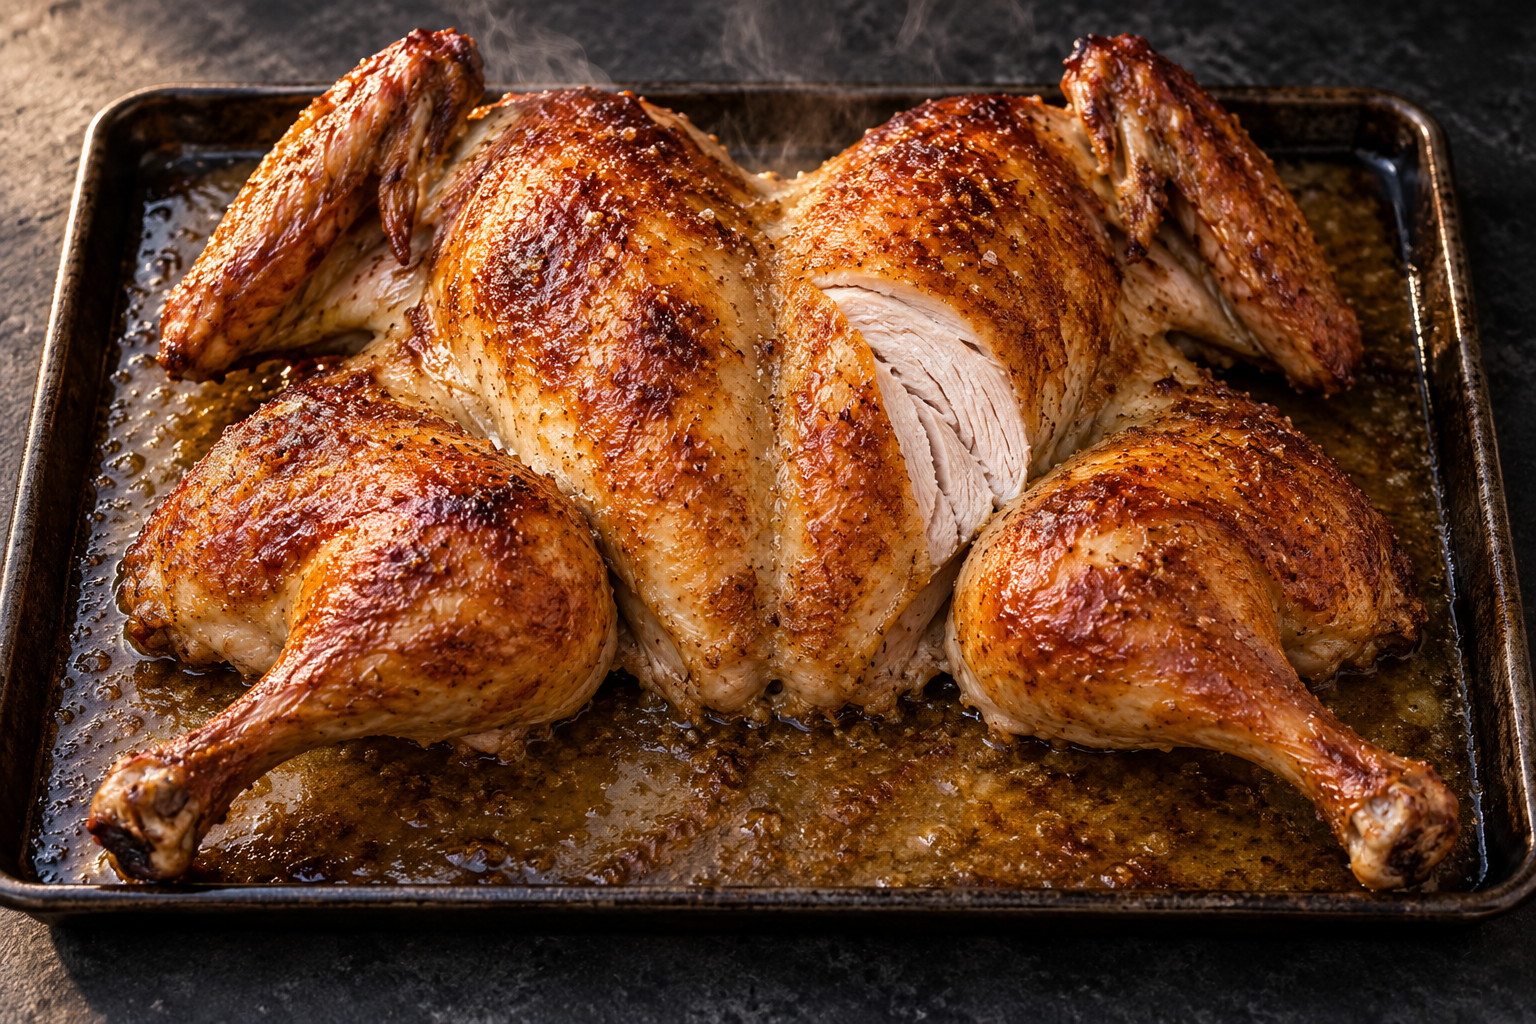
A whole turkey is an awkward piece of geometry. The breast is thick and lean, the legs are dense and jointed, and much of the skin hides along the sides where hot air cannot reach it evenly. Spatchcocking fixes the geometry before the oven has to. Remove the backbone, flatten the bird, and the skin faces upward while the breast and legs cook on one broad plane.
What the cut changes
Flattening does not magically make every part identical. It makes the differences easier to manage. The legs sit farther toward the hot edges of the tray, the breast is no longer perched high above them, and nearly all the skin receives direct heat. A shallower bird also cooks faster than a compact one because heat has less distance to travel.
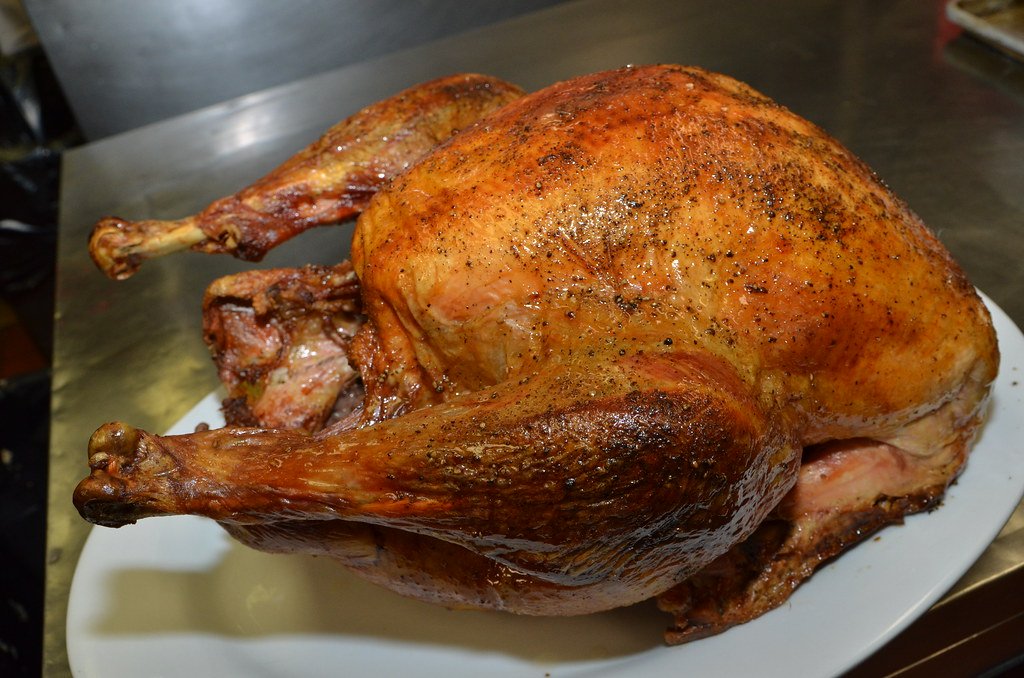
Set up before touching the bird
- Use a completely thawed turkey.
- Clear enough counter space for the opened bird and a rimmed tray.
- Use sturdy poultry shears, not a small knife forced through bone.
- Keep a separate board for the raw turkey and clean the work area immediately afterward.
- Have an instant-read thermometer ready before roasting begins.
Remove the backbone
- Place the turkey breast-side down with the tail end facing you.
- Cut along one side of the backbone from tail to neck.
- Cut along the second side and lift the backbone away.
- Trim only loose pieces of fat or skin that would burn; keep useful skin attached.
- Save the backbone with the neck and giblets for stock.
If the shears stop, change the angle instead of twisting harder. Turkey ribs are manageable, but the joints near the ends can be stubborn. Short, deliberate cuts are safer than trying to power through in one motion.
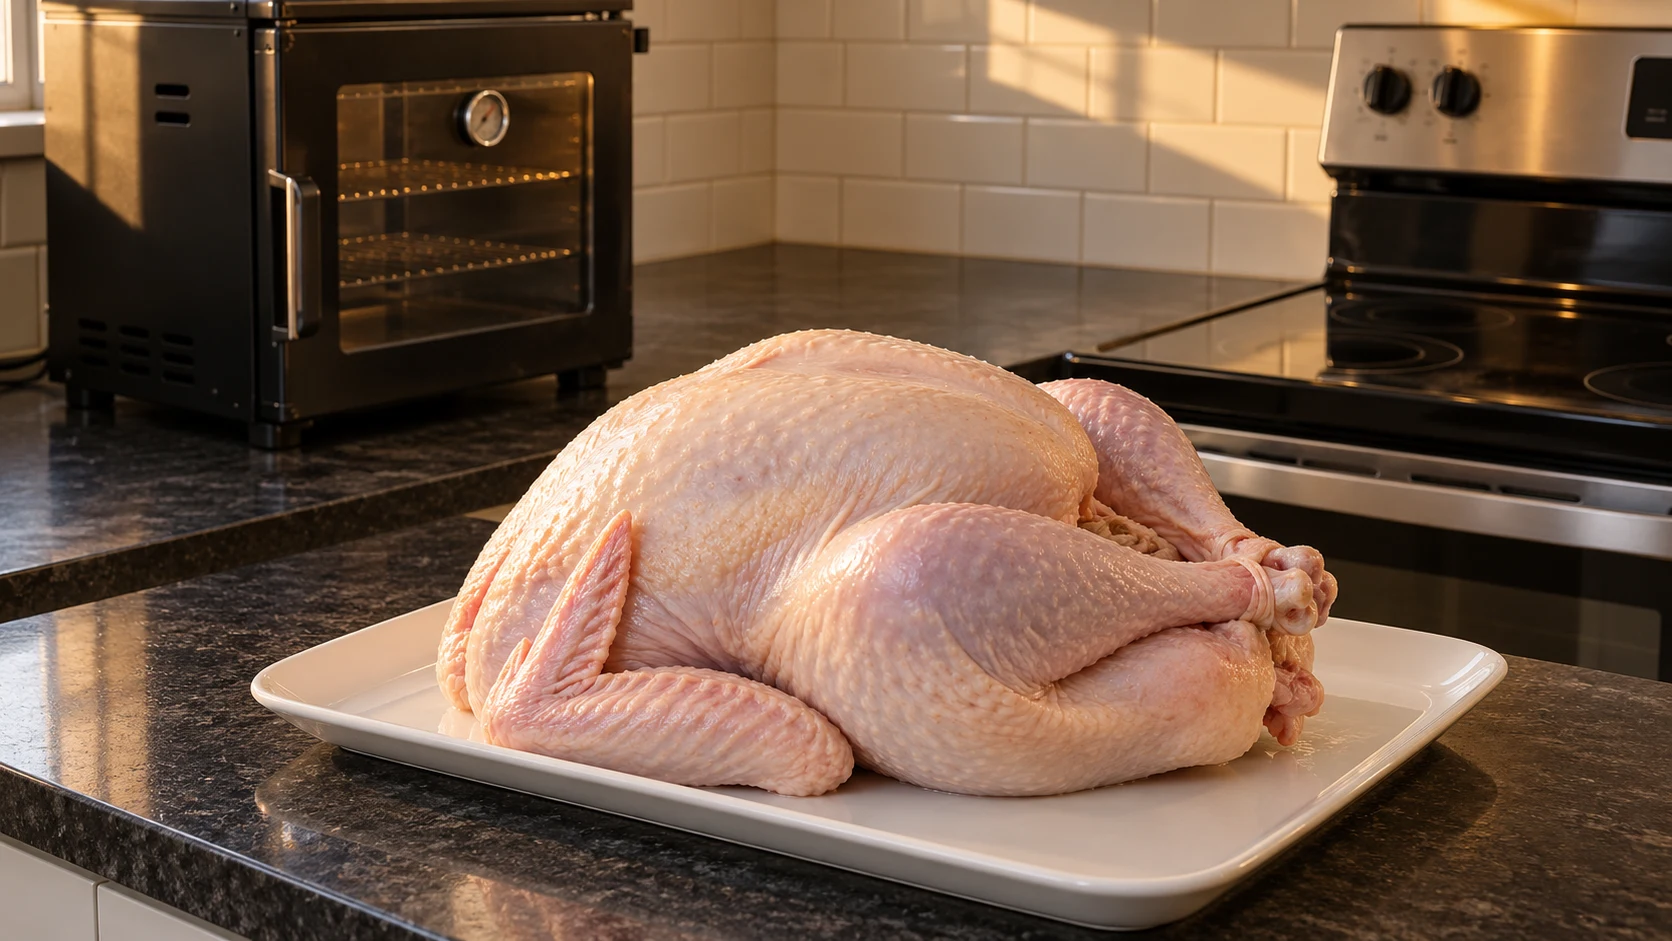
Flatten it without tearing the skin
Open the bird like a book and turn it breast-side up. Place both hands over the high point of the breastbone and press firmly until it cracks and the bird settles flatter. Arrange the legs outward and tuck the wing tips so they do not scorch. The goal is a stable, even shape, not a perfectly flat sheet.
Dry skin matters more than decoration
Salt the turkey and leave it uncovered in the refrigerator when time allows. That dries the skin and seasons the meat without adding a wet coating that must evaporate. Before roasting, blot any remaining surface moisture. Set the turkey on a rack over a rimmed tray so hot air can circulate and rendered fat has somewhere to go.
Roast by temperature, not a promise on the clock
Bird size, starting temperature, oven accuracy, and tray material all change the timing. Begin checking earlier than a whole-bird recipe would suggest. Probe the thickest part of the breast and the innermost areas of the thigh and wing without touching bone. The USDA safe minimum for all poultry is 165°F in those locations.
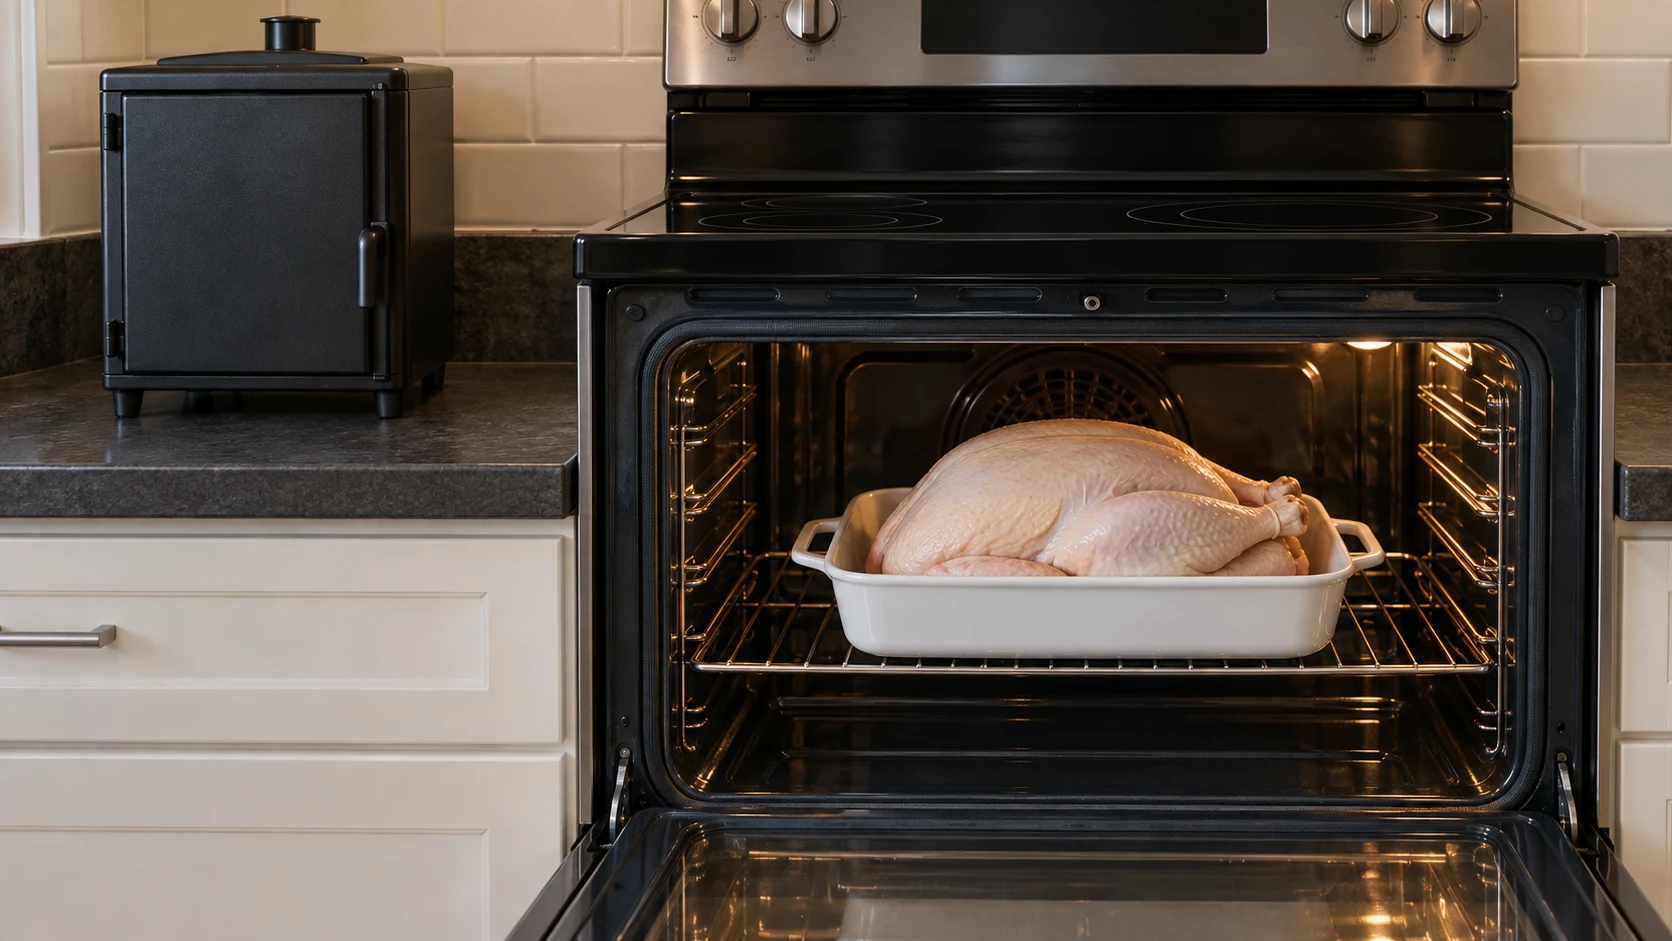
If the skin has the colour you want before every point is safe, reduce the heat or shield only the darkening area with foil. Do not remove the bird because one easy-to-reach spot is ready. A flattened turkey is more even, but it still needs several readings.
Rest and carve the flat bird
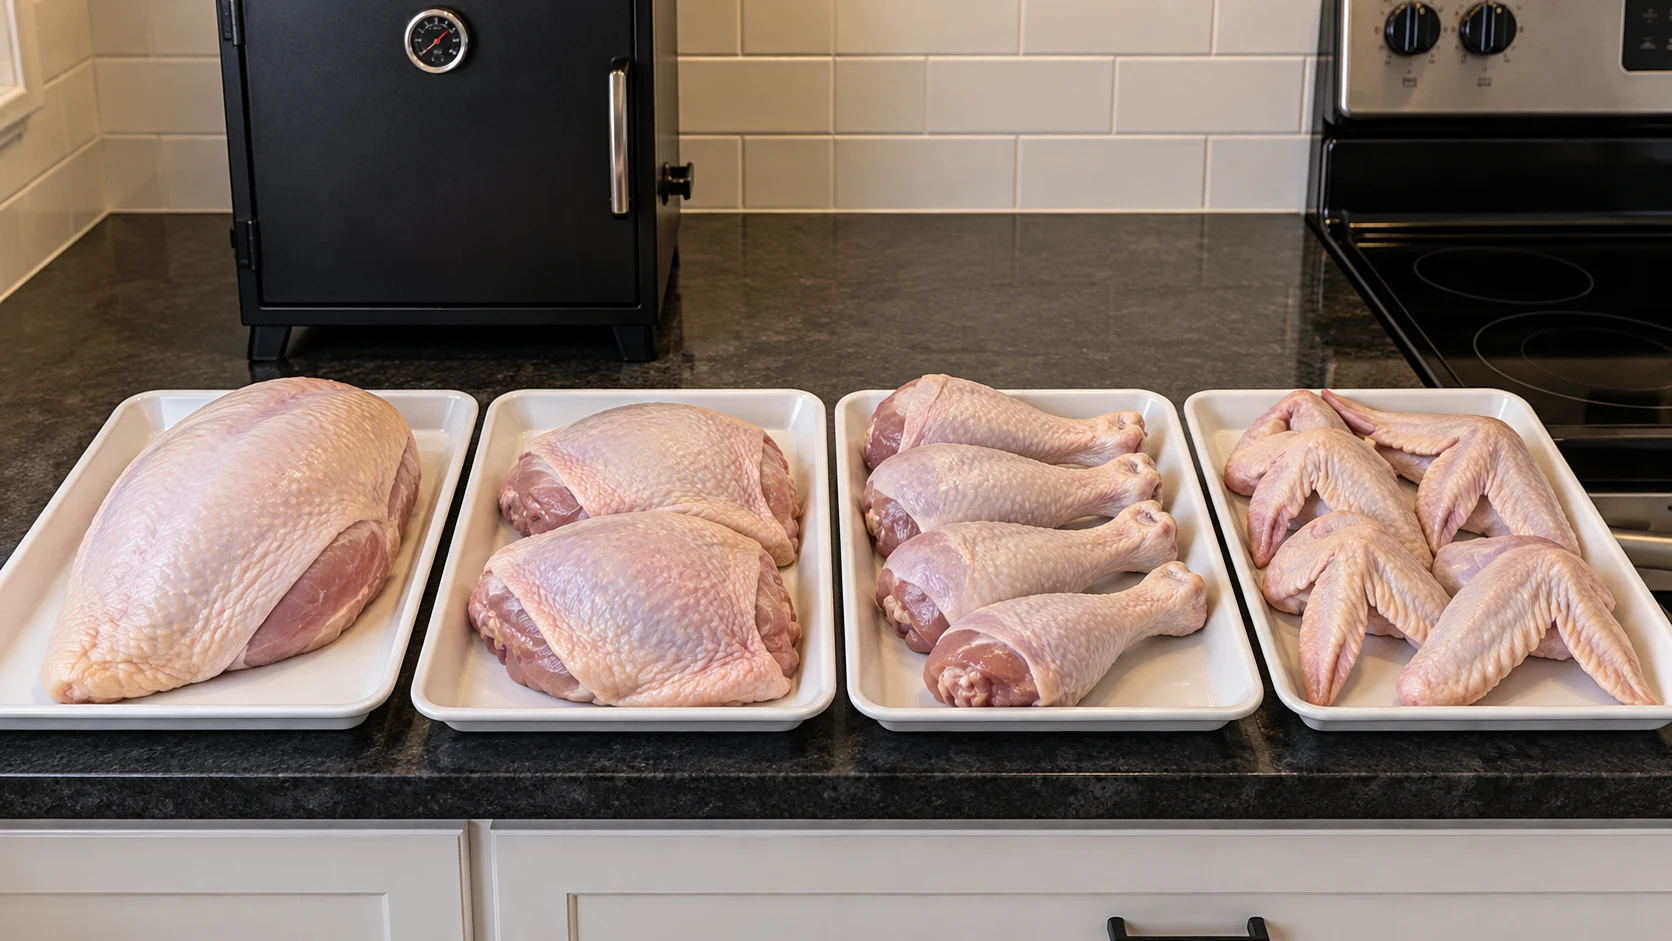
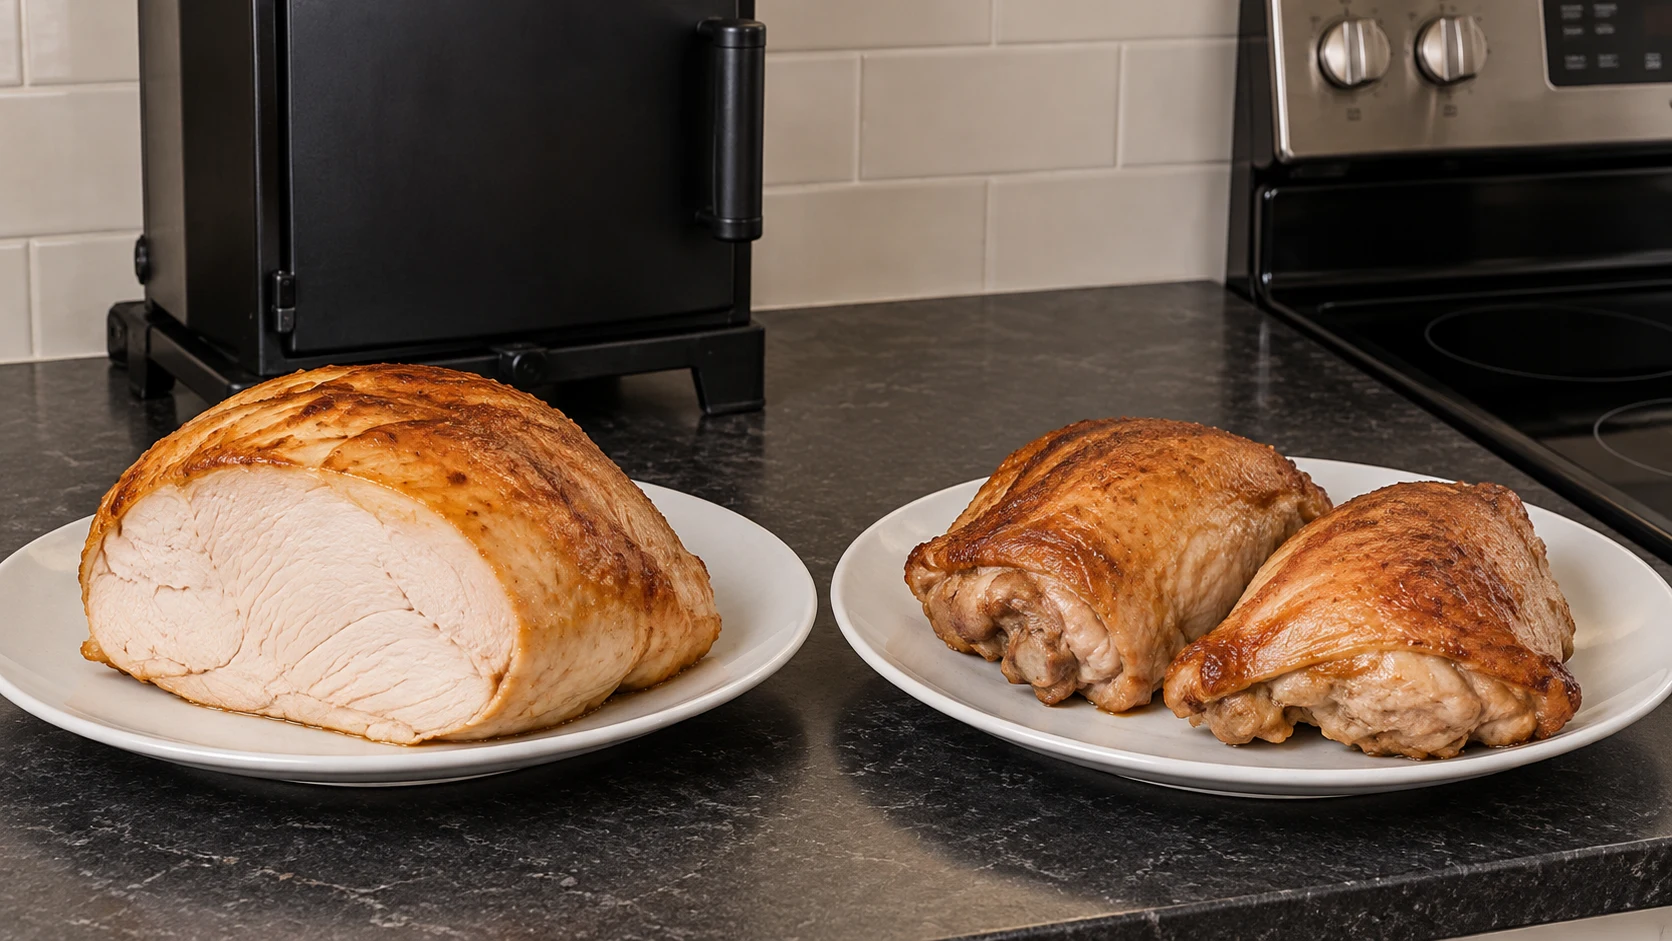
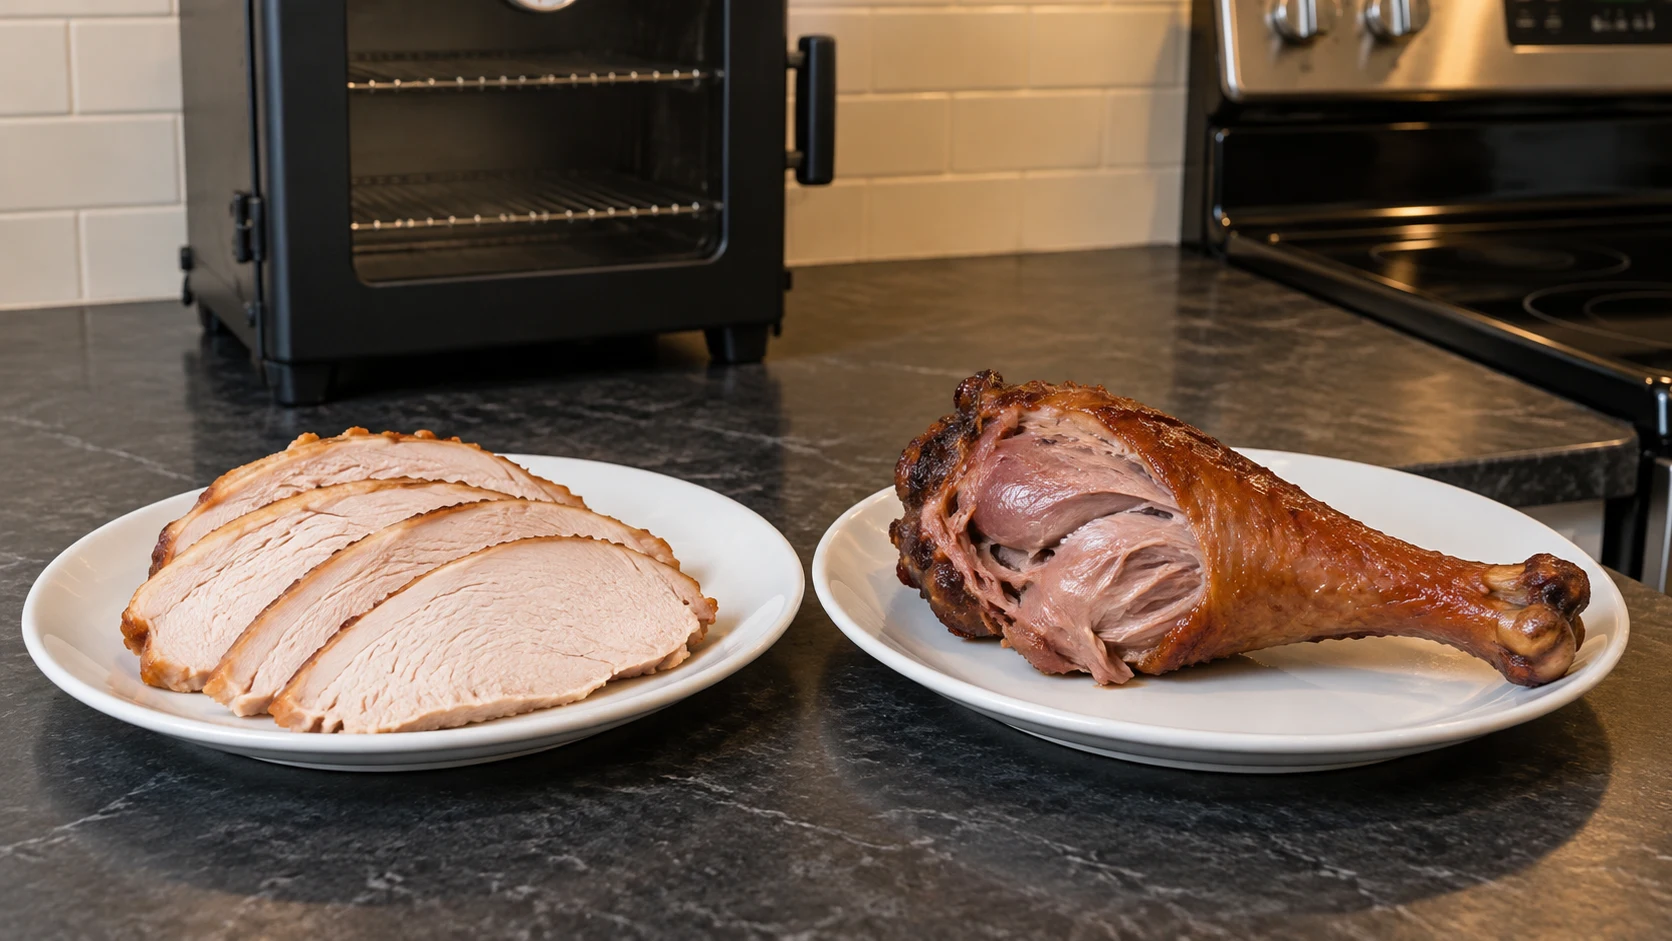
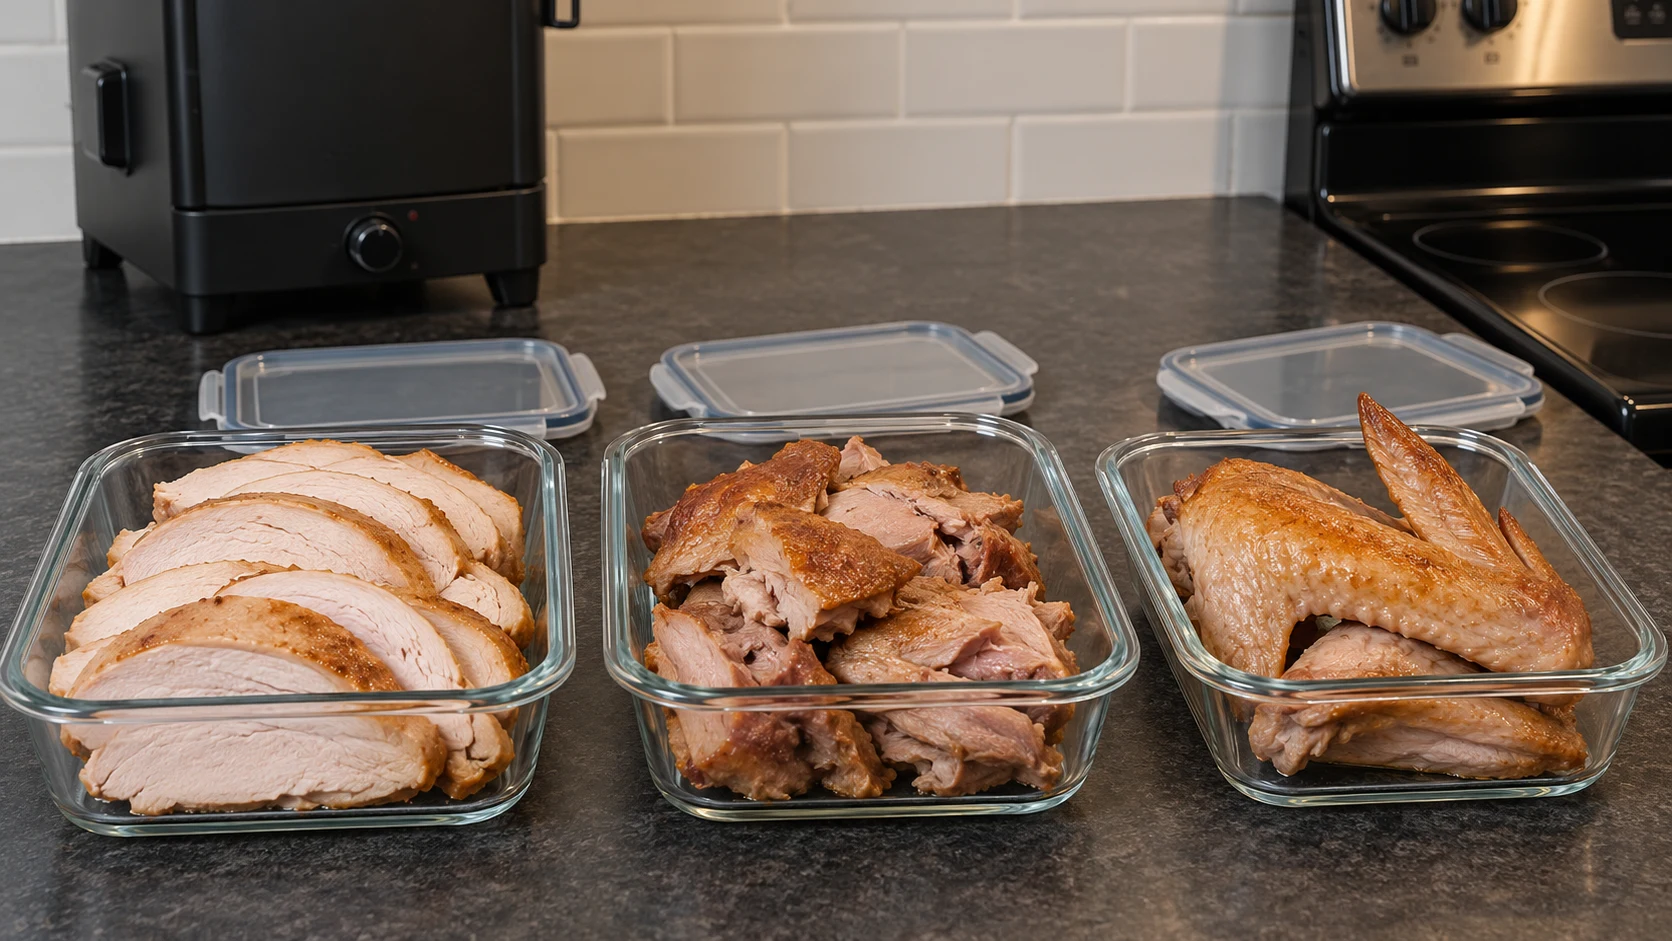
Rest the turkey before carving so the hot juices settle and the large pieces are easier to handle. Remove the legs at the joints, separate drumsticks from thighs, then take the breast meat off in large lobes and slice across them. That approach gives cleaner slices than sawing down the breast while it is still attached.
What you trade
You lose the tall postcard silhouette. You gain more exposed skin, a shorter roast, easier temperature checks, and a much better chance of finishing the breast and legs together. If dinner matters more than the reveal, that is a good trade.
Food-safety reference: USDA FSIS says turkey is safely cooked at 165°F in the innermost thigh and wing and the thickest part of the breast. This guide describes standard technique rather than a formally tested recipe.