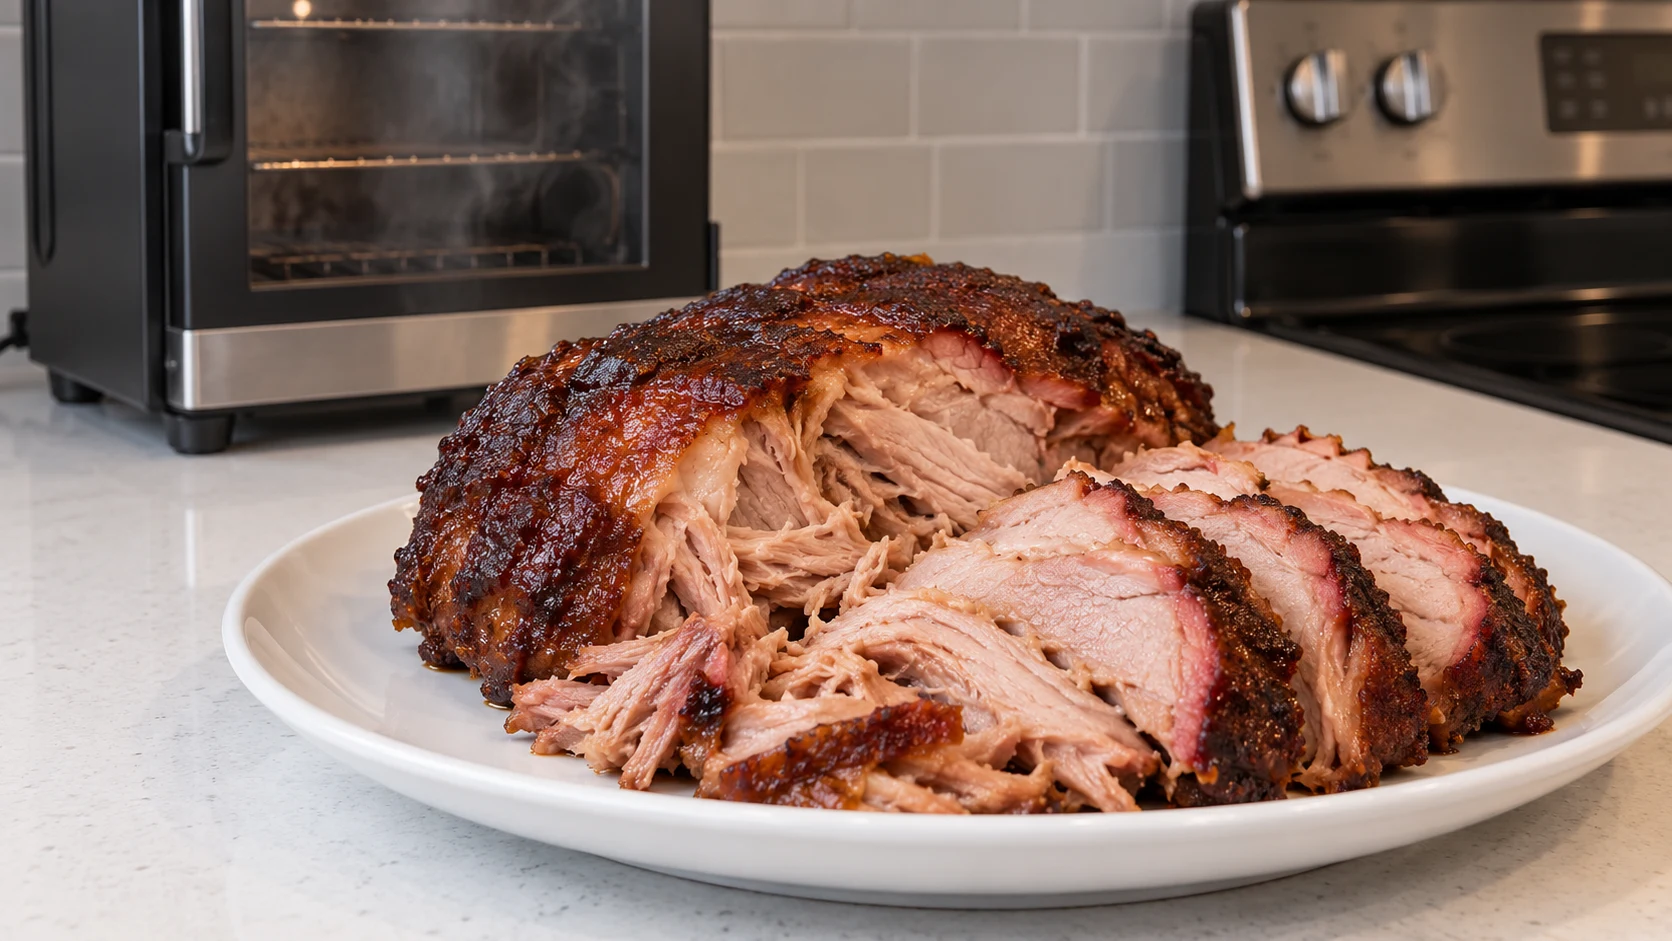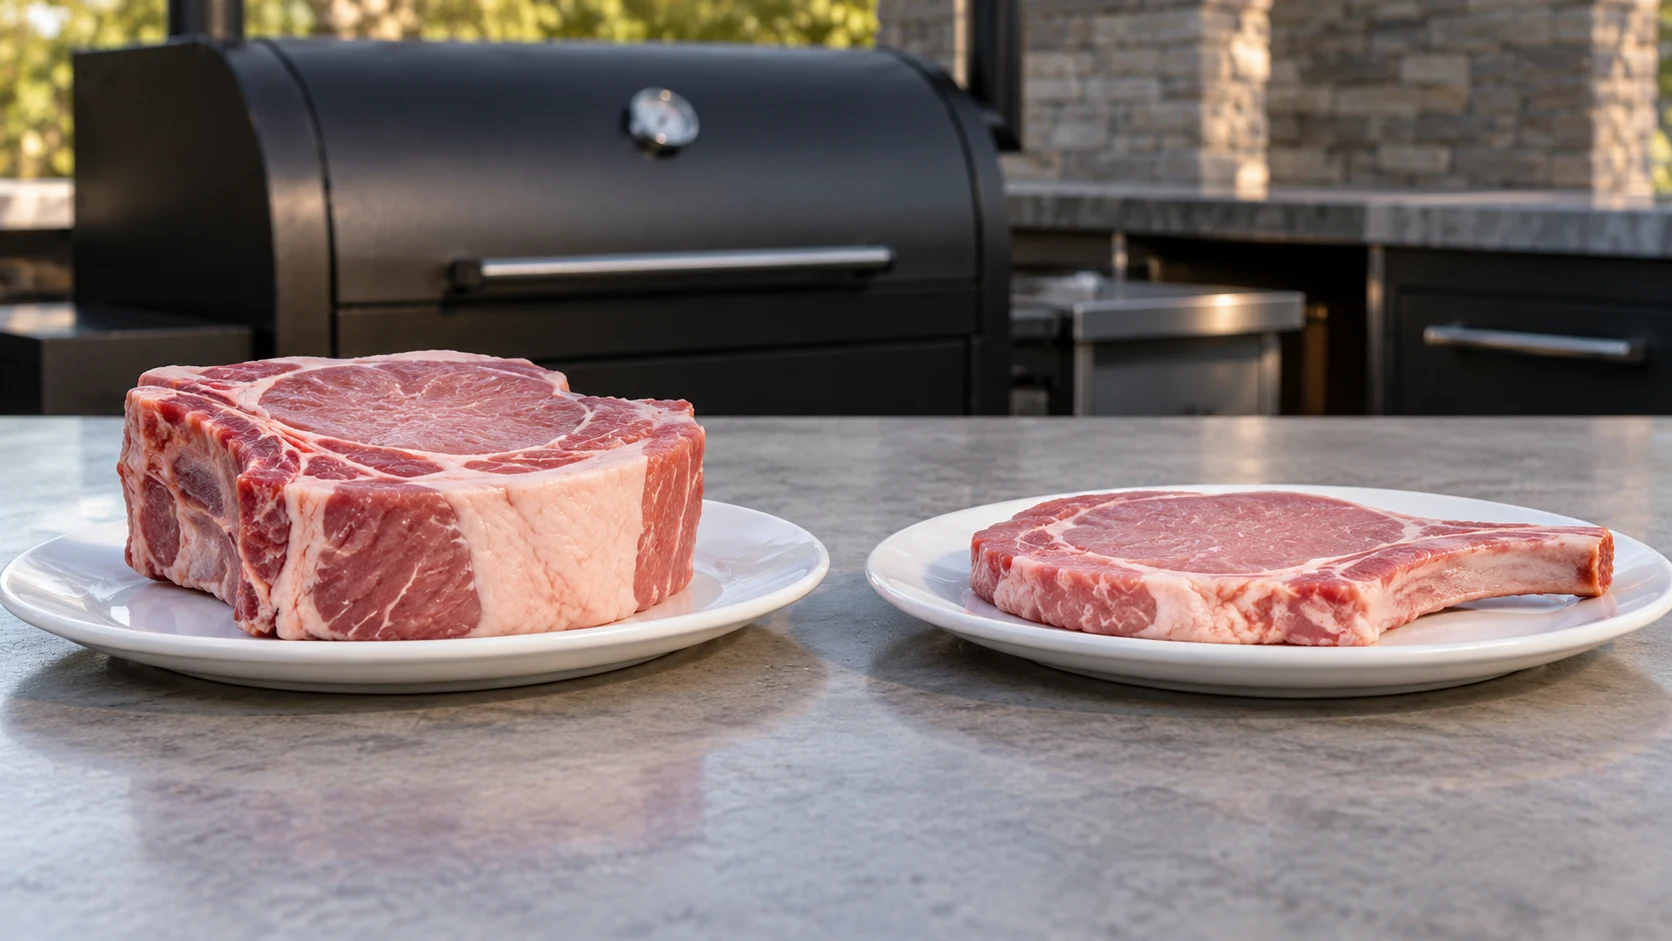
A dry pork chop is usually not a bad cut. It is a lean cut that stayed over heat after the useful cooking was finished. Pork loin has little internal fat to protect it, so the distance between juicy and cottony is small. The solution is not a complicated preparation or a heavy coating. It is a thicker chop, a dry surface, decisive heat, and a thermometer used from the side.
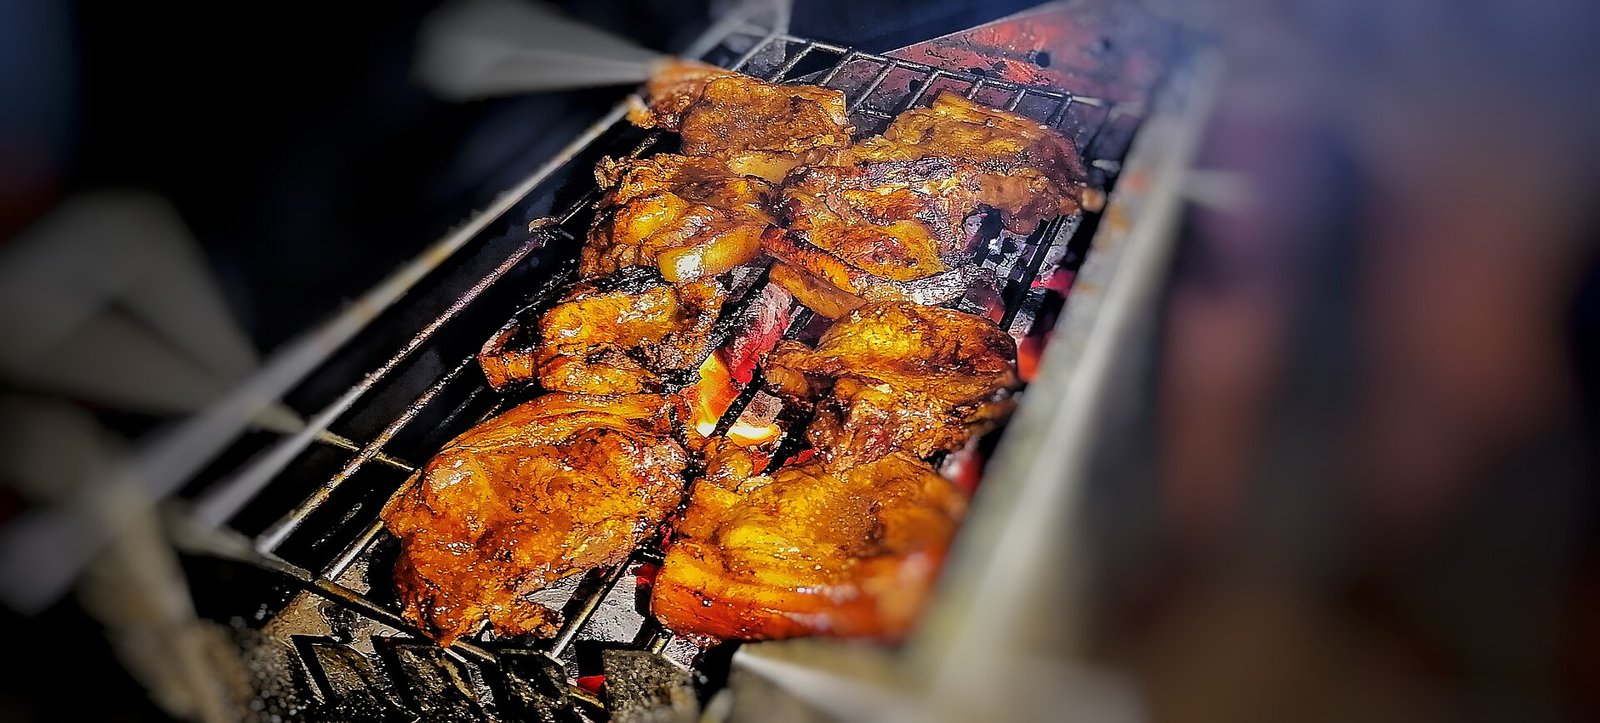
Start with enough thickness
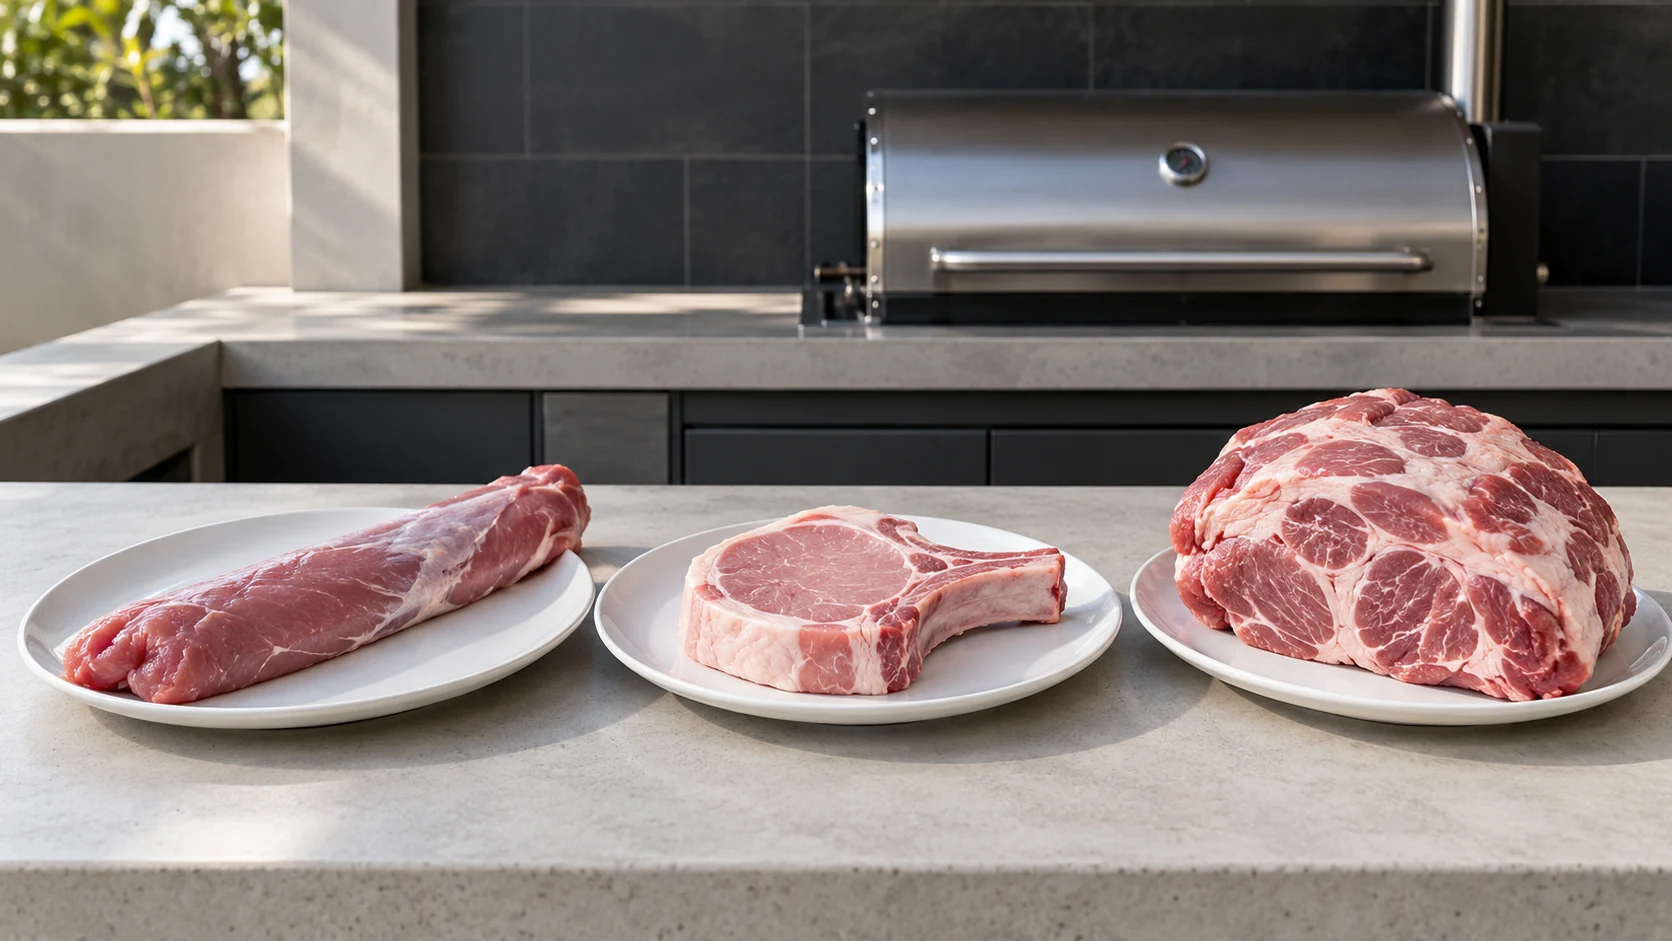
Thin supermarket chops can be cooked, but they leave almost no time to build a crust before the centre passes its best texture. A chop around 1 to 1½ inches thick gives the surface time to brown while the middle rises more slowly. Bone-in or boneless both work. The bone changes the shape and can slow the meat closest to it, but it does not rescue an overcooked chop.
| Chop | Best route | Main risk |
|---|---|---|
| Under ¾ inch | Very fast pan sear | Overcooking before browning |
| 1 to 1½ inches | Sear, then finish gently | Cold centre if heat stays too aggressive |
| Over 1½ inches | Low heat, then hard sear | Guessing instead of measuring |
Salt early, then dry the surface
Salt the chop in advance when you can, then leave it uncovered in the refrigerator. The seasoning has time to move inward while the exterior becomes drier. If you are cooking immediately, salt just before the chop reaches the pan. Either way, blot visible moisture first. Water must boil away before browning begins, and a wet chop spends its narrow cooking window steaming.
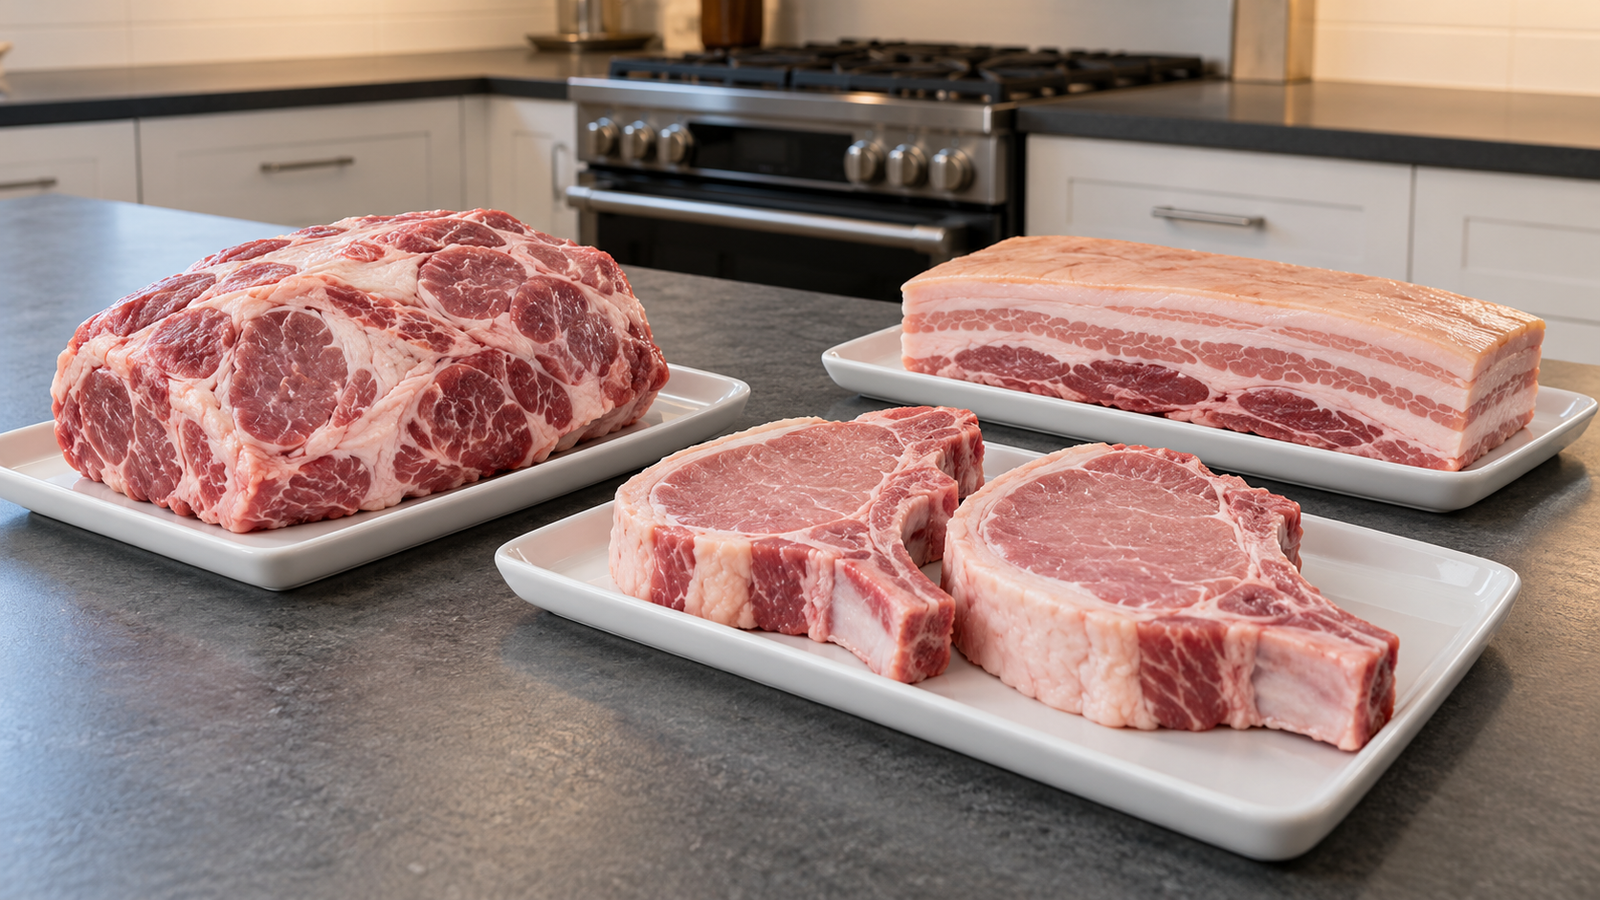
Use a two-stage cook for thick chops
- Warm a heavy pan or prepare a grill with a hot zone and a cooler zone.
- Dry the chop and place it over strong heat long enough to develop a dark, even surface.
- Move the chop to gentler heat before the outside burns.
- Check the centre with an instant-read thermometer inserted horizontally from the side.
- Once the chop has reached the safe minimum, remove it and rest it for at least three minutes.
For a very thick chop, reverse the order: bring the centre up slowly in a low oven or on the cool side of the grill, then finish with a short, hard sear. The point is control. Hard heat earns the crust; gentle heat closes the distance to the centre without drying the outer band.
Measure in the right place
Push the probe into the thickest part from the side so the sensing tip sits in the centre. Avoid touching bone or sitting in a pocket of fat. Check a second spot if the first reading seems surprising. The USDA safe minimum for pork steaks, chops, and roasts is 145°F followed by a rest of at least three minutes. Colour is not the test; temperature is.
Three failure patterns
- Pale but already hot inside: the chop was too thin, the pan was too cool, or the surface was wet.
- Dark outside and cold inside: the chop was thick and never moved to gentler heat.
- Grey from edge to edge: the chop stayed over heat after reaching its safe finish.
The repeatable finish
Buy enough thickness, dry the surface, separate browning from gentle finishing, and measure from the side. That is the entire system. A pork chop does not need to be disguised. It needs to leave the heat on time with a real crust and a centre that has not been wrung dry.
Food-safety reference: the USDA Food Safety and Inspection Service safe-temperature chart lists 145°F with a three-minute rest for whole cuts of pork. This guide describes standard technique rather than a formally tested recipe.