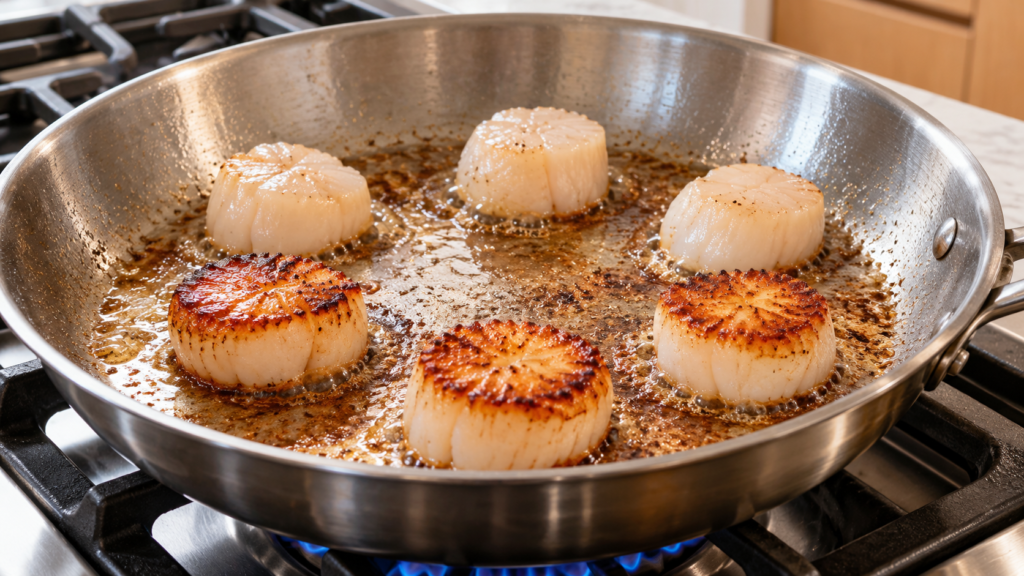
A scallop in a restaurant arrives with a deep golden crust and a center that’s still faintly translucent, soft enough to cut with the side of a fork. The same scallop cooked at home usually comes out grey, tight, and squeaky against the teeth, a disappointing result that discourages a lot of home cooks from ever trying scallops or shrimp again. Almost none of that gap comes down to the scallop itself. It comes down to three things done in the wrong order: a wet scallop, a pan that wasn’t actually hot enough, and too much time spent chasing a crust that was already there. Shrimp runs into a related but distinct version of the same basic problem, just on an even faster timeline.
Dry the scallop before anything else happens
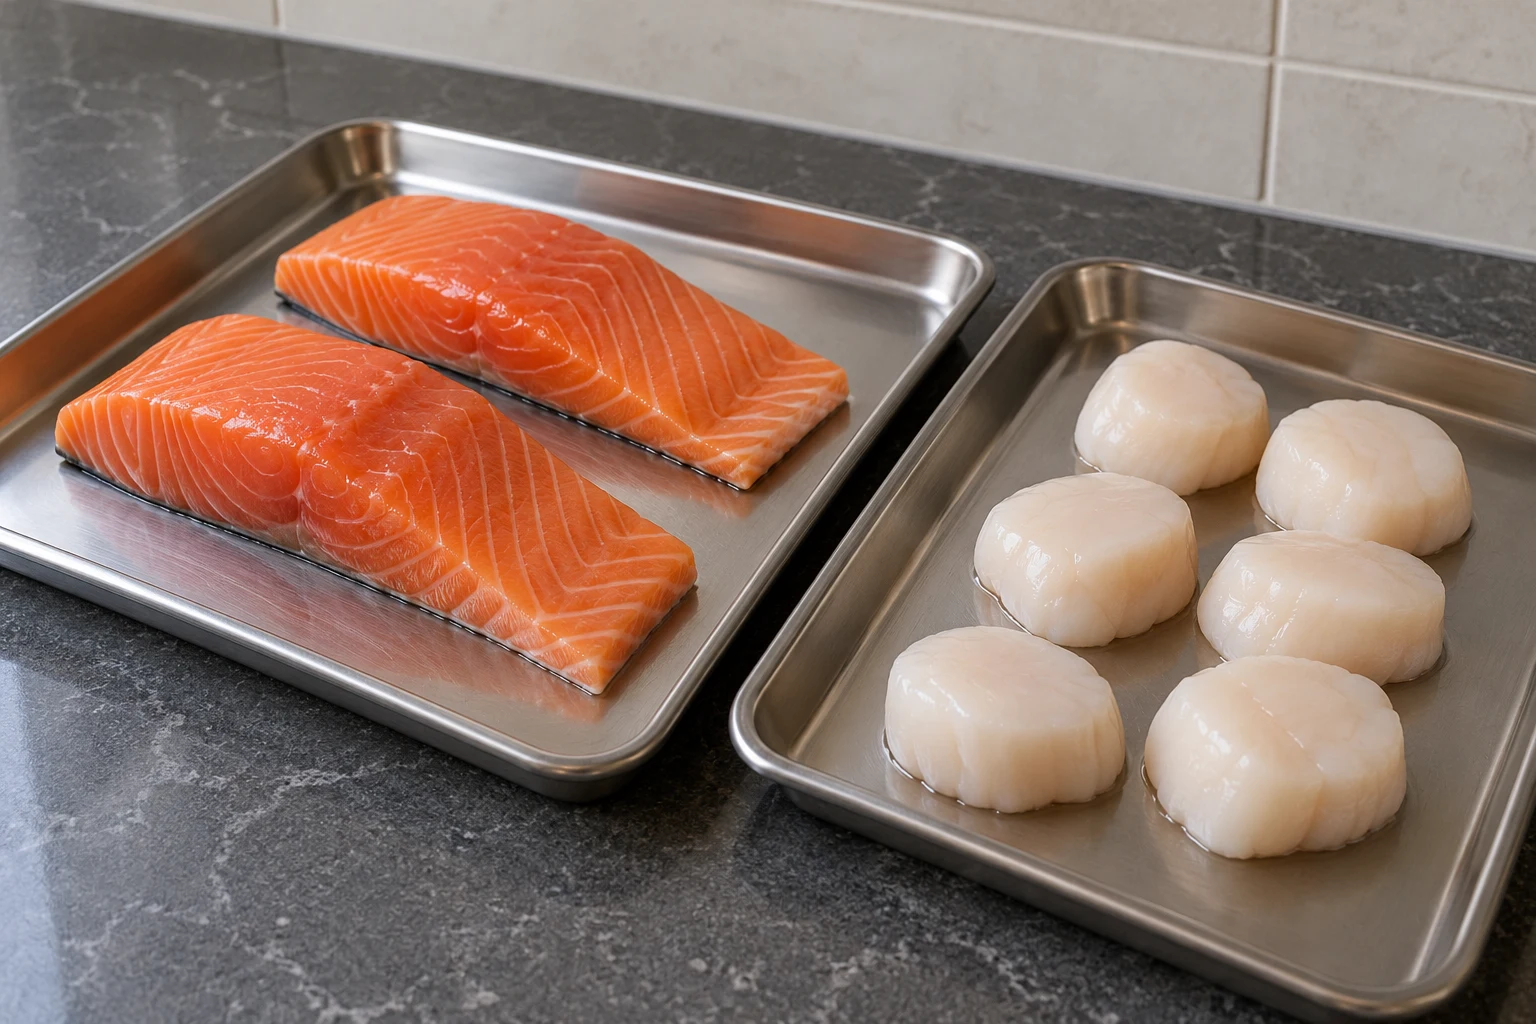
Scallops are sold wet far more often than people realize. “Wet” scallops have been treated with a sodium tripolyphosphate solution that helps them retain water during shipping, which plumps them up and adds weight, but that same retained water is exactly what steams a scallop in the pan instead of searing it. “Dry” scallops, sold without that treatment, sear dramatically better because there’s nothing fighting the pan for the surface moisture.
Either way, the fix before cooking is genuinely the same regardless of which type ends up in the package: pat the scallops thoroughly dry with paper towels, pressing firmly rather than a light dab, and let them sit uncovered on a paper-towel-lined plate for a solid ten minutes before they go anywhere near real heat. A scallop that looks dry on the outside but is still cold and slightly damp at that moment is the single most common reason a sear turns into a steam.
The pan has to be hotter than instinct suggests
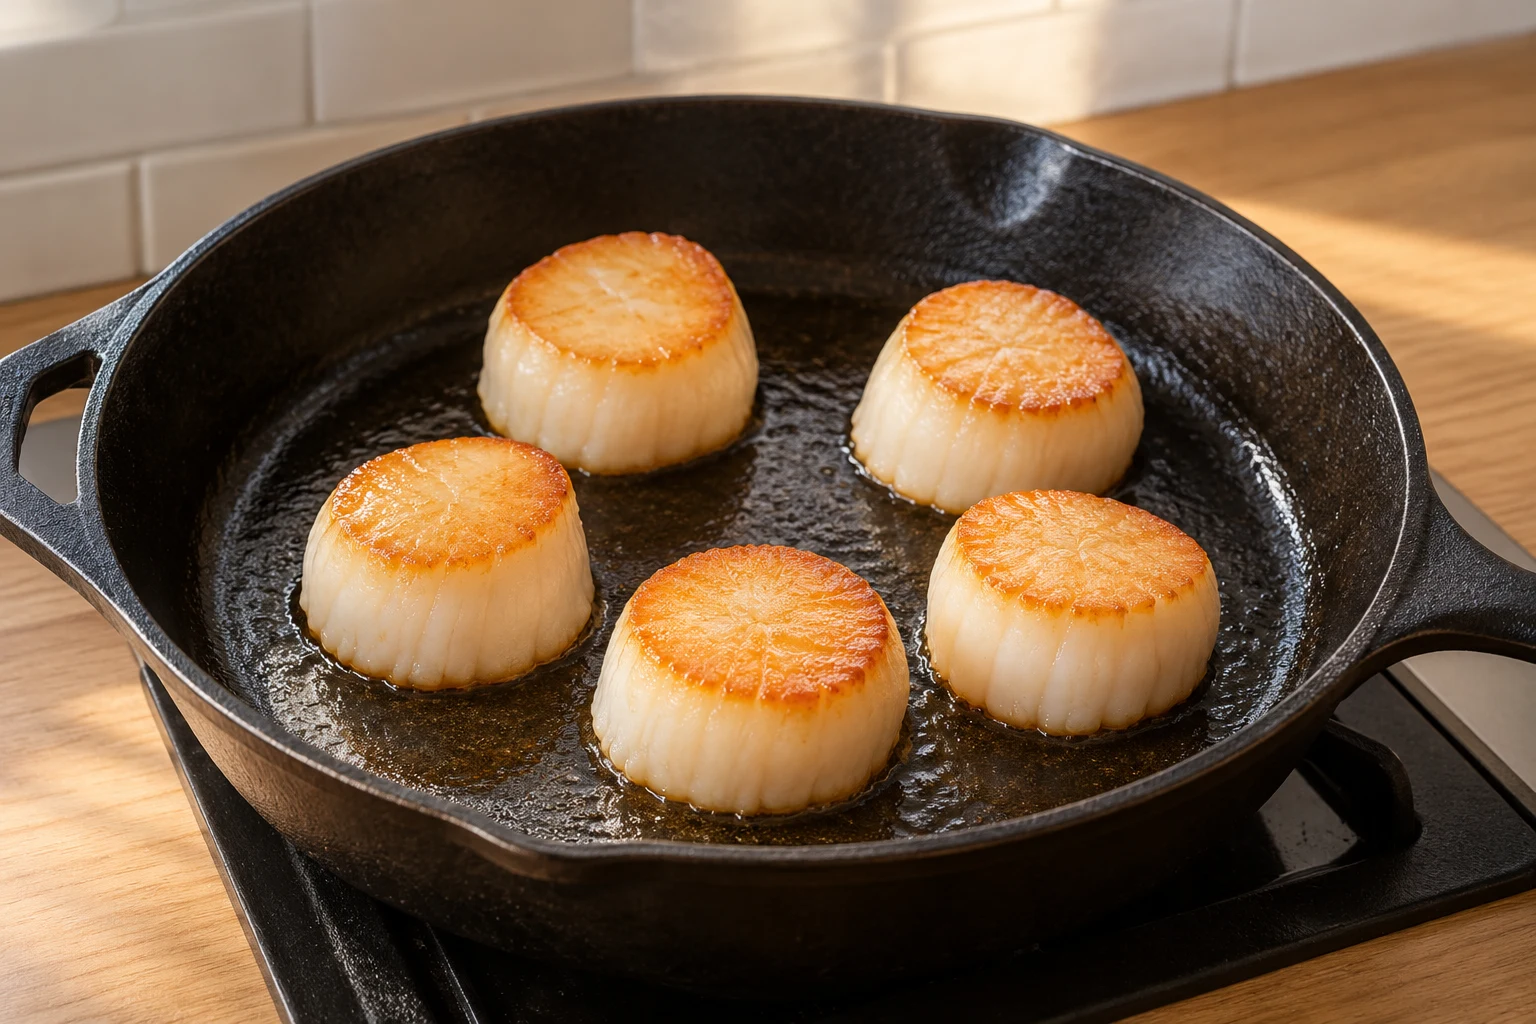
A properly caramelized scallop needs a pan at the edge of smoking, not comfortably warm. Heat a heavy skillet, carbon steel or stainless, over high heat for a full two to three minutes before any fat goes in, then add a high-smoke-point fat like ghee or tallow and wait until it shimmers and moves loosely across the surface. A scallop dropped into a pan that isn’t genuinely hot yet won’t start searing the instant it touches metal, and that delay is exactly what lets moisture pool underneath it and steam the surface instead.
Space matters here too. Scallops placed too close together release enough steam collectively to undo a perfectly hot pan, the same crowding problem that ruins a pan of ground beef. Leave real space between each one, in batches if the pan isn’t large enough to fit them all with room to spare.
Ninety seconds a side, and then stop touching it
A scallop in a properly hot pan needs roughly 90 seconds to 2 minutes on the first side, and the biggest mistake at this stage is checking on it too early. Lifting a scallop before it has actually finished searing tears away the crust that’s still forming and leaves a pale, unfinished patch behind. Leave it alone until that 90-second mark, then check: a properly seared side releases from the pan almost on its own, with minimal resistance. If it’s sticking and resisting, it needs more time, not force.
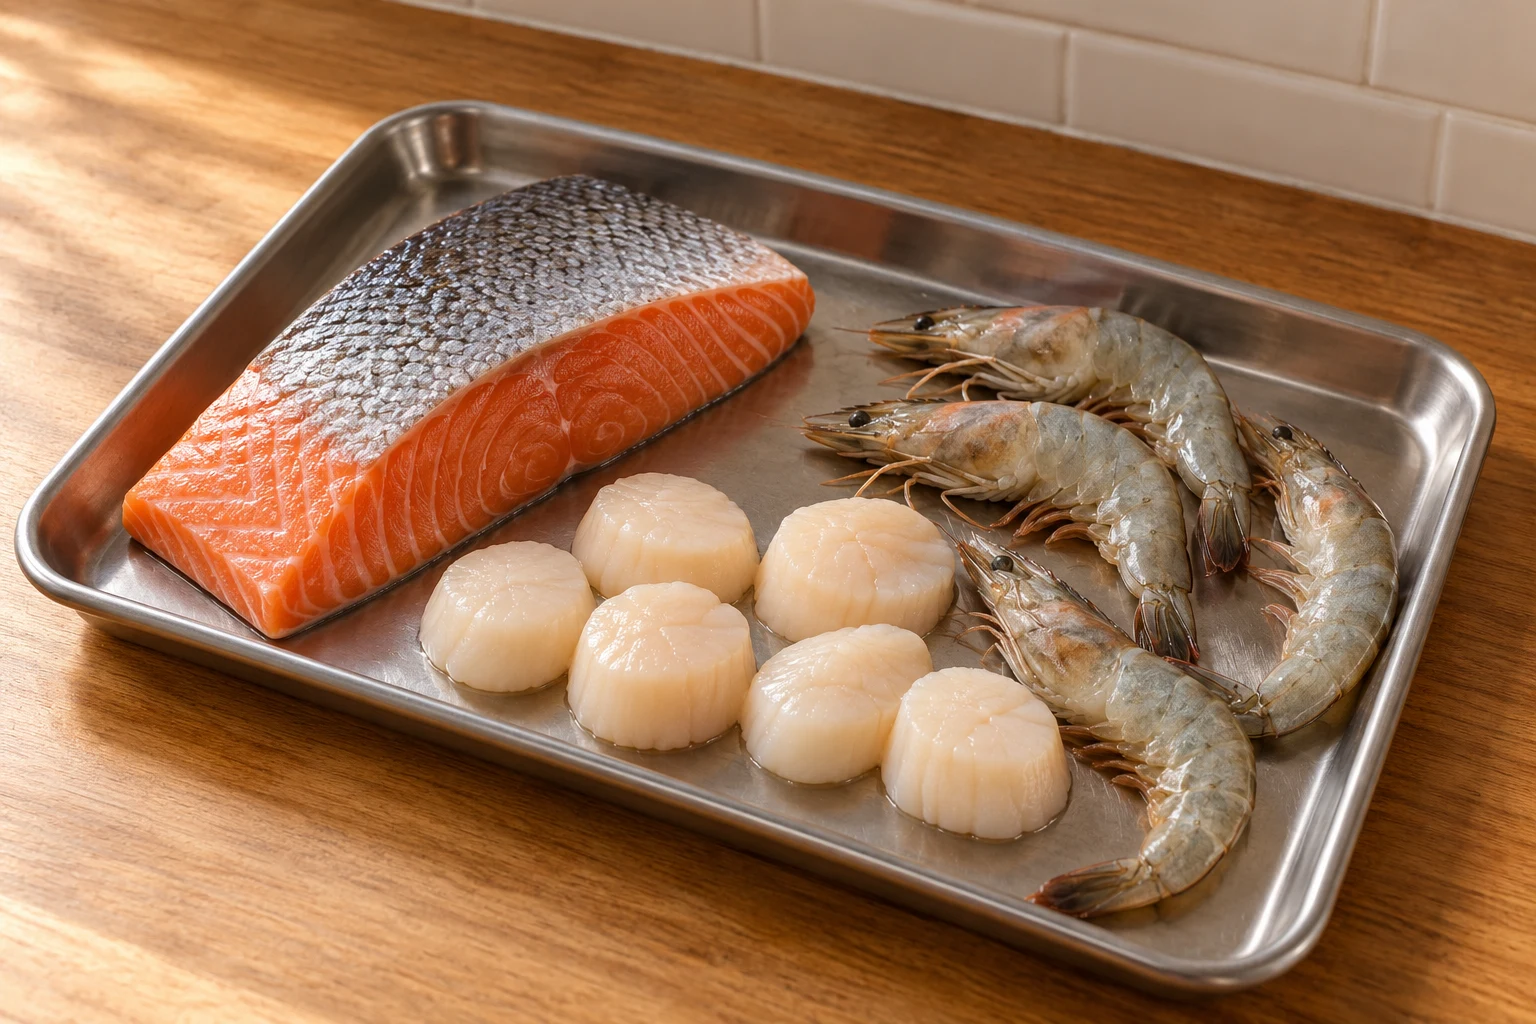
Flip once, sear the second side for roughly half the time of the first (closer to 60 to 90 seconds), and pull the scallop while the very center still looks faintly translucent. Carryover heat finishes that last bit of cooking off the heat, and a scallop that looks fully opaque all the way through in the pan is already past the point of being tender.
| Sign | What it means |
|---|---|
| Deep golden-brown crust, releases easily from the pan | Properly seared, ready to flip |
| Pale, sticking to the pan, resisting a gentle nudge | Needs more time before flipping, don’t force it |
| Firm all the way through, slightly springy | Overcooked; center has lost its tender, custardy texture |
| Faintly translucent center at the moment it’s pulled | Correct; carryover heat finishes the center off the heat |
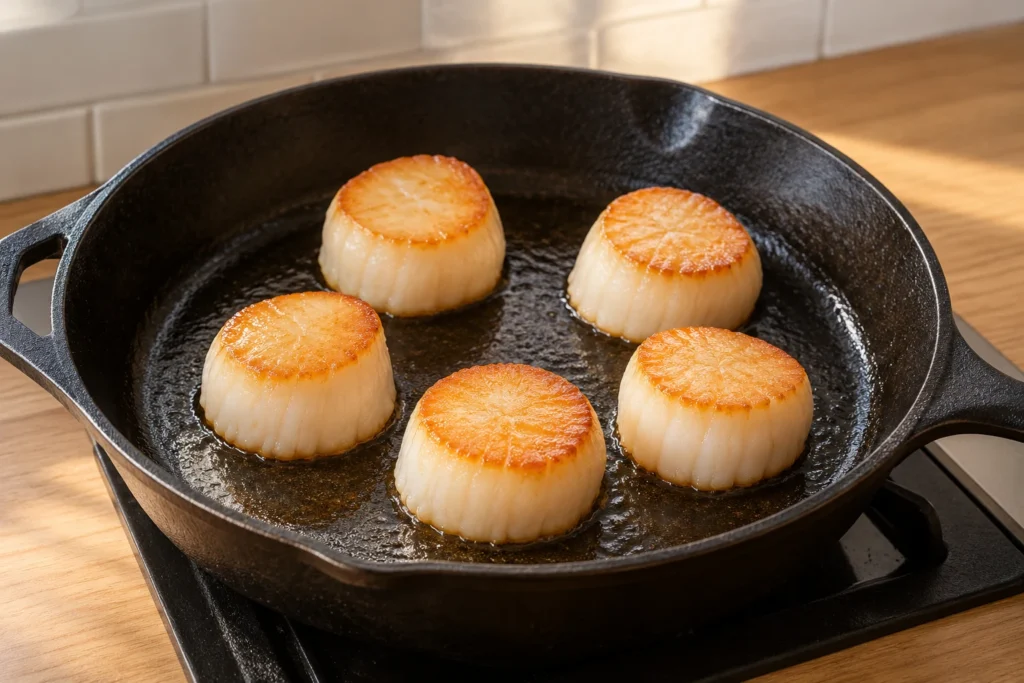
Bay scallops versus sea scallops: not interchangeable
Sea scallops are the large, often golf-ball-sized ones most associated with a hard sear and a restaurant-style presentation. Bay scallops are considerably smaller, more delicate, and cook through in a fraction of the time, which means the same 90-second-per-side timing built for a sea scallop will badly overcook a bay scallop. Bay scallops suit a quick saute finished in under two minutes total far better than a long, patient sear, and treating the two interchangeably is a real source of disappointing results that has nothing to do with technique and everything to do with size mismatch.
Checking the label for “dry” or “wet” matters more than checking for “sea” or “bay,” since both sizes are sold both ways. A wet bay scallop, already working against a short natural cook time, is an especially difficult starting point for anyone still learning the technique; starting with dry sea scallops specifically removes two variables at once.
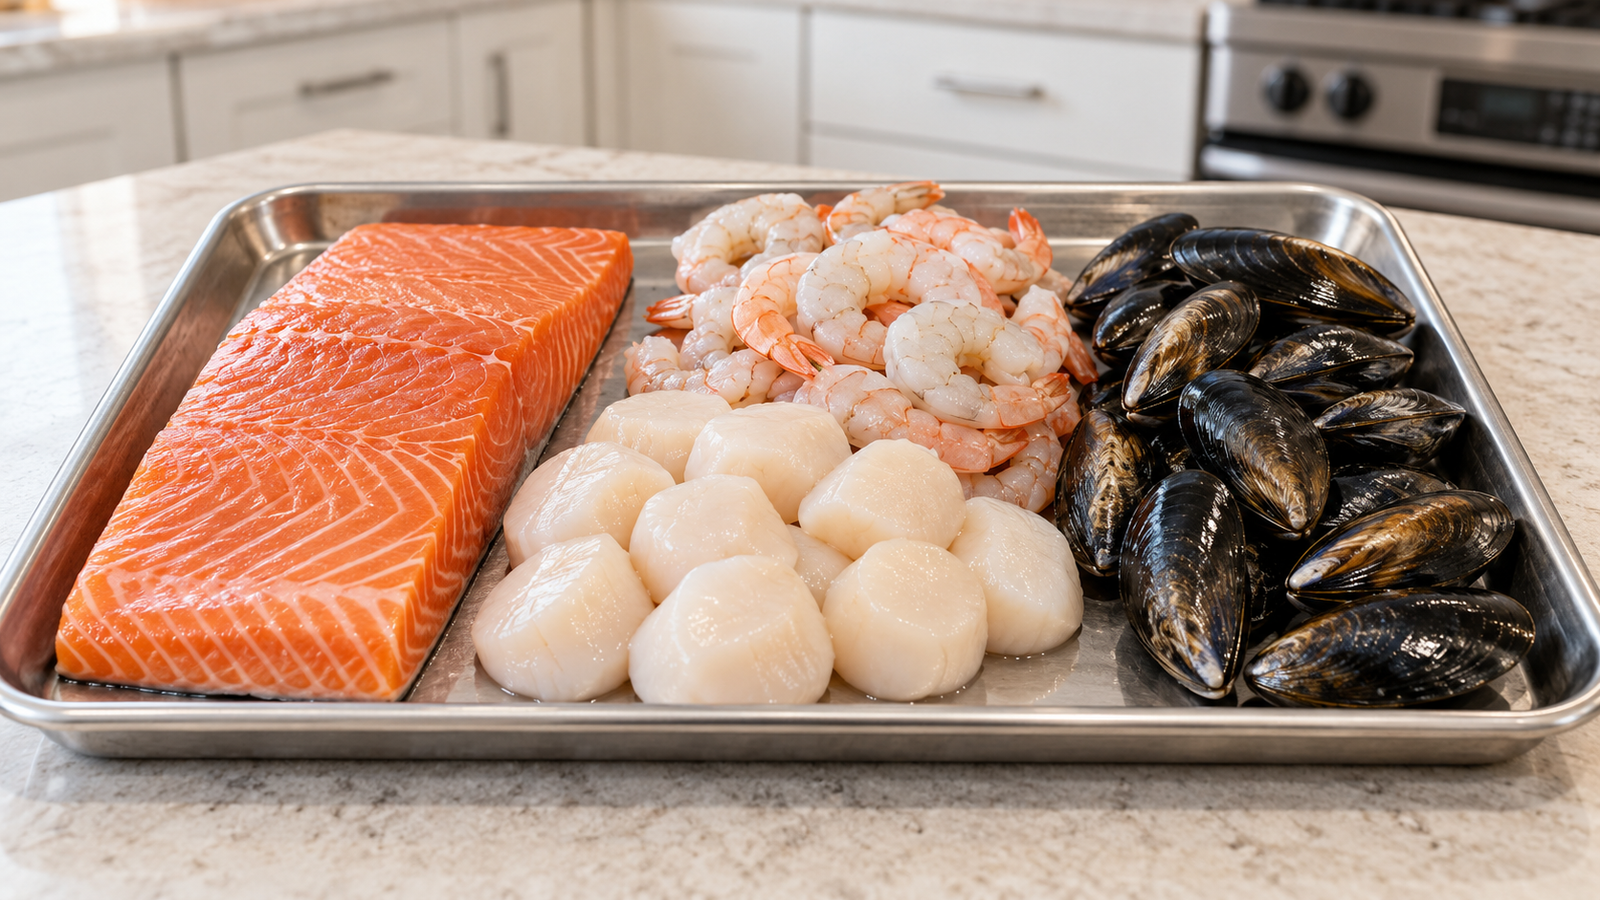
What actually happens chemically during that 90-second window
The same Maillard browning reaction responsible for a steak’s crust is responsible for a scallop’s, protein and sugar reacting under high, dry heat to build that deep golden color and the specific savory flavor that comes with it. Scallops carry less natural sugar than red meat does, which is part of why they need a hotter, more aggressive sear to brown at all in the same short window: there’s less raw material for that reaction to work with, so the pan has to work harder and faster to get there before the inside overcooks. This is also why a pan that’s merely warm, rather than genuinely hot, so often produces a grey, boiled-looking scallop instead of a browned one: the Maillard reaction simply never gets the temperature it needs to start.
Shrimp moves even faster, and the window is just as real
Shrimp goes from translucent grey to fully opaque in under three minutes in a hot pan, and the visual cue worth watching is shape as much as color: a properly cooked shrimp curls into a loose “C,” while an overcooked one tightens further into a cramped “O.” That tight curl is a genuinely reliable overcooking signal, visible from clear across the kitchen even in a crowded pan, and it’s worth trusting well over any fixed clock.
Peeling and deveining first makes the cooking itself far more predictable. The dark line running along a shrimp’s back is its digestive tract, not dangerous to eat but unpleasant in both texture and appearance left in. A paring knife run shallowly along that line, followed by a quick rinse, clears it in seconds per shrimp once the motion is familiar. Buying shrimp already peeled and deveined is a completely reasonable shortcut, worth the modest price difference for anyone who’d rather spend that prep time elsewhere.
Leaving the tail on or taking it off is purely a serving preference with no real effect on the cooking itself, though a tail left on does give a visual cue worth knowing: the meat visible through the shell at the tail end turning from translucent to opaque is one more confirmation alongside the curl that a shrimp has actually finished cooking, checkable at a glance without cutting one open.
Searing shrimp versus poaching it
A hot pan with a thin layer of fat gets shrimp seared and browned in about a minute and a half total, roughly 45 seconds a side, which suits shrimp meant to be the centerpiece of a dish on their own rather than an ingredient folded into something else where a different cooking method fits better. Poaching, a bare simmer rather than a rolling boil, is the gentler option for shrimp headed into a cold dish, a salad, or anything where a hard sear isn’t actually the point. Poached shrimp are done the moment they turn opaque and curl, usually two to three minutes depending on size, and pulling them straight into an ice bath stops the cooking instantly and keeps them from drifting past that point while they cool on the counter.
Size matters more for shrimp than it does for most other seafood
Shrimp are sold by a count-per-pound number (16/20, 26/30, and so on), which tells you more useful information than any size label like “jumbo” or “large” does, since those labels aren’t standardized the same way across brands and stores. A lower number means bigger shrimp: 16/20 means 16 to 20 shrimp per pound total, noticeably larger and more substantial than a 41/50 count, which packs far more individual shrimp into that same pound. Larger shrimp forgive a slightly longer cook better than small ones do, simply because there’s more mass buffering the center from the heat, which makes a bigger count a genuinely easier starting point for anyone still building a feel for the timing.
| Count per pound | Common label | Best use |
|---|---|---|
| 16/20 or fewer | Jumbo or extra-large | Searing as the centerpiece, most forgiving for beginners |
| 26/30 | Large | A reasonable all-purpose default |
| 41/50 or smaller | Medium to small | Fastest-cooking, best suited to a quick poach or mixed into a dish |
Buying frozen without losing quality
Both scallops and shrimp are frequently frozen at sea within hours of catch, which often makes a well-handled frozen product better than a “fresh” counter item that’s actually several days old by the time it’s sold. The real risk with frozen shellfish isn’t the freezing itself, it’s a poor thaw. Thawing in the refrigerator overnight, or in a sealed bag submerged in cold water for a faster option, keeps the texture intact. Thawing on the counter or under warm water lets the outer layer sit in an unsafe temperature range while the center is still frozen, and it tends to leave shellfish waterlogged and mushy by the time it’s actually ready to cook.
A sealed bag of individually frozen shellfish, rather than a solid frozen block, is worth seeking out specifically, since it allows thawing only what’s actually needed for one meal rather than committing an entire package to a single cook. This individually-frozen format also makes portioning for a prep-day style routine considerably easier, since a specific count or weight can be pulled straight from the freezer without having to hack apart a solid block first.
Finishing touches that don’t fight the sear
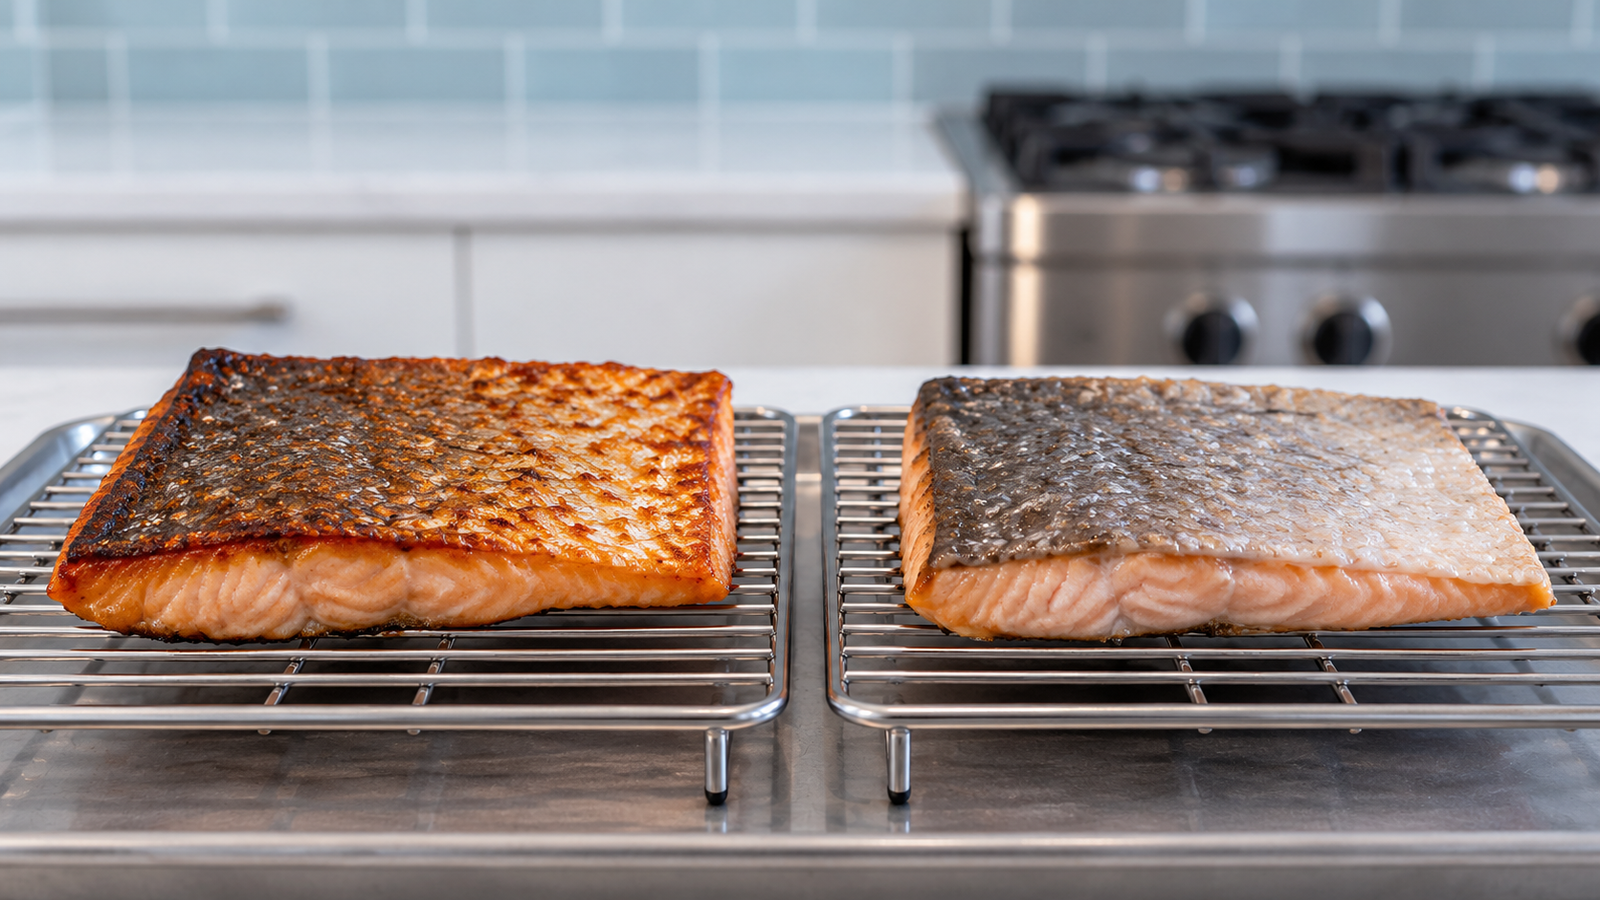
A properly seared scallop or shrimp doesn’t need much added to it, and the temptation to drown either one in sauce right after cooking usually just softens the crust that took real effort to build. A squeeze of something acidic, a bit of the same fat used for searing spooned back over at the very end, or nothing at all beyond salt is often the better call than a heavy finishing sauce poured directly over a freshly seared piece. If a sauce is genuinely part of the plan, serving it underneath or spooned alongside rather than poured directly over the top keeps that hard-won texture intact for at least the first several bites, which is usually all anyone actually remembers about the dish afterward.
Mistakes that ruin shellfish specifically
- Skipping the dry-off on scallops. Even a few minutes of patting and air-drying meaningfully improves the sear.
- Flipping or checking too early. Both scallops and shrimp need to be left alone long enough to actually finish a side before being disturbed.
- Crowding the pan. Steam from overcrowded shellfish undoes a properly hot pan just as fast as it does with ground beef.
- Cooking straight from frozen. Thaw shellfish in the refrigerator or in a sealed bag under cold water first; cooking it frozen makes timing nearly impossible to judge.
- Trusting a clock over the visual cues. The curl on a shrimp and the release of a scallop from the pan are both more reliable than a fixed number of minutes.
This is a technique guide, not a food-safety substitute. Always cook shellfish to a safe internal temperature. Reference: USDA/FoodSafety.gov safe minimum cooking temperatures.
Visual steps