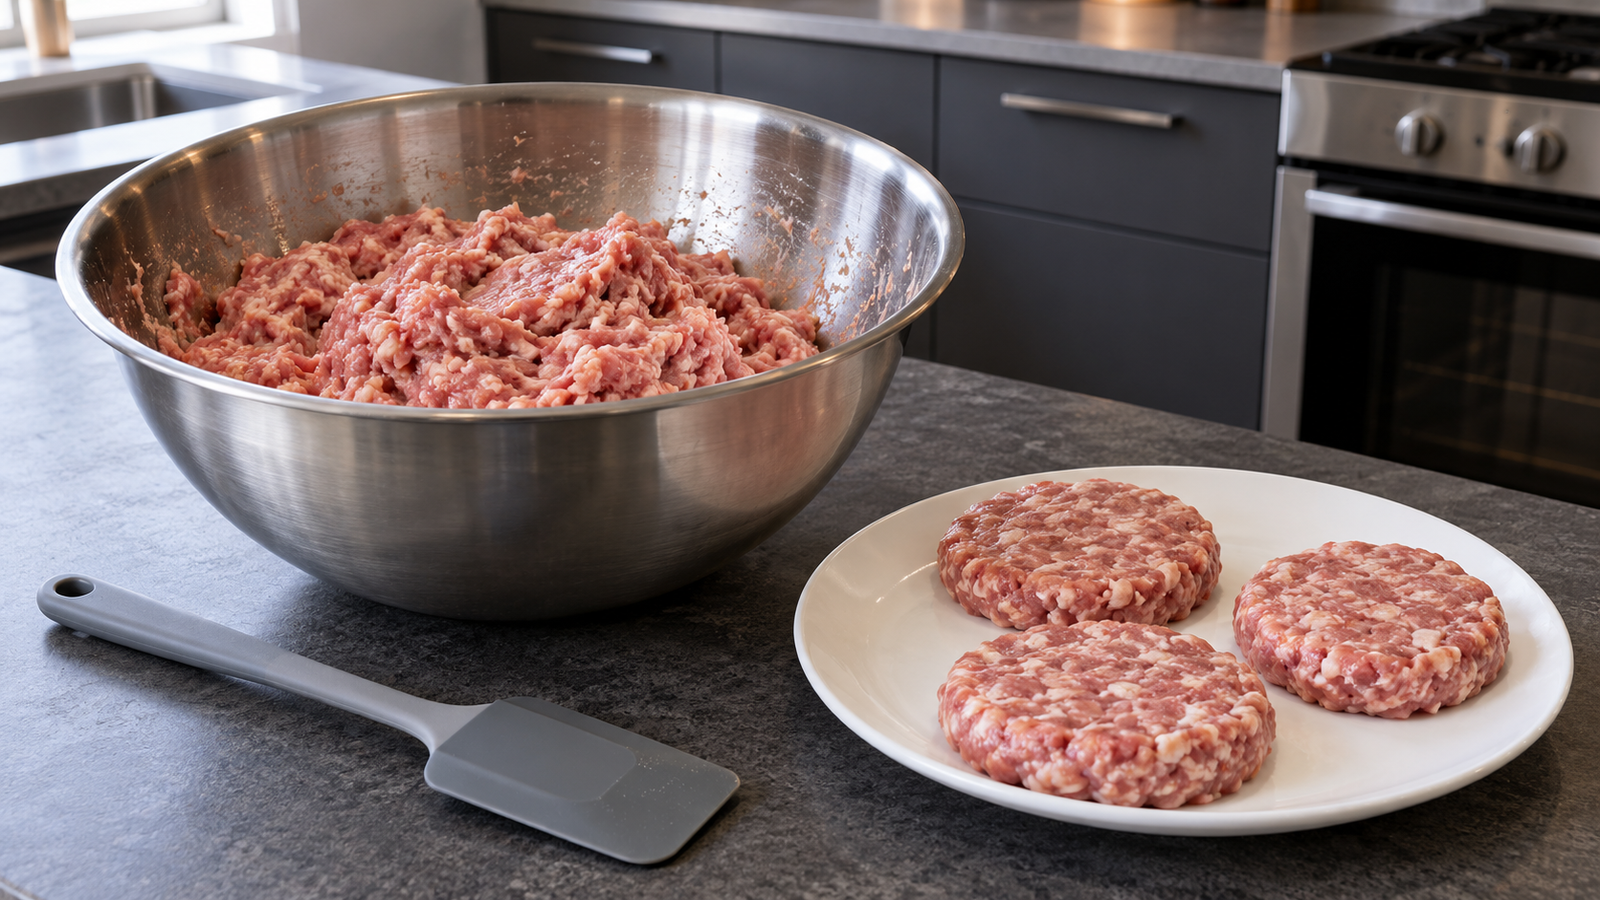
A grinder and a stuffer make real, traditional sausage, the kind packed firmly into a casing, considerably easier to produce consistently, but their absence doesn’t rule out sausage making at home entirely. Starting from pre-ground meat and building real sausage flavor and texture entirely by hand gets most of the way there, no specialized equipment required at any point in the actual process.
What’s genuinely achievable without equipment, and what isn’t
Loose sausage, formed into patties or simply crumbled loose while it cooks in the pan rather than stuffed into any casing, is fully achievable with nothing more than ground meat, a good seasoning blend, and an ordinary mixing bowl. Links in natural or collagen casing genuinely require a stuffer, whether a dedicated sausage stuffer or a grinder with a stuffing attachment, and there isn’t a good workaround for that specific step. Fermented, air-dried sausage like salami is its own separate, more advanced project involving precise curing salt, controlled temperature and humidity, and specialized starter cultures, well beyond what this article covers.
What sits squarely in reach without any of that equipment: well-seasoned breakfast sausage patties, Italian-style loose sausage for pasta sauce or pizza topping, and simple fresh sausage crumbles seasoned specifically for tacos or a skillet dish. All of it starts from meat that’s already ground, bought that way or ground briefly in a food processor, and gets its sausage character entirely from seasoning, fat ratio, and technique rather than from a casing.
Picking the right starting meat
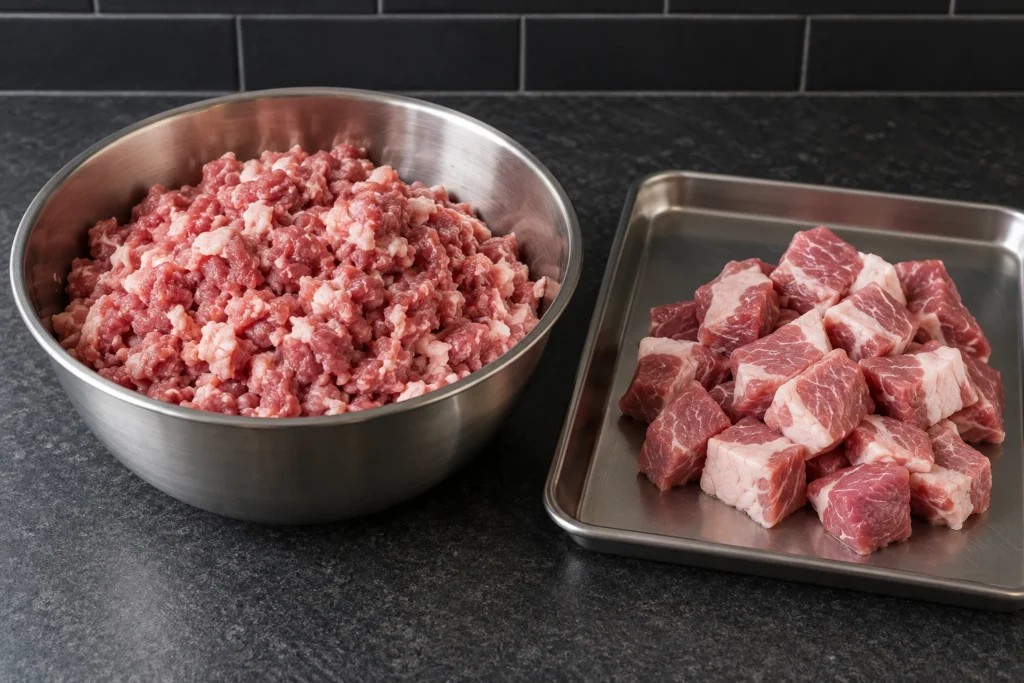
Pork shoulder, ground to a standard coarse or medium grind, is the traditional base for most classic sausage styles, and pre-ground pork labeled for sausage or general ground pork both work. For anyone without a grinder at all, a food processor pulsed briefly, in short bursts rather than one continuous run, can turn cubed meat into something close to a coarse grind, though the texture ends up a bit less uniform than a real grinder produces. Running the processor too long turns meat into a paste rather than a grind, which ruins the texture entirely, so short, deliberate pulses matter here more than almost anything else in the process.
| Base meat | Typical fat content needed | Good for |
|---|---|---|
| Ground pork shoulder | Naturally around 20 to 30 percent fat | Classic breakfast and Italian-style sausage |
| Ground beef | Needs added fat if leaner than 80/20 | Beef-forward sausage styles, often blended with pork |
| Ground turkey or chicken | Almost always needs added fat | Lighter sausage styles, benefits most from added fat for texture |
Fat content matters more in sausage than in almost any other ground meat application out there, since fat is what actually carries the seasoning’s flavor through the meat and keeps the finished patty from turning dry and crumbly once it’s fully cooked through. Lean ground turkey or chicken, popular for health reasons in other contexts, makes notably disappointing sausage unless extra fat, rendered pork fat, butter, or even a bit of olive oil worked in by hand, is added back deliberately.
Seasoning ratios worth starting from
A basic, widely usable starting ratio: for every pound of ground meat, about one and a half teaspoons of salt, half a teaspoon of black pepper, and then whatever specific seasonings define the style being made. Classic breakfast sausage adds dried sage, a little brown sugar, and a pinch of nutmeg or allspice. Italian-style sausage adds fennel seed, garlic, and red pepper flakes for a spicier version. Taco-style seasoning leans on chili powder, cumin, smoked paprika, and garlic. These ratios are a starting point meant to be adjusted on a second batch once the first one reveals whether more or less of a given seasoning actually suits personal taste.
Cooking a small test patty before committing an entire batch to one seasoning level is worth the extra few minutes it takes. Raw ground meat tastes nothing like its cooked version once salt and seasoning have had a chance to actually work, so tasting the raw mix tells a cook almost nothing useful about the final result.
A natural casing substitute: caul fat, when it’s available
Caul fat, the thin, lacy membrane that surrounds an animal’s internal organs, is worth knowing about as a genuine middle ground between loose patties and true cased sausage, and a butcher who breaks down whole animals in house, the kind worth asking a direct question at the counter about, sometimes has it available even when it’s not displayed in the case. Wrapped around a formed sausage patty or log shape, caul fat melts away almost entirely during cooking, basting the meat as it renders and holding the shape together loosely in a way a plain patty can’t manage on its own, all without requiring a stuffer, a casing, or any specialized equipment beyond a willingness to handle it. It’s a genuinely underused option specifically because so few home cooks know to ask for it.
Using egg as a binder for a firmer, more cohesive sausage
For sausage that needs to hold together more firmly than a standard loose patty, meatball-style sausage, or anything destined to be skewered or handled more roughly than a simple pan-fried patty, working in a lightly beaten egg per pound or so of meat gives real structural help. The egg’s proteins set during cooking and bind the mixture together noticeably more than meat and seasoning alone manage, the same basic binding mechanism that holds a meatball together rather than letting it crumble apart in the pan. This isn’t traditional in most classic sausage recipes, which rely purely on the meat’s own protein and fat, but it’s a genuinely useful technique for anyone finding their loose patties too fragile to work with comfortably.
Three seasoning blends worth starting from, measured out
Having exact measurements for a first attempt removes most of the guesswork a blank seasoning rack otherwise invites. Each of these is scaled per pound of ground meat and can be doubled or tripled directly for a larger batch without changing the ratios.
- Classic breakfast sausage: 1.5 teaspoons salt, 0.5 teaspoon black pepper, 1 teaspoon dried sage, 1 teaspoon brown sugar, a pinch each of nutmeg and allspice.
- Italian-style: 1.5 teaspoons salt, 0.5 teaspoon black pepper, 1.5 teaspoons fennel seed (lightly crushed), 1 clove garlic (minced or a half teaspoon of garlic powder), 0.5 teaspoon red pepper flakes for a spicier version, omit for mild.
- Taco-style crumble: 1.5 teaspoons salt, 1 teaspoon chili powder, 1 teaspoon ground cumin, 0.5 teaspoon smoked paprika, 0.5 teaspoon garlic powder, a pinch of dried oregano.
Mixing the dry seasoning together first, in a small separate bowl, before adding it to the meat ensures a more even distribution than sprinkling individual spices directly onto the meat and hoping they spread out evenly during mixing. This single step makes a bigger difference to consistency than most people expect from something this simple.
Scaling a batch up without losing consistency
Doubling or tripling a batch for a larger prep session works cleanly as long as the seasoning ratios scale proportionally along with the meat, which the measurements above are built to do directly. The part that doesn’t scale as cleanly is mixing itself: a larger volume of meat takes noticeably longer to mix evenly by hand, which increases the real risk of overmixing the first portions touched while still working seasoning into the last of it. Mixing in smaller sub-batches, a few pounds at a time even within one larger session, and combining them only at the very end, keeps the overmixing risk from compounding across a bigger batch the way it would mixing everything together at once in one large bowl.
A larger batch is also the point where chilling equipment ahead of time, covered earlier, stops being optional and starts being genuinely necessary. Room-temperature hands and bowls working through several pounds of meat over an extended mixing session will soften the fat considerably more than the same brief handling applied to a single pound.
Mixing it correctly, which matters more than people expect
Overmixing ground meat by hand develops the protein structure too much, the same underlying issue covered in why burgers turn out dense when overworked, and it produces a similarly dense, springy, almost rubbery texture in sausage that works against the loose, tender crumble good sausage is supposed to have. Mix just until the seasoning is evenly distributed throughout the meat, using a light hand and stopping as soon as the color and seasoning look uniform, rather than continuing to knead it the way bread dough gets worked.
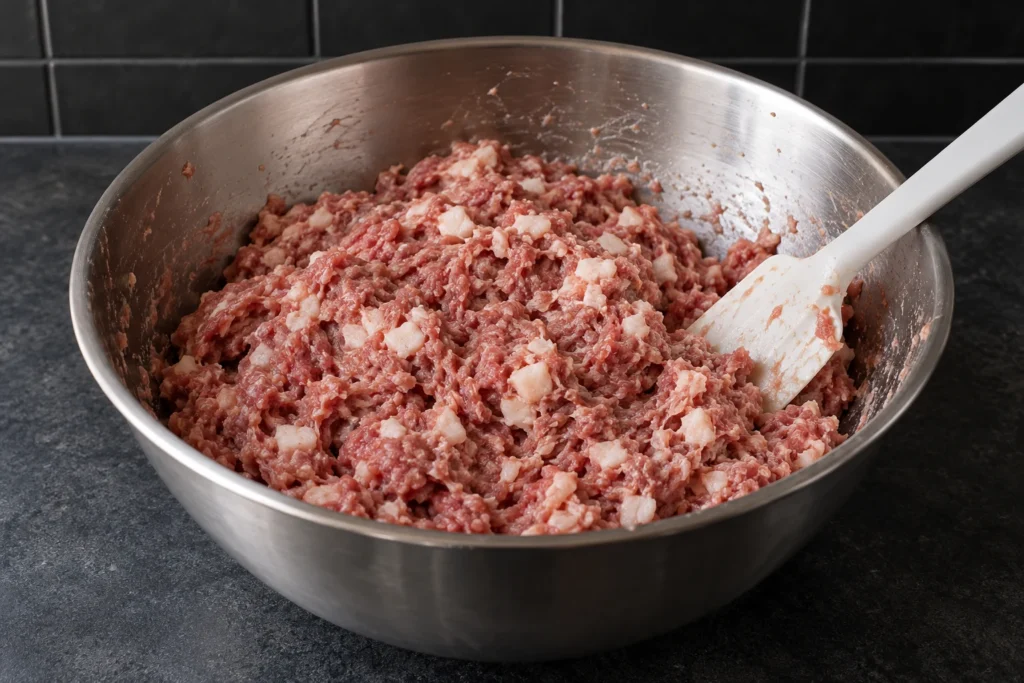
Chilling the meat and all the mixing equipment beforehand, the bowl, a spoon, hands run under cold water if practical, even just briefly, helps considerably more than it might seem like it would. Fat that stays cold and firm throughout mixing holds its structure better than fat that’s started to soften and smear, which keeps the final texture cleaner and prevents the mix from turning pasty under the warmth of bare hands working it.
Forming patties that actually hold together
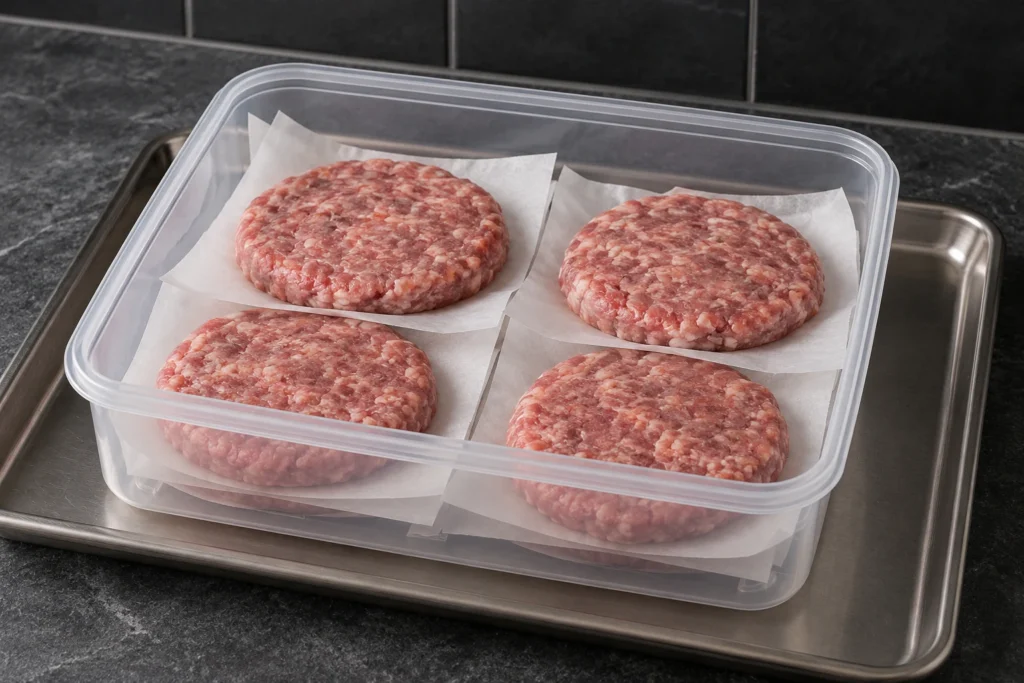
Loose sausage without a casing has nothing physically holding it together once it hits a hot pan beyond the meat’s own protein structure, which is exactly why overmixing becomes a problem and undermixing becomes one too. Form patties gently, without compacting them too firmly, and chill them for at least twenty minutes before cooking. That chilling step firms the fat back up after handling and meaningfully reduces how much a patty spreads or falls apart the moment it hits a hot pan.

A shallow dimple pressed into the center of each patty with a thumb, the same trick that works for burgers, helps it cook flat rather than puffing into a dome as the fat renders and the center contracts during cooking.
Food safety specific to ground meat
Ground meat carries different food-safety considerations than a whole cut, since grinding mixes any surface bacteria throughout the meat rather than leaving it only on the outside where normal cooking heat reaches it easily. Ground pork and ground beef both need to reach a safe internal temperature of 160°F measured with a reliable thermometer, not estimated by color or firmness, which can be genuinely misleading on a well-seasoned, already-browned sausage patty. Ground poultry needs to reach 165°F for the same underlying reason.
Keep raw sausage mixture refrigerated until it’s ready to cook, use clean hands and equipment throughout mixing and forming, and cook it within a day or two of grinding or purchase if it isn’t going to be frozen first. Homemade sausage mixture, formed into patties and frozen on a tray before being transferred to a bag, holds well for a couple of months and makes a genuinely useful item to have stocked alongside other batch-cooked meat from a regular prep day.
Cooking it once it’s formed
Medium heat, not high, gives the fat time to render gradually and the inside time to cook through before the outside burns, the same underlying principle behind controlling heat on any ground meat patty. A patty straight from the refrigerator, not frozen solid, cooks more evenly than one that went straight from the freezer into a hot pan, since the center has less distance to travel from cold to safely cooked through.

Mistakes worth avoiding
- Using meat that’s too lean. Sausage without enough fat turns dry and crumbly no matter how well it’s seasoned.
- Overmixing by hand. This produces a dense, rubbery texture instead of a tender, loose crumble.
- Skipping the test patty. Raw seasoned meat tastes nothing like its cooked version, and guessing at seasoning levels wastes an entire batch if it’s wrong.
- Cooking straight from frozen. This risks an undercooked center behind an already-browned, seemingly done exterior.
- Running a food processor too long. A few seconds past the right point turns ground meat into paste rather than a usable grind.
This is a technique guide, not a substitute for food-safety guidance. Always cook ground meat to a safe internal temperature and handle raw meat with proper hygiene throughout. Reference: USDA/FoodSafety.gov safe minimum cooking temperatures.
Visual steps
